I’ve lived in Bay View for the past 9 years and I have always loved trick-or-treating night here in the neighborhood (despite the fact that it isn’t actually on halloween!). After I got some good photos of great costumes last year, I wanted to run a photo booth in front of the house on trick-or-treating night. Add some procrastination, python and a couple of arduinos to a good idea and voila: Bay View Boo! was born!
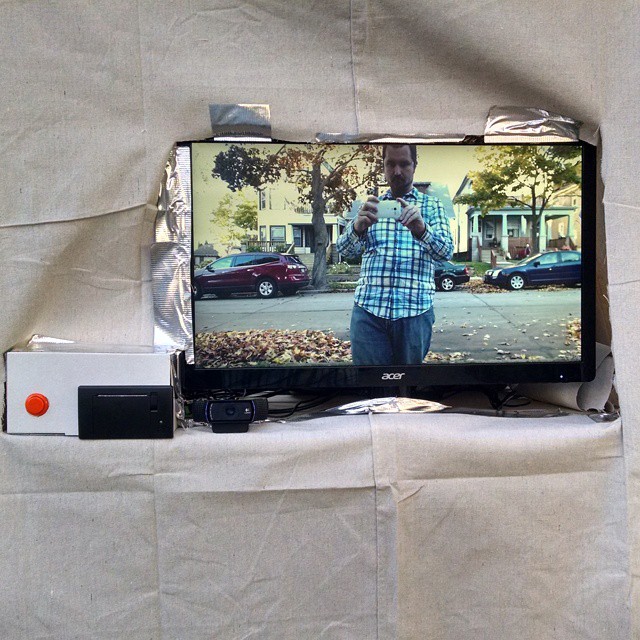
I started by building a shelf to hold the photo booth (and double for an extra shelf in the garage for the other 364 days of the year). On the shelf, I set up an HDMI monitor, driven by my laptop and a logitech webcam for the camera. The electronics were simple: I had an orange sanwa arcade button attached to an arduino to trigger the photo to be taken and another Arduino connected to a thermal printer from Adafruit to print out a link to the photo. On the computer, i had a Processing sketch to drive the display, perform the countdown when the button was pressed and send the filename to the printer. I also ran a little python app that pushed the images to Google Cloud Storage. An AppEngine app displayed the photos. I was in a bit of a rush to finish Saturday as I spent half the afternoon at Fantasticon and in my haste I forgot to add page navigation links to the front page. Oops! Ah well. I had the site updated after i tore everything down for the night. I had one trick or treater ask me if I had “like a Raspberry Pi in there or something” and I said, “Nope, but i have a couple of Arduinos!”. “Cool”. Cool, indeed.
None of the individual pieces of the project were very difficult and it all came together pretty nicely. The most gratifying part of the night was hearing from people that they had heard from other people to come over and get their photos taken. Word spreads quickly in Bay View! I’ll be posting all the code to a github repo shortly and I’ll update this post with the link when I’ve done that.
For next year, I plan on making a couple of changes. First, I want to have a nicer enclosure for the photo booth and something more permanent to mount the button and printer in than the white cardboard box i cut holes in with an X-ACTO knife. The second thing I want to do is make some interchangeable front pieces for the booth. I could use this for lots of events and it would be great to be able to bolt on something that was more thematically appropriate than a painter’s drop cloth with holes cut in it and secured by shiny duct tape! Ah well, it got the job done and after a while it was dark enough that no one could see my shoddy craftsmanship! That brings me to my final change for next year: lighting. I had one 250W light ready for when it got dark and it basically sucked. To everyone who showed up in awesome costumes once it was dark: I’m sorry. I’ll have better lights next year so everyone can get a great looking photo, even if you don’t come out before the sun goes down!
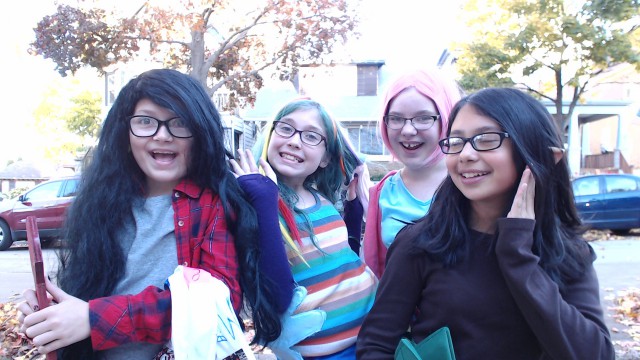
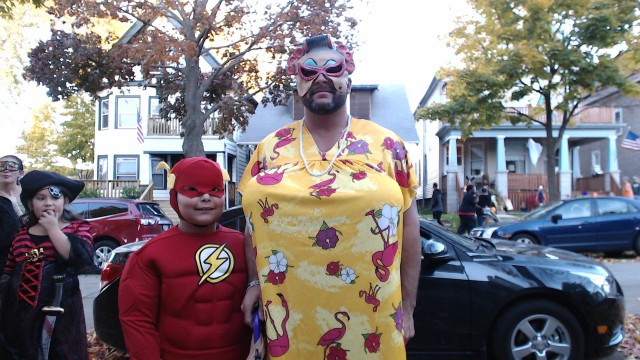
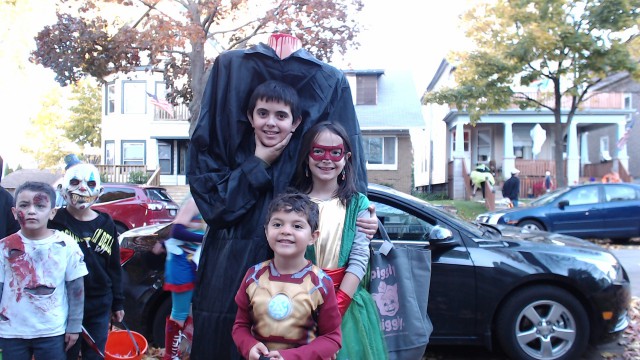
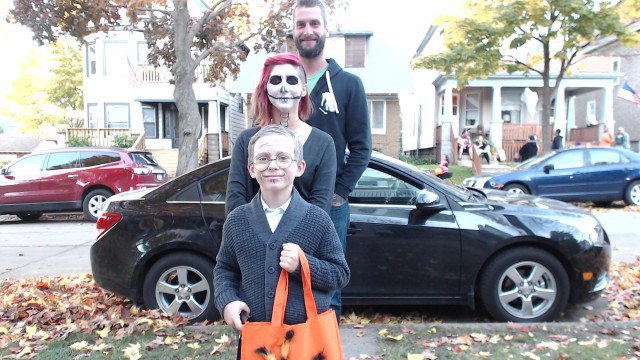
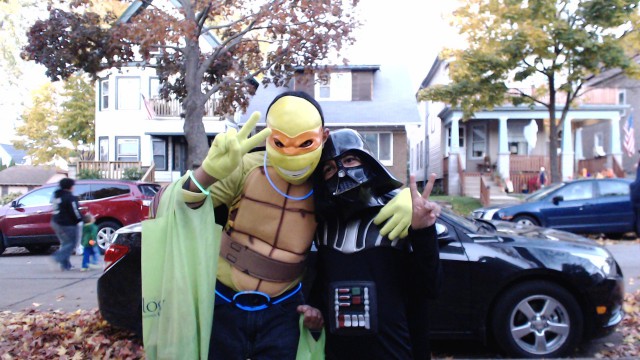
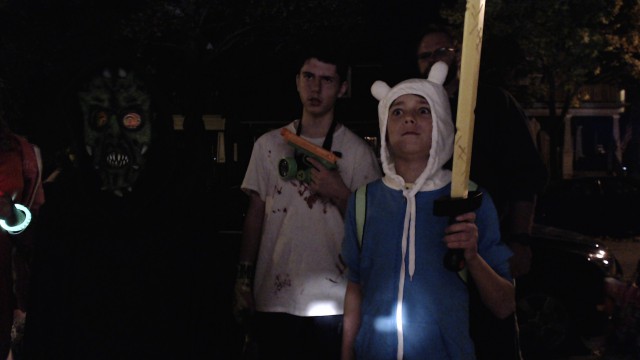
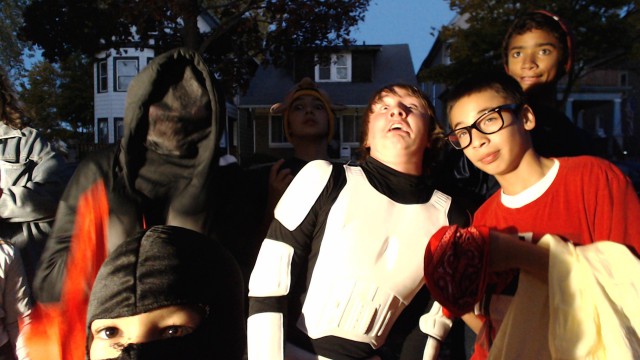
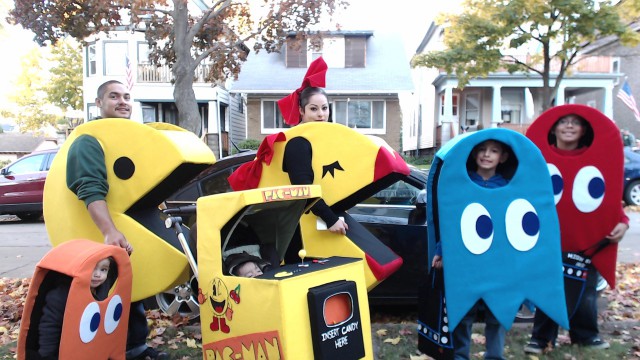
Here are a few of my favorite photos from the booth. I hope everyone who stopped by had a good time and enjoyed your photo! I’ll see you again next year! In the mantime, head over to Bay View Boo! to browse all the photos from the evening!