The Idea
I love magnets. What kind of dark magic powers their mysterious forces? It is questions like this that led me to study physics at university. My Buckyball set is my favorite desk toy, it is my go-to fidget device. Several years ago I was playing with them when an idea struck me hard., an idea I could not get rid of. You could use magnets as an electronic scoring system for tag. I do enjoy a nice game of tag. Back in the day my friends and I would run around the back woods of South Carolina shooting each other with paintballs. It was super fun, but the sport is not all that accessible. You need a some disposable income and a high pain threshold (especially in winter when the balls froze). On top of that you could count on an argument about someone being “out” or not. Magnets could be encased in soft foam darts or balls (sound familiar?) that you could could collect and reuse in an indoor setting; detecting them electronically has been possible since Maxwell wrote down his famous equations of electromagnetism.
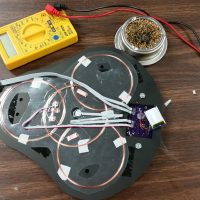
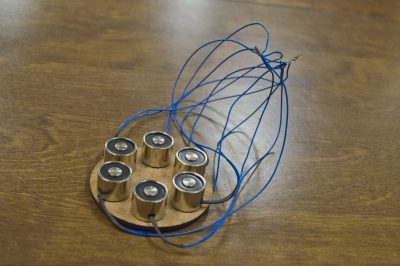
There are several ways to detect a magnet electronically. You could use a reed switch or a hall effect sensor, but nothing is simpler than a coil of wire. Electromagnetic induction is a very useful phenomenon, and it is found in technology all around you.
Studying physics was certainly inspiring, but my education failed me when I tried to build a prototype. It turns out, making things is hard. While I was trying to understand basic electronics, a new company called Arduino, introduced a product onto the market; I got one. Additionally, a new magazine called MAKE had just been published, which was where I learned about the concept of a makerspace. At that time in Milwaukee, a group of 10 or so had leased as small space in a turn of the century industrial complex that looked like a set from a Batman movie, where the bad guys are. Over the years I have been working on this project at Milwaukee Makerspace, I have seen it grow into an amazingly successful institution in our community.
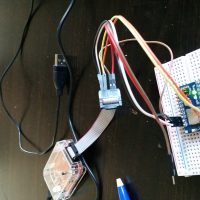
It didn’t take me long to start blinking LEDs on my Arduino, that platform is really easy to learn. Learning about amplifiers and comparators took a bit longer, but after several failed attempts I was able to prove the concept. This video from below is from 2012. That’s when I met Jason, who is holding the camera here. He joined team MagneTag not long after.
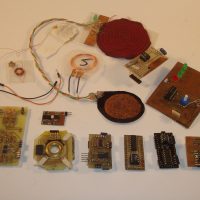
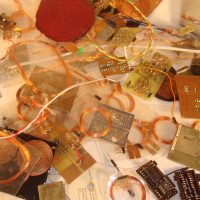
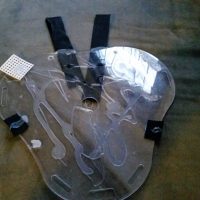
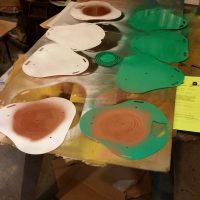
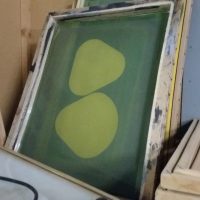
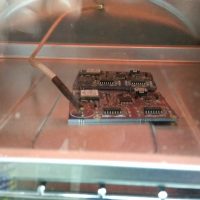
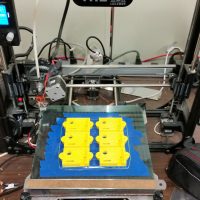
I was pretty stoked about the proof of concept, and was excited to build a wearable system. I learned how to etch my own circuit boards, 3d print enclosures, and wind my own coils on the sewing machine.
I spent a lot of time on this project. More than I care the count to be honest. But the process was actually very fun and challenging; there is great value in the journey. I made many mistakes, but each one made the system better and better.
-
- Learning to Crawl
-
- Lots of hours in this picture
-
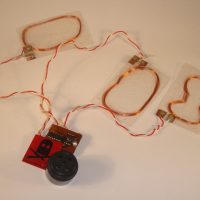
- My first working proto
-
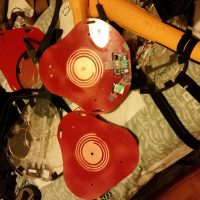
- Second proto. So stylish.
-
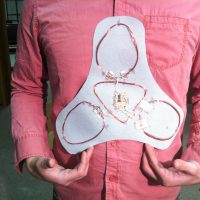
- Third proto.
-
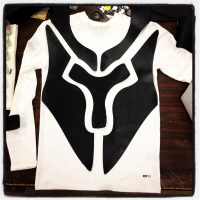
- I always imagined it as a tron suit. I discovered a design flaw: body odor.
-
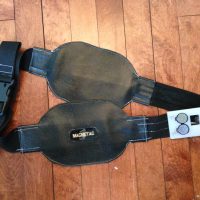
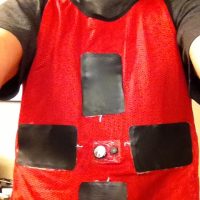
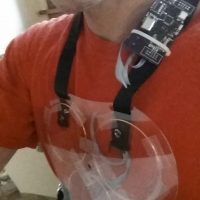
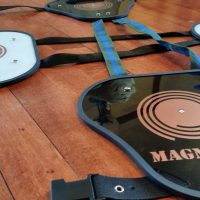
- 4th proto was a bandolier. Getting there.
-
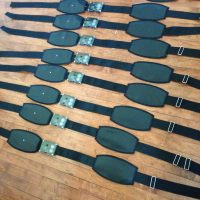
- We called this V1.0 and made about 40 of them.
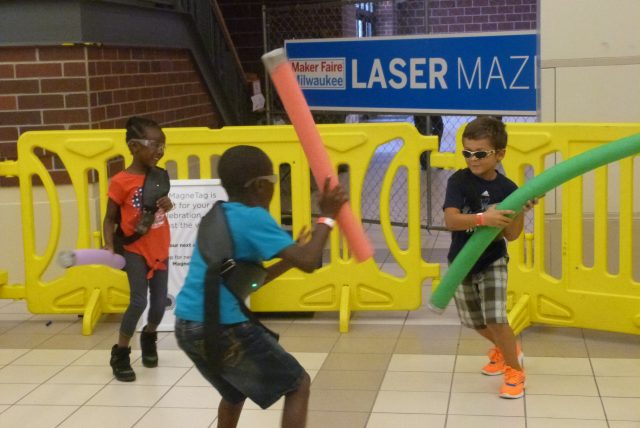
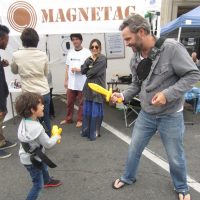
Once I started playing MagneTag for real, it was more fun than I had even initially imagined! I also learned what it was really great for: foam noodle fighting! Jason and I went all around Milwaukee testing our system with anyone that would give it a try.
-

- Milwaukee festival season. Turns out drunk people like MagneTag.
-

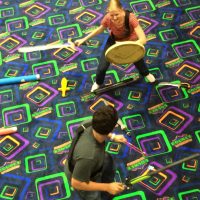
- Oodles of noodles
-
- photo credit: Urban Milwaukee
-

- Backyard fun.
-

- Milwaukee Maker Faire!
-

- We held a Hunger games event where we hid all the taggers around Bounce Milwaukee. Super fun!!
-

- Who will volunteer as tribute?
-
- MagneTag is also an affordable alternative for couples therapy
-
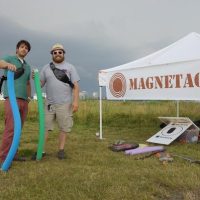
- Adam and Jason. Workin’ hard to bring MagneTag to you.
We did not need to add a soundtrack to this. The dude brought his own in a fanny pack.
Posted by MagneTag on Saturday, June 21, 2014
Concept to Production
The game was so much fun we were totally driven to get it out into the world where everyone else could enjoy it like we do. It was about this time that crowdfunding had become all the rage and we saw it as an opportunity to get our system into production. Looking back it’s clear what we didn’t know could fill… a very large container…
Good Idea? Maybe. But not great execution.
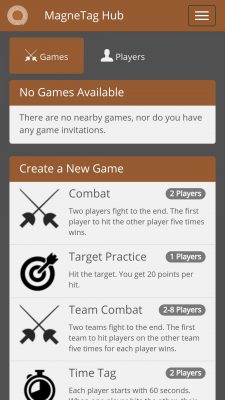
The first mistake we made was a classic one: feature creep. Of course it had to have Bluetooth. Bluetooth all the things! We didn’t really have a plan for it, and the system was already pretty great without it. We thought who would want this thing without an app? It took us the better part of a year to make an app for the system and get the hardware going. When it was “done” it wasn’t all that awesome. Bluetooth is slow; there was a painfully slow lag between the sensor and the smartphone. The idea does have potential, but we were not executing it well. The only good thing about this excursion into software is that we were able to have my buddy Chris join the team, so now there were three. When you are doing something very challenging it really helps to have people with you on the journey.
The second mistake we made was building a product before understanding the market. I just wanted to build the coolest thing because that’s what I wanted to make. I considered myself the target customer and nothing less than the best would do. This prompted another near-total redesign of the system. I flippantly told myself that the added costs would be worth it and didn’t give it too much thought. What we ended up with was very awesome, but it has to be for what we needed to charge for it.


The third mistake I made was also classic: The Field of Dreams Fallacy. If you build it they will come…No they won’t. We launched our awesome new product on Kickstarter and failed spectacularly. I looked at the site analytics, nobody came to the page. As an engineer I used to make snide remarks about the marketing department. I no longer do this because it turns out that what they do is extremely important. Even if you’ve made something awesome it takes a whole other set of skills to get people to see it. I still haven’t figured this one out, but I haven’t given up.
