Sense 3D Scanner

STL Tissue Box

Let’s say you want to 3D print a scale model of that box of tissues on your coffee table because you want to commemorate being sick last week. You can do that. We can do that. Yes, Milwaukee Makerspace can now scan 3D objects, thanks to our friends at 3D Systems who sent us this lovely Sense 3D Scanner.

Scan Selection

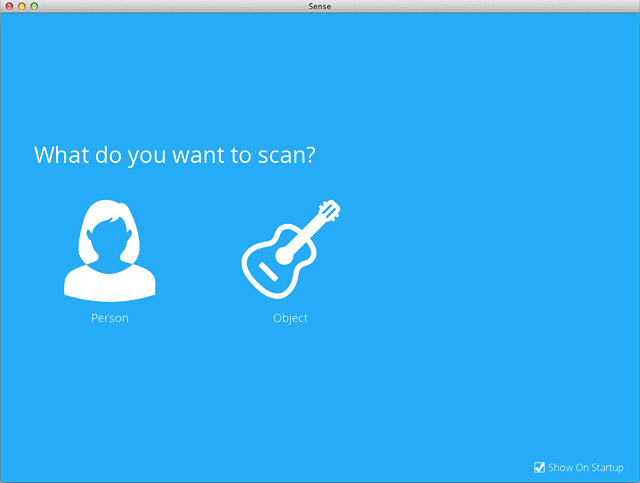
When you launch the software, it will ask if you want to scan a person, or an object. (I would have scanned a person for the first test, but everyone was sleeping at 6am.)

Scan Selection

If you choose object, it will then ask you what size the object is. I chose ‘Small Object’ for the tissue box.

Scanning

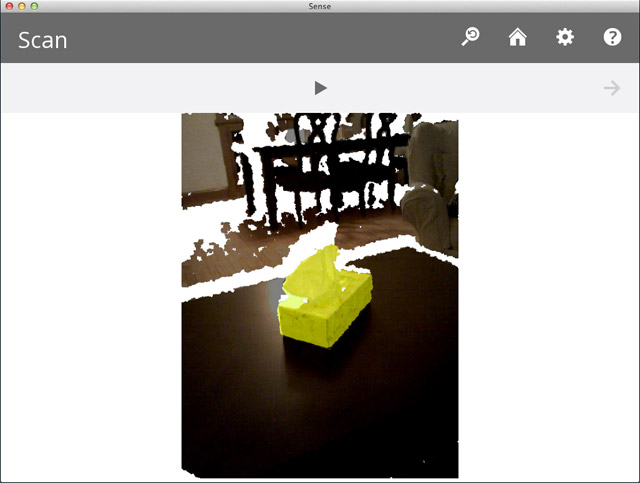
When the scanner sees the object it will highlight it. You can then click the start button to start scanning. I ended up holding the scanner and my laptop in my hands and walking around the table looking at the screen, trying to keep the object centered.

Scanning

Here’s our object being scanned. It takes a little bit of practice to walk around with the scanner and laptop. Whenever I’ve seen people get scanned (their heads anyway) they usually sit in a swivel chair and spin while the scanner stays stationary. We may want to try building a turn-table for small objects.

Lost Tracking

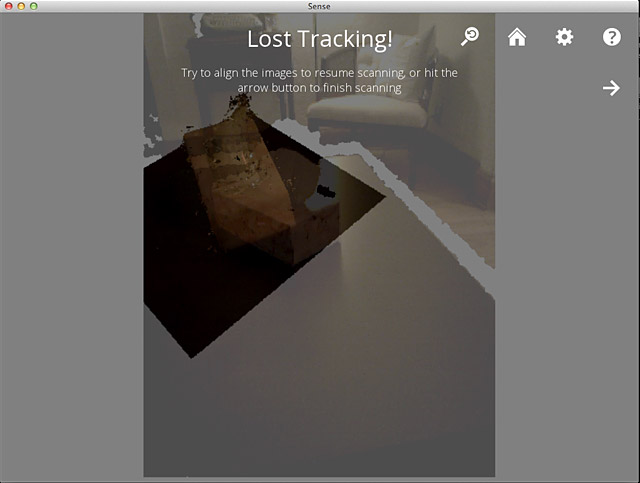
If the tracking gets lost, you need to try to realign things… or start over. It doesn’t take very long to do a scan, so starting over isn’t the worst thing in the world.

The Tissue Box Scanned!

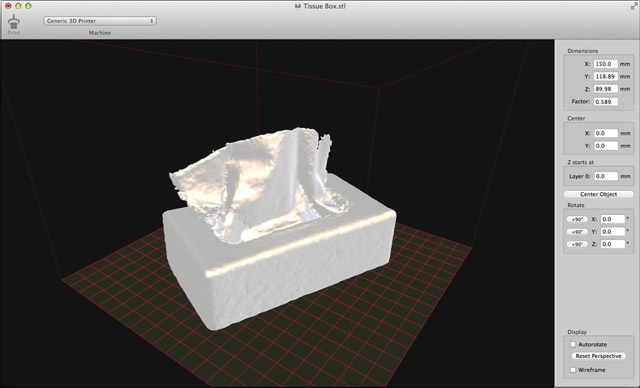
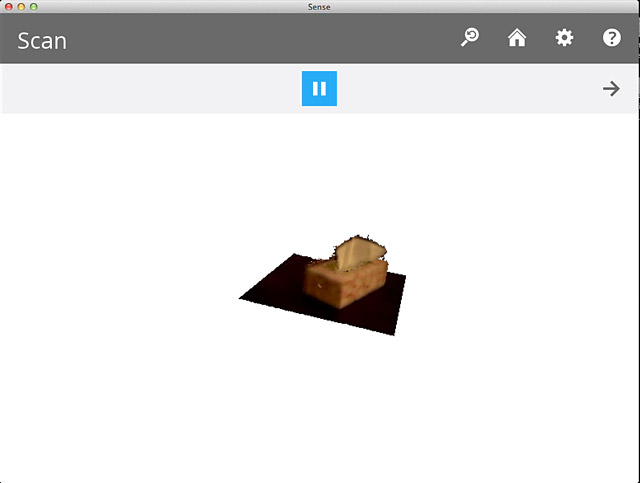
Here’s our scan! We now have a 3D model of a tissue box. Exciting!

Cleaning it up

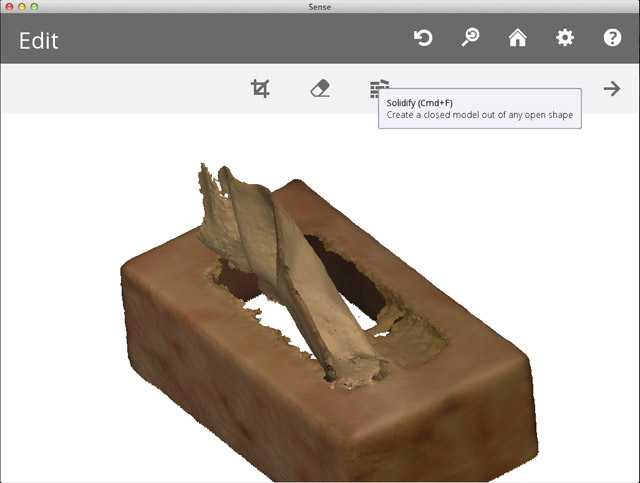
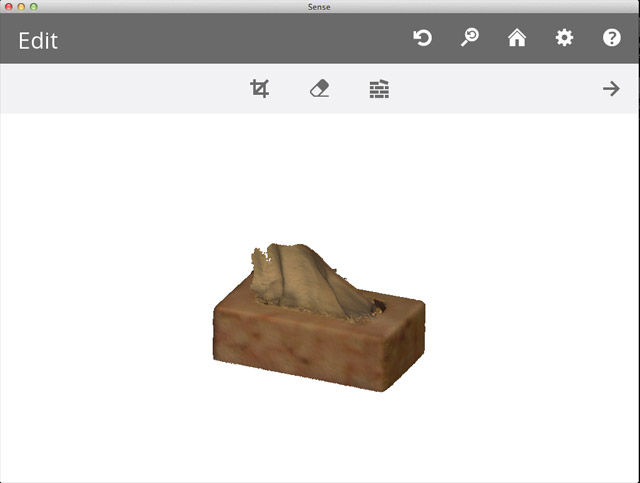
You may need to do a bit of editing. The most important thing is to ‘solidify’ the model. It needs to be ‘water-tight’ or manifold before you can 3D print it. Solidify fills in the holes.

Cleaning it up

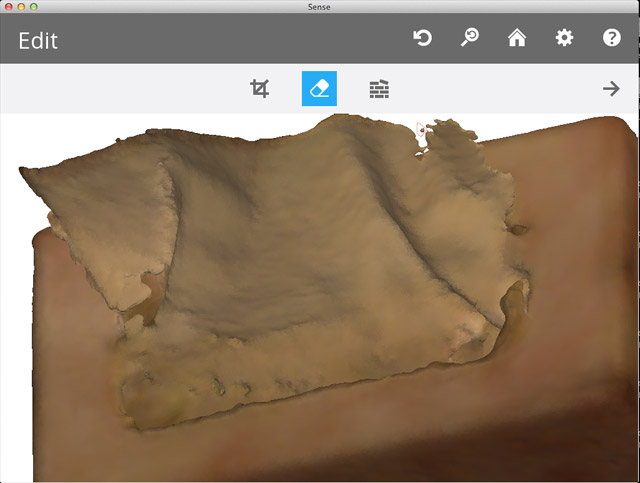
You can also erase things. The erase tools lets you draw around things with a red line, which it will then delete.

Enhancing it

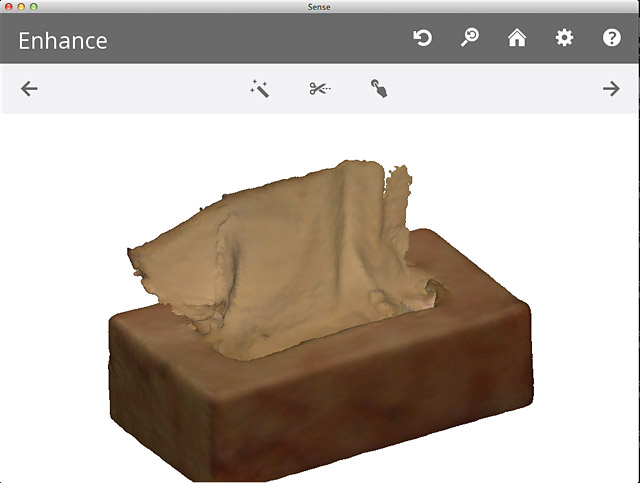
There are a few enhancements you can perform if needed… otherwise, it’s time to save it!

Saving it

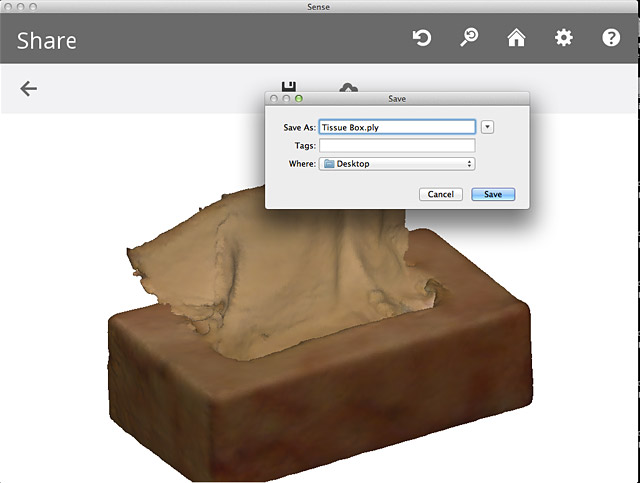
The files are saved as ‘Polygon File Format’, with a ‘.ply’ extension. Typically I use STL files, so we’ll convert to that next.

MeshLab

MeshLab can easily import a PLY file and export it as an STL.

Resizing

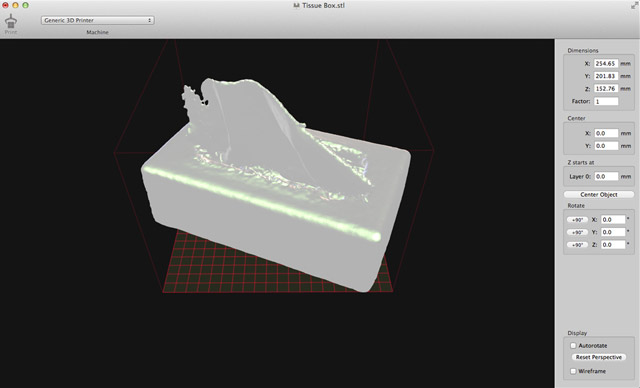
I like to use Pleasant 3D to view and resize STL models. (It’s Mac OS X only, but there are options for other operating systems.)

Resizing

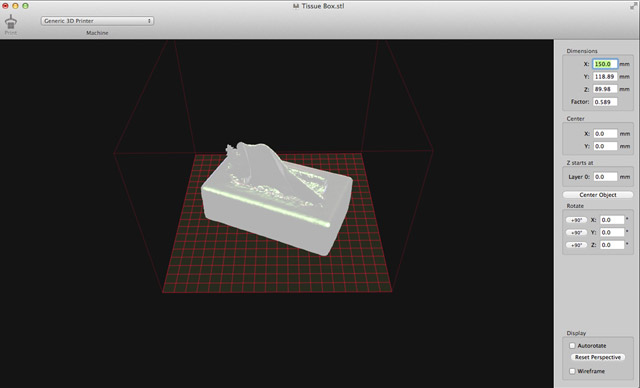
After making our model a bit more reasonably sized, it’s ready to print! Who wants a hard plastic tissue to blow their nose with!?

Easy and Free 3D

Its no huge secret that learning to make something in a 3D CAD program has been a bit challenging before now. Programs such as Blender are quite powerful, but the learning curve is a bit steep and you could spend days working in tutorials before you actualy got around to making anything. Well, the world turns and the people with the big brains are slowly learning that the best way to get more people involved is to create tools that don’t require a masters in computer design to understand.

In the old days, you needed a high end workstation with advanced graphics capabilities to do this kind of work. I can remember going to my friends work place and marveling at his 386 workstation built into a desk with a pen based touch screen. These days we can do so much more, and in a web browser. The recommendations below won’t meet everyone’s needs, but it’s a great starting point to learn what works and what does not. Its also hella fun.

Back in November I bought a Printrbot during their Kickstarter campaign. Since then I have been trying out different combinations of programs and processes for generating 3D designs and slicing them for use on the printer. I had a short list of requirements for things I absolutely needed:

  • Short learning curve, nothing overly complicated. I just need to make straight 3D designs. I don’t need textures, colors or animation.
  • Free. I was looking to keep this as low cost as possible. I am a huge fan of open source solutions.
  • Ability to export STL files.

I ran through Blender, 123D, Google (now Trimble) sketchup and a few other programs. They were all quite functional, but each had some small quirks or non-intuitive interface problems and I was routinely somewhat frustrated and defeated. I kept poking around and finally stumbled upon a winning combination.

TinkerCad is a free 3d design app. It runs within your browser and has a strong preference for Chrome. All your designs are assembled with a simple tool set and saved to the web automatically. The site allows you to download your designs as STL, VRML or 2D SVG. It also allows you to imidiately submit your designs to several 3D printing services such as Shapeways and Sculpteo.

Although the tools are somewhat limited, you are able to do a surprising amount of real work. All of the tools are quite intuitive and I was able to jump in without needing to run through the tutorial. In fact, my 12 year old daughter jumped in after I was done and was designing her own things without any input from me. I’m going to be needing a lot more filament at this rate. The ruler and measurement tools are better than any other program I tried. In less than 20 minutes I was able to assemble a small robot design.

Once I had the design, I was able to easily export the STL file and immediately print one using the printrbot. I added a small raft to the back and drilled out a hole for a button. This is now going to be my new doorbell. I also added a few LEDs to the back for lighting.

Once I was done, I was really excited by the prospect of actually being able to make virtual things. I decided to see what else I could do. One dream has been to find a way to easily create cardboard sliced designs. A fairly new app from Autodesk called 123D MAKE can do just that. It’s not open source, but it is a free 100+ MB download. I was able to take the STL file I downloaded and upload it to the 123D MAKE program. From within the tool, I was able to set material thickness, slice type, output format, stage size and dozens of other options. I was then able to export EPS files containing all the pieces laid out and numbered for assembly.

I was able to take these over to the laser cutter and cut some slices from cardboard I had laying around. I assembled them per directions and wound up with this bad boy.

If you don’t have a laser cutter, you can always just print the design and cut the pieces by hand.

I think we are seeing start of a huge shift in production of one-off items. 3D printers are getting cheaper, and more importantly, printing services are able to produce items in almost any material you can imagine. As the design tools get easier and easier to use you are going to see these services become more and more prevalent. Need a replacement part? Print it yourself. Have an idea for a game, have it printed, boxed and shipped overnight. Its the definition of a disruptive technology.

Now, go make something!


Free 3D design web app

3D Printing Meetup

Milwaukee 3D Printing Meetup

3D Printing is getting more and more popular, and we’ve got a bunch of members who have built printers, or are building printers, or just know a heck of a lot about 3D Printing, so we figured we should meet up and discuss the topic.

So if you’ve ever wondered what in the world a MakerBot was, or heard of RepRap or Printrbot, or just wanted to see an actual 3D Printer laying down molten plastic to make a real-world object, well… we’ve got just the ticket.

Join us for the first Milwaukee 3D Printing Meetup! We’ll be meeting on Sunday, July 1st, 2012 at 1:00pm. We won’t be at our space because we’ve partnered with our friends at UWM for this one! Details are below.

UWM’s Kenilworth Square East Building
1925 E. Kenilworth Place
3rd Floor; Room 368
Milwaukee, WI

If you’ve got a 3D Printer, feel free to bring it! If you don’t have one, check out the different ones at the meetup. Bring some questions, and we’ll provide the answers. And of course we’ll show off things you can print and we’ll melt some plastic. :)

Note: This event is FREE and open to the public! Everyone is invited.

3D Printer (x 3)

3D Printers

Last night after the weekly Tuesday night meeting we had a quick show ‘n tell featuring three different 3D printers.

From left to right: a MakerGear Prusa Mendel, a MakerGear Mosaic, and a Printrbot.

We’ve also got a member building a 3D printer of his own design, and at least one member with an old-school MakerBot CupCake.

Speaking of MakerBot, we’re expecting a visit from the MakerBot folks near the end of June. They’ll demo the MakerBot Replicator for us and get all geeky about melted plastic, which is what 3D Printing Nerds do. (We’ll post an update when we have all the details.)

Fun with 3D

Milwaukee Makerspace 3D Egg

Here’s a recent Egg-Bot experiment, putting the Milwaukee Makerspace logo on an egg… in 3D!!!

Well, it’s not really 3D exactly, as I just plotted with blue, then again with red, and the fact that registration isn’t perfect makes it look like 3D printing. But you know, we do have a box full of 3D glasses at the space, so maybe we should test it out.

BarCampEgg

I also made this egg for BarCampMadison, which happened this passed weekend. The Sector67 guys were there, and gave a session on 3D printers which included the RepRap, and the MakerBot. Speaking of the MakerBot, we’ll be doing a demo of it this week Thursday, September 1st, 2011 at the space. The demo will start around 7:30, and it’s open to the public, so come on down. You can also RSVP on Facebook if you like.