A few weeks ago Mike Stone of CNCMogul.com visited the Milwaukee Makerspace.
Mike donated one of his machines to the space for testing and feedback as well as to use for the membership. It should also be mentioned that Mike is local and has his shop and distribution in Wales, Wisconsin.
Joe Rodriguez built one machine and I also put one together at our shop at home. So here are some thoughts on the process as well as some pictures. It isn’t a review as these machines haven’t really been put to the test as of yet. Time will tell.
The CNC Mogul is a general purpose 3 axis CNC kit that is relatively easy to put together and can be used for anything that you like. I’ll be using ours for routing and Joe wants to make a CNC plasma cutter with the one in the space. The basic kit is affordable and it uses the Makerslide as it’s building blocks. The stepper motors are run with a rack and pinion setup on aluminum tracks and gearing as well.
The controller is a Chinese Tb6560 Stepper Motor Driver Controller that is controlled via parallel port.
The power supply is a 24V 14.6 AMP 350W Max Power Supply.
The whole kit can be ordered online from 2ft X 3ft up to 4ft X 8ft. Custom dimensions are also available.
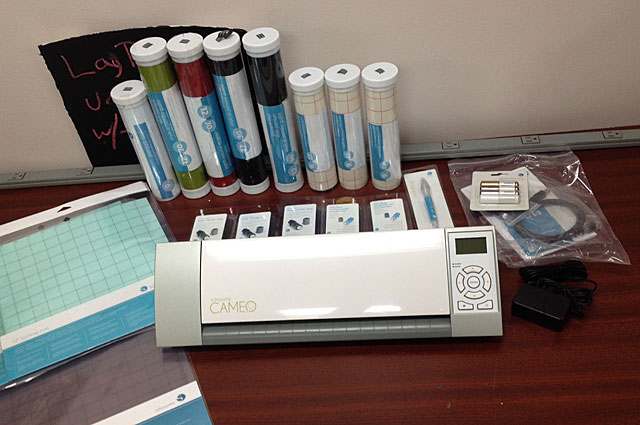
So here is the kit before assembly. This is a 3ft x 3ft kit that I will be building and using with a router.
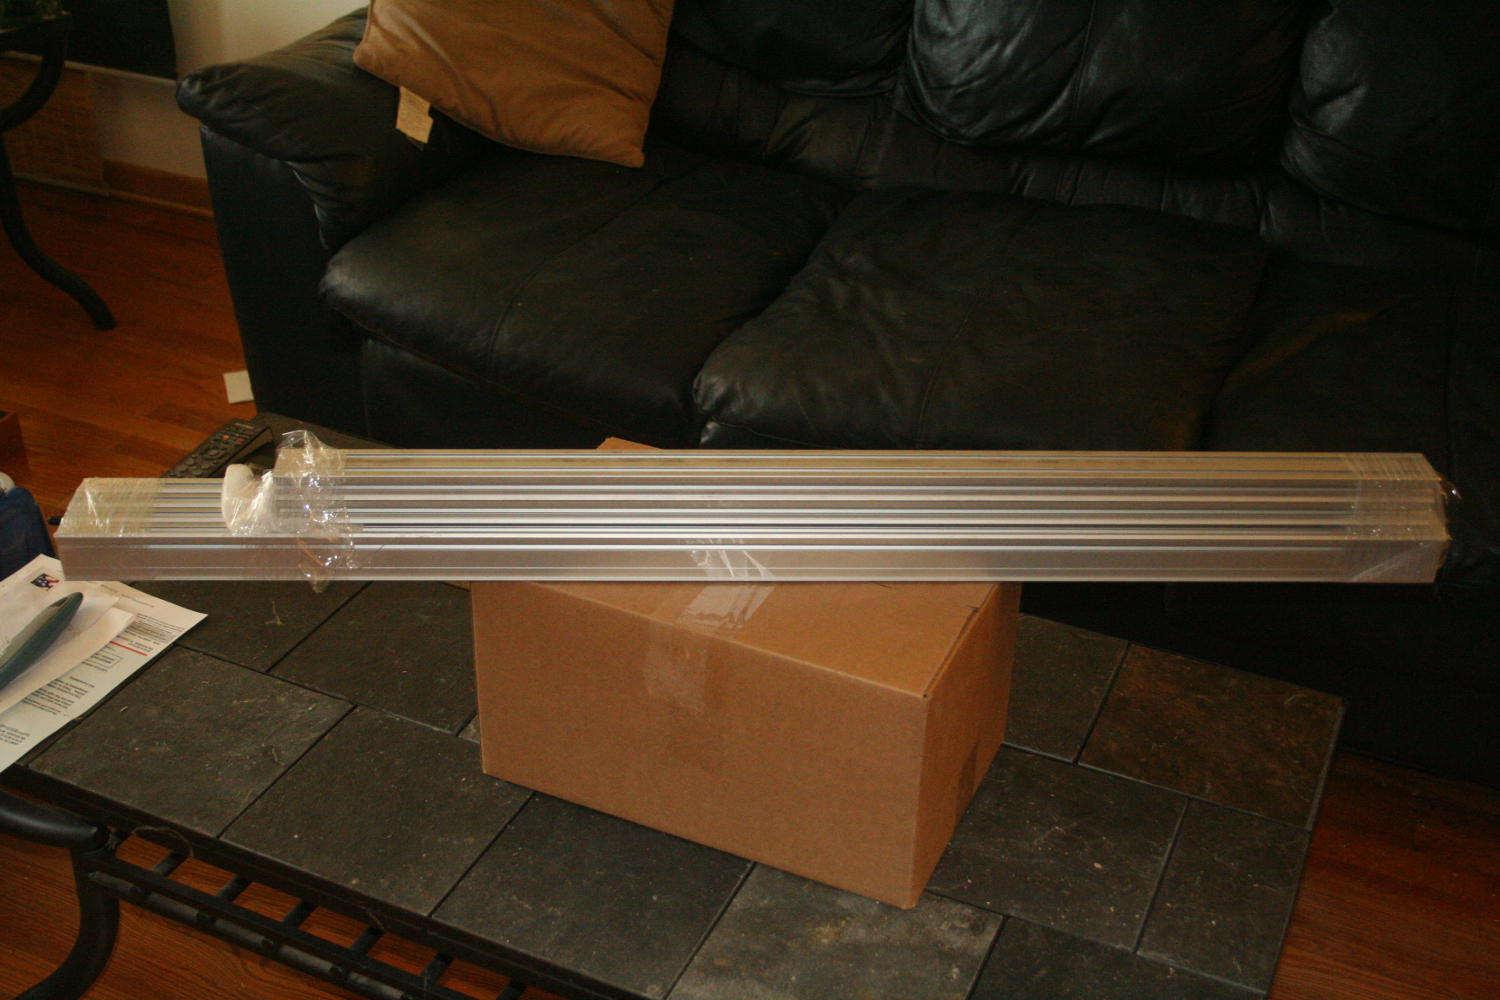
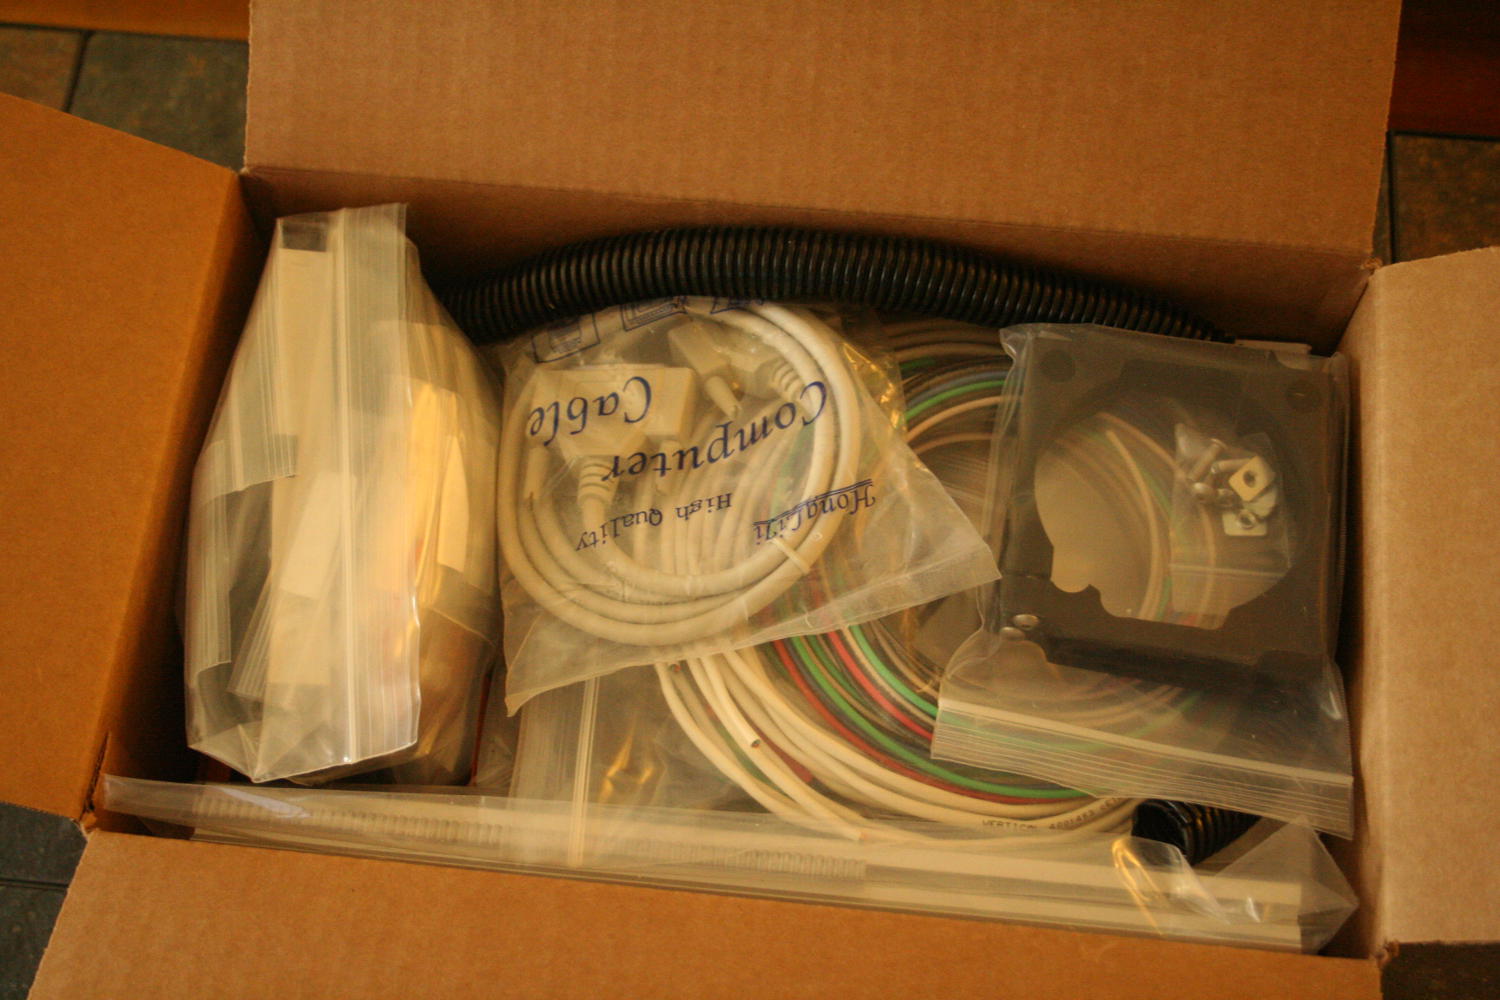
This is the kit right before opening.
Inside the kit there are a bunch of baggies with tons of little parts. You can look at the manual here
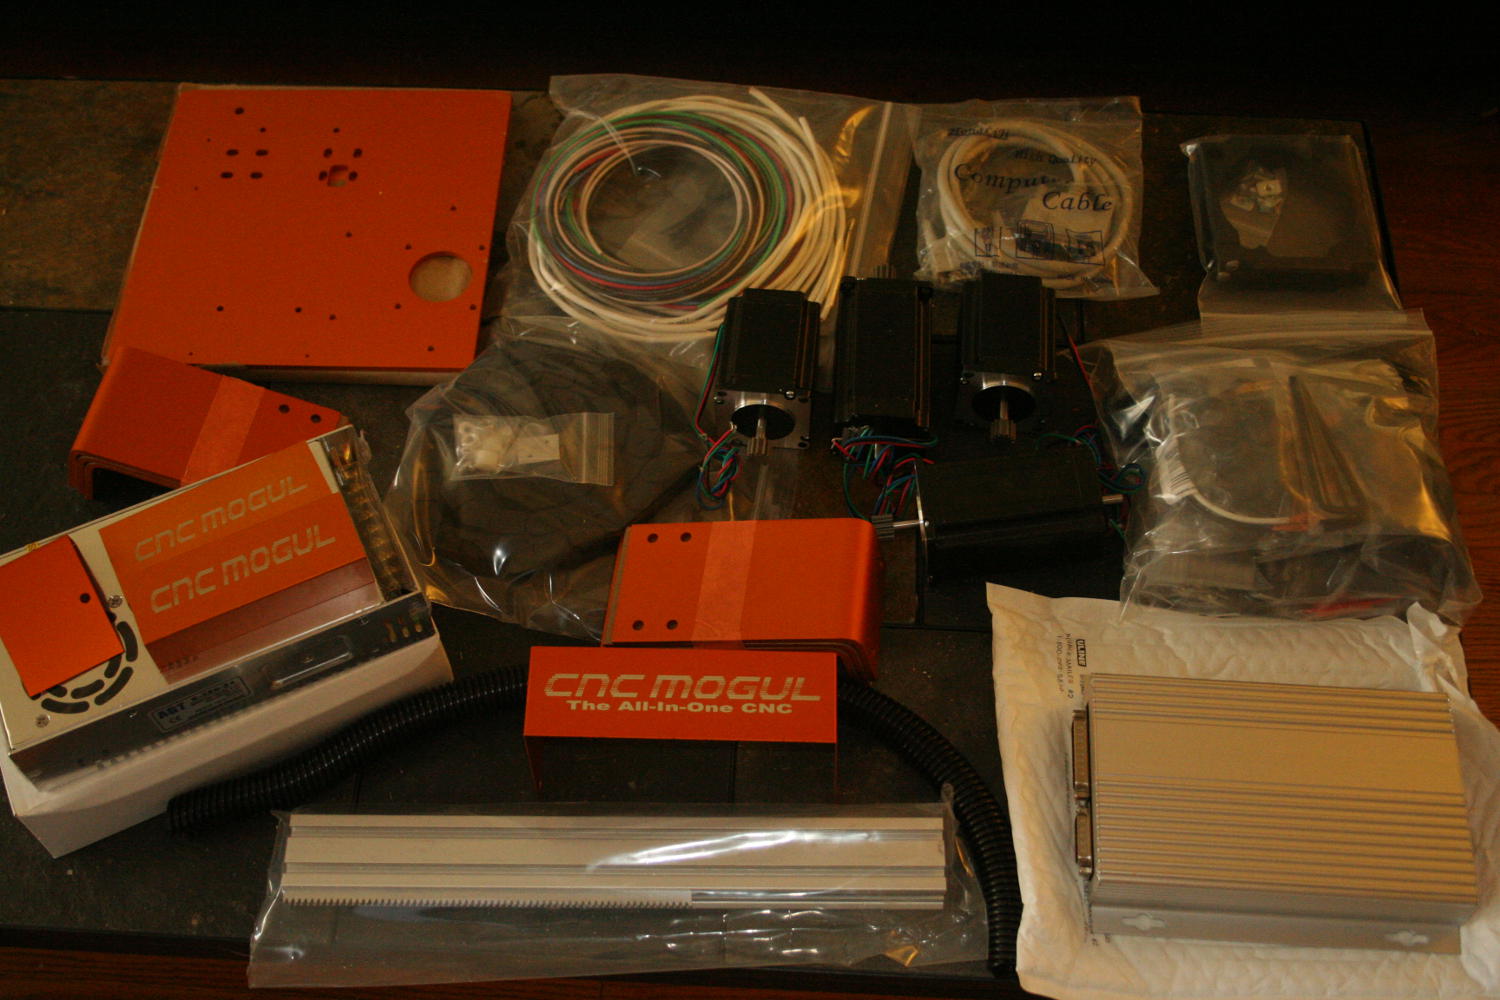
I’m assembling the quad rail kit. Once I start pulling things out of the box there is an amazing array of parts that explodes out of it. Fortunately each bag and part are well marked.
Everything that you need to build your own CNC controlled machine.

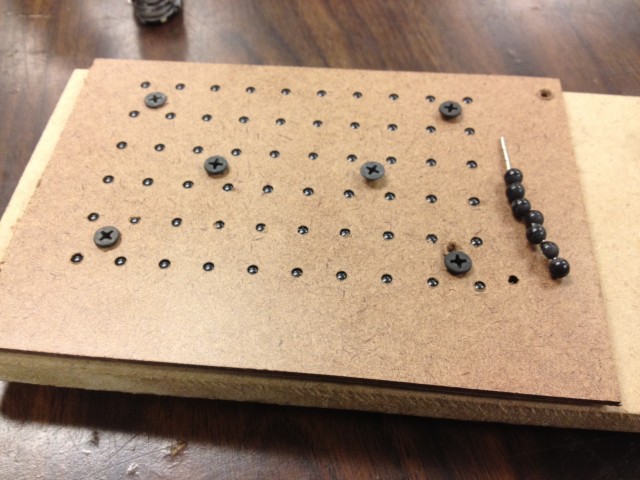
Everything is labeled really well.
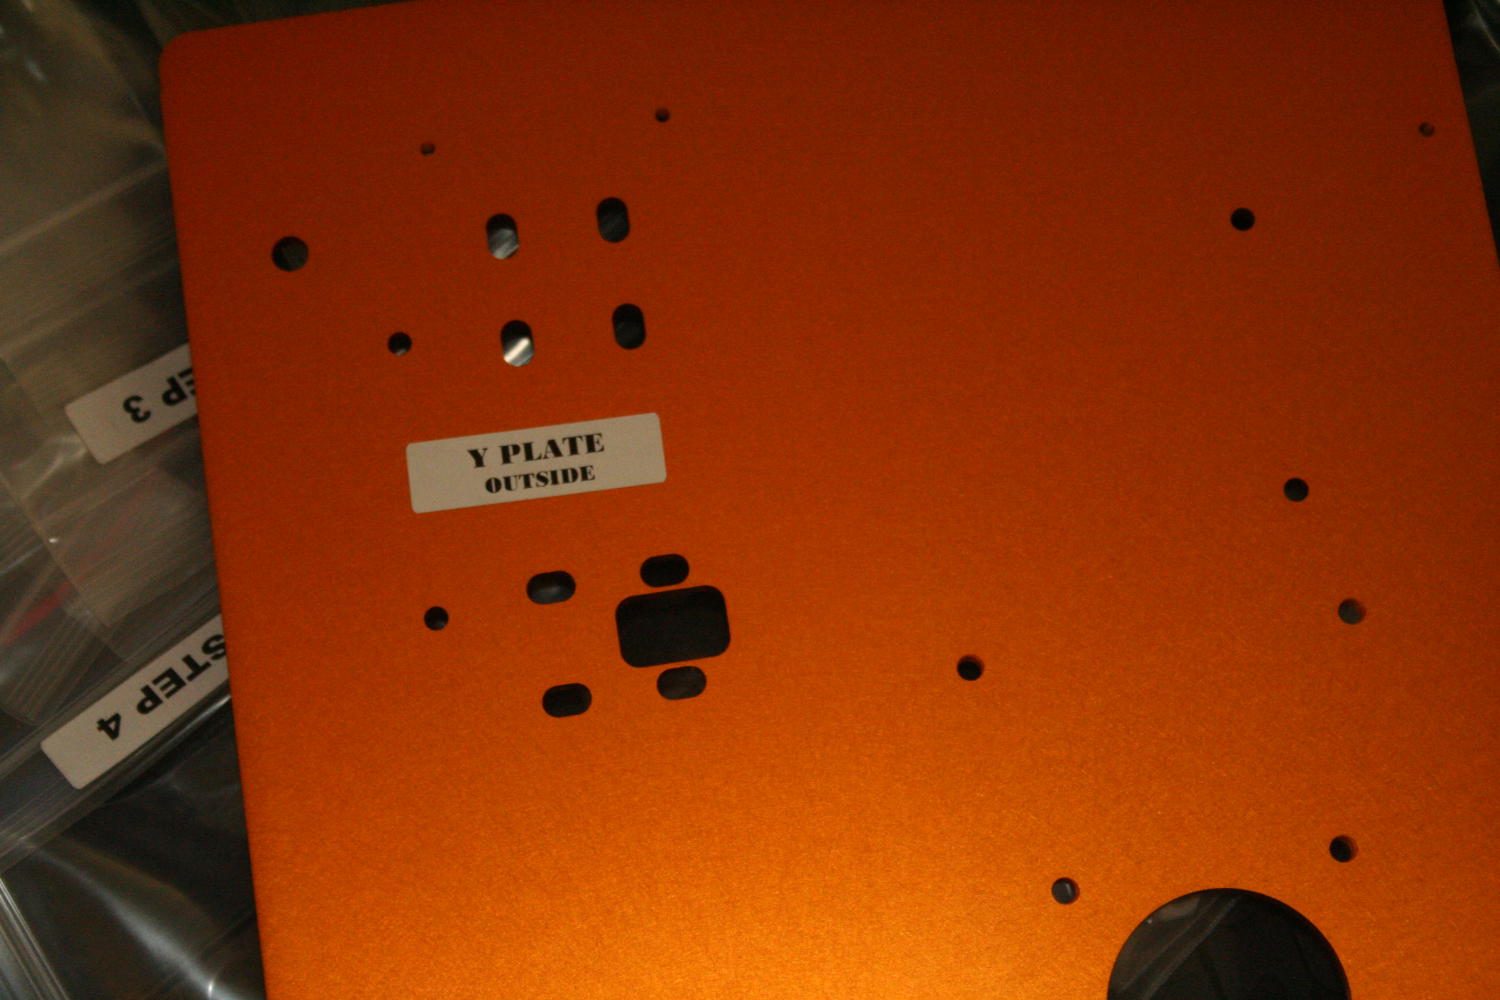
Everything is labeled really well.
The kit took approximately 3+ hours to put together. The documentation in the manual is hit or miss. The pictures are extremely good and really help in putting this together. The accompanying text is also great for the first 1/3 of the manual and then you’re left to interpret pictures from there. There are a few questions that came up while building this but fortunately I was able to figure it out.
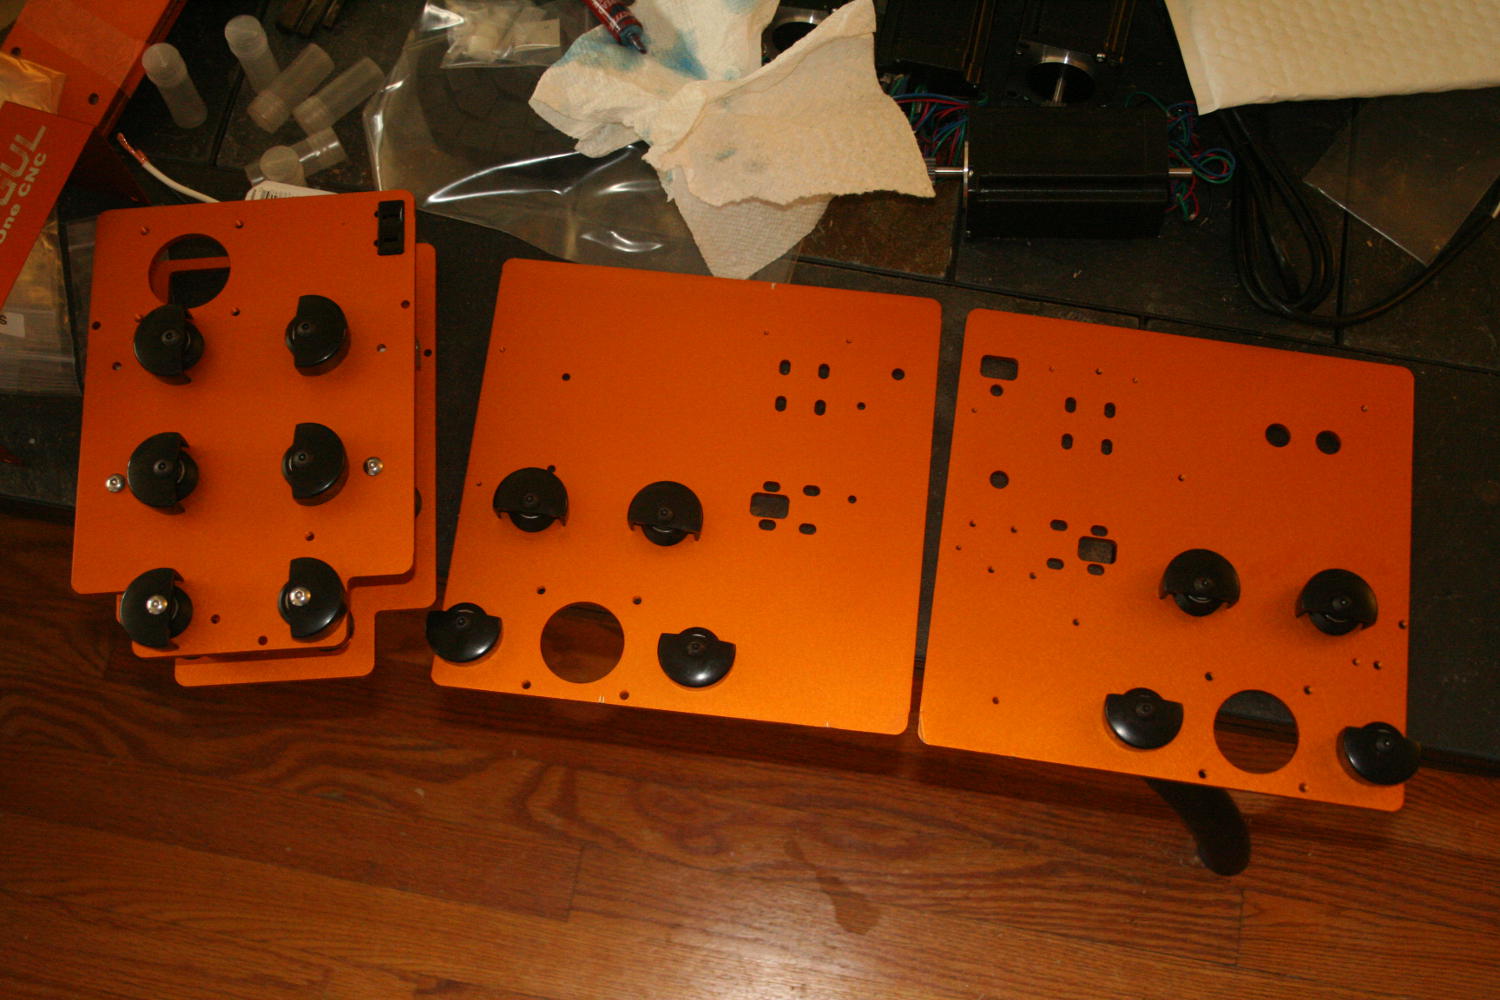
Little by little the parts are being built.
After the gantry gets built and all of the wires are connected it’s time to test. CNC Mogul recommends using Mach 3 for your machine control. And even has a few pointers on how to setup Mach 3 on their site.
I decided to go with LinuxCNC because it’s open source, I’m comfortable with Linux and it’s low cost (free). I loaded it up on a spare computer and after running through the instructions I was able to control the stepper motors on the Mogul.
What I had difficulty with is that the CNC Mogul uses an “A” axis and “Y” axis slaved together. LinuxCNC can do that but you can NOT test for that in the setting up process. You essentially tell the “A” axis to use the same step and direction pulses as the “Y” axis. I also inverted the “A” axis so they would turn the same direction when they are facing each other.
One of the other difficulties I had was figuring out the leadscrew pitch to enter into LinuxCNC. After some experimentation 1.27 inches per revolution seems about right but some more testing is needed.
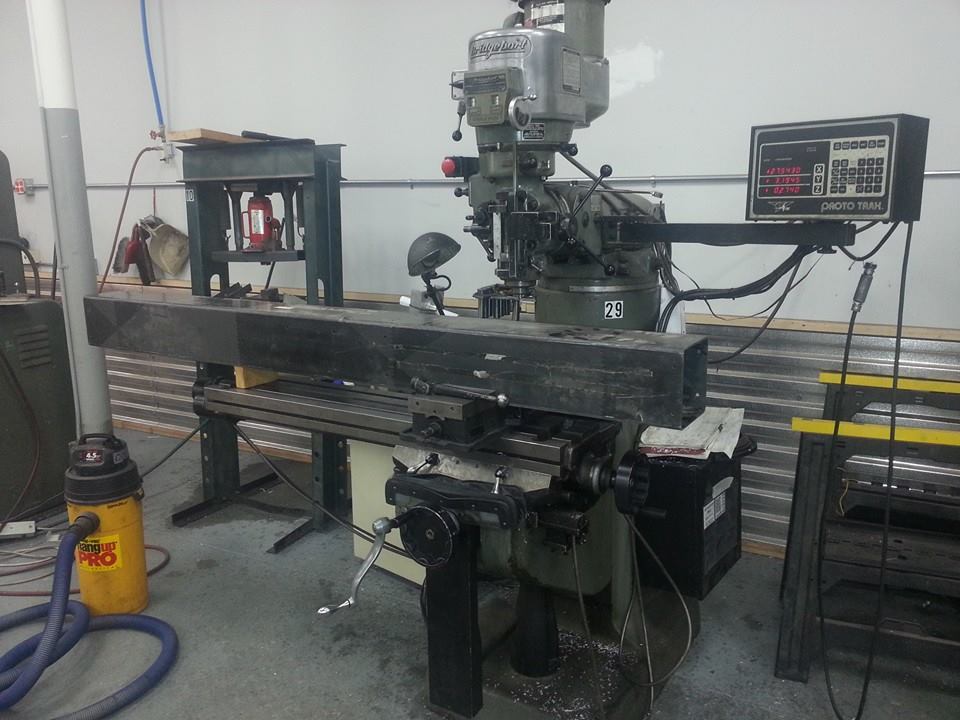
Once you’re finished building the whole thing you need to mount it to something. I picked up a Craigslist find and the Mogul fit perfectly.
I generated some G-code from Vectric’s Vcarve Pro Zeroed each axis and started to cut.
I still need to put a waste board down and face it off flat and put some type of work hold-down system in place.
After the unit gets setup in the Makerspace the members will have access to the machine and we’ll see how durable it is.
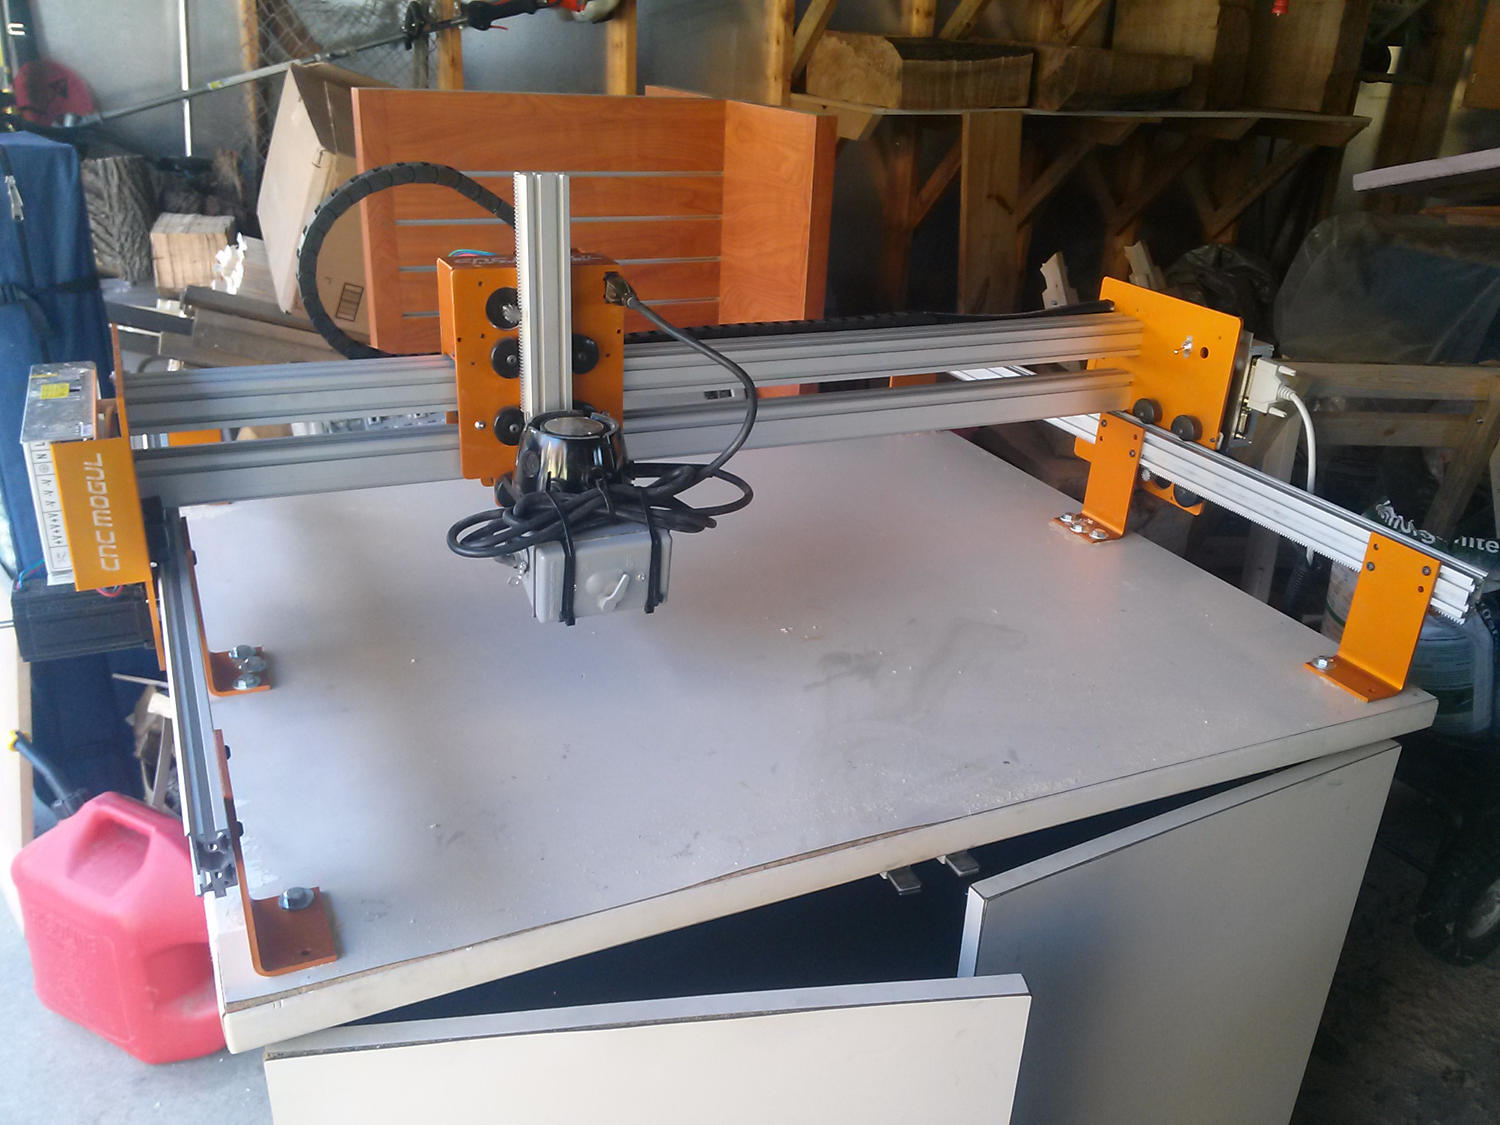
The CNC Mogul with router mounted and ready to cut.
Total time to build, test, and implement the whole system has been approximately 6 hours. There is still some testing and tweaking to be done as well as putting in a dust collection system.
If there are any questions feel free to ask me either on this post or in person. I’ll be putting this through it’s paces as well.
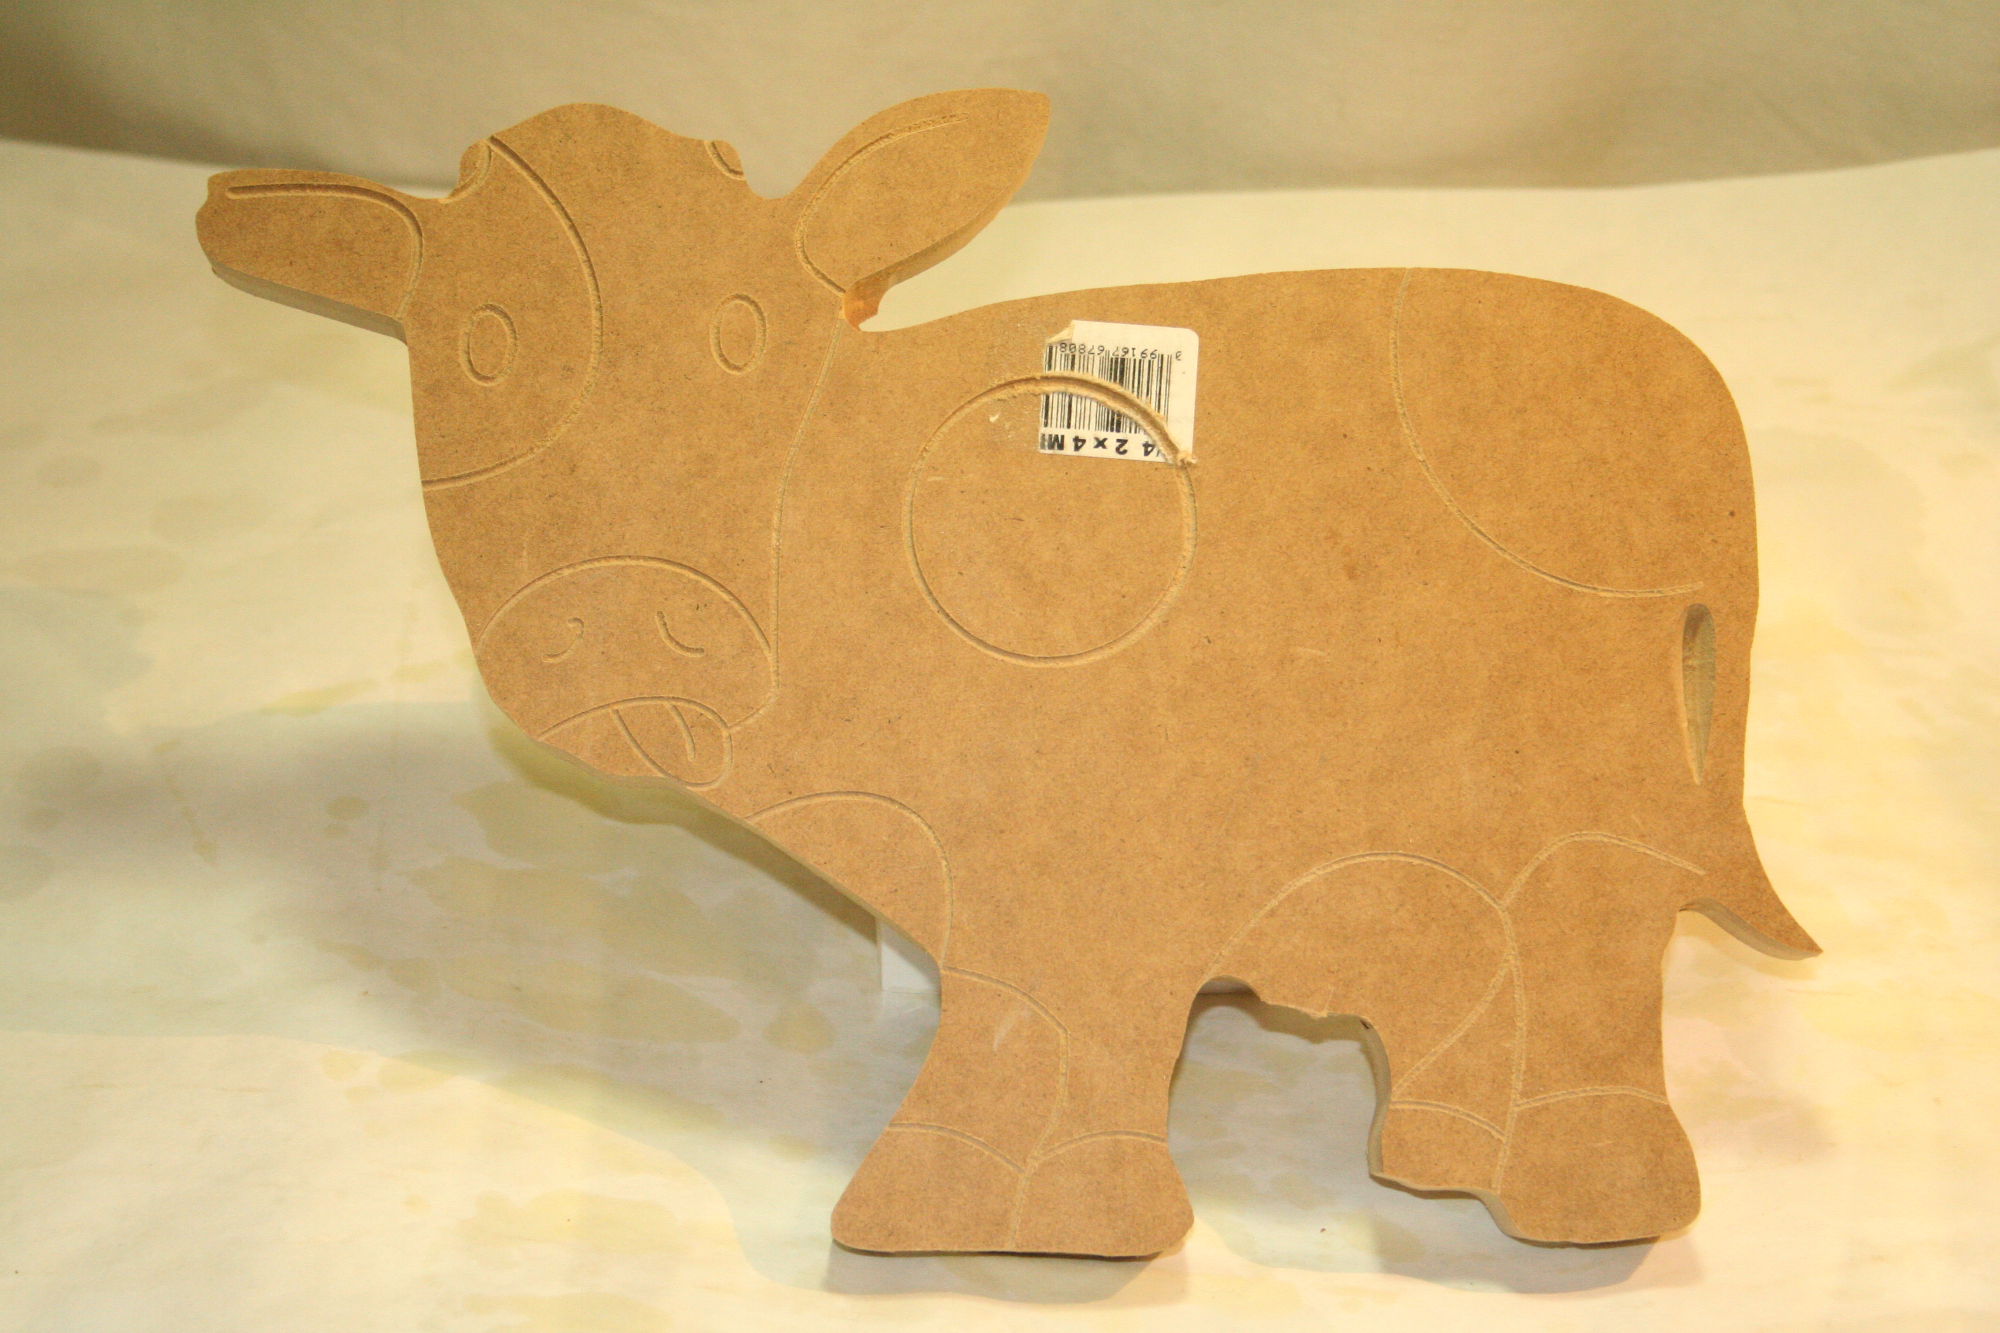
My 2nd test using the CNC Mogul with 2 types of router bits.