The glass bed on the Makerspace’s Taz 3 printer recently did what glass does- it broke. Time for a repair and upgrade!
I started by cutting the under carriage down and modifying it for a three point leveling system instead of the stock four point undercarriage/bed plate bending scheme.

Modified undercarriage mounted on the printer
The original heater was separated from the shards of glass and glued to the 12″ x 12″ x 1/4″ cast aluminum tooling plate using high temperature silicone. 3x #10 countersunk screws and springs support the plate on heat resistant teflon blocks. The whole assembly stands about 1 cm taller than the original bed plate so I printed a small extension for the Z=0 set screw so it would trip the switch from the higher position. I tested the heating time and found that the bed gets up to 110C in about 16 minutes- a little slow, but we probably won’t be printing much ABS with this open frame machine anyway. Next- run PID autotune for the bed heater and adjust acceleration (greater moving mass means lower acceleration and print speeds).
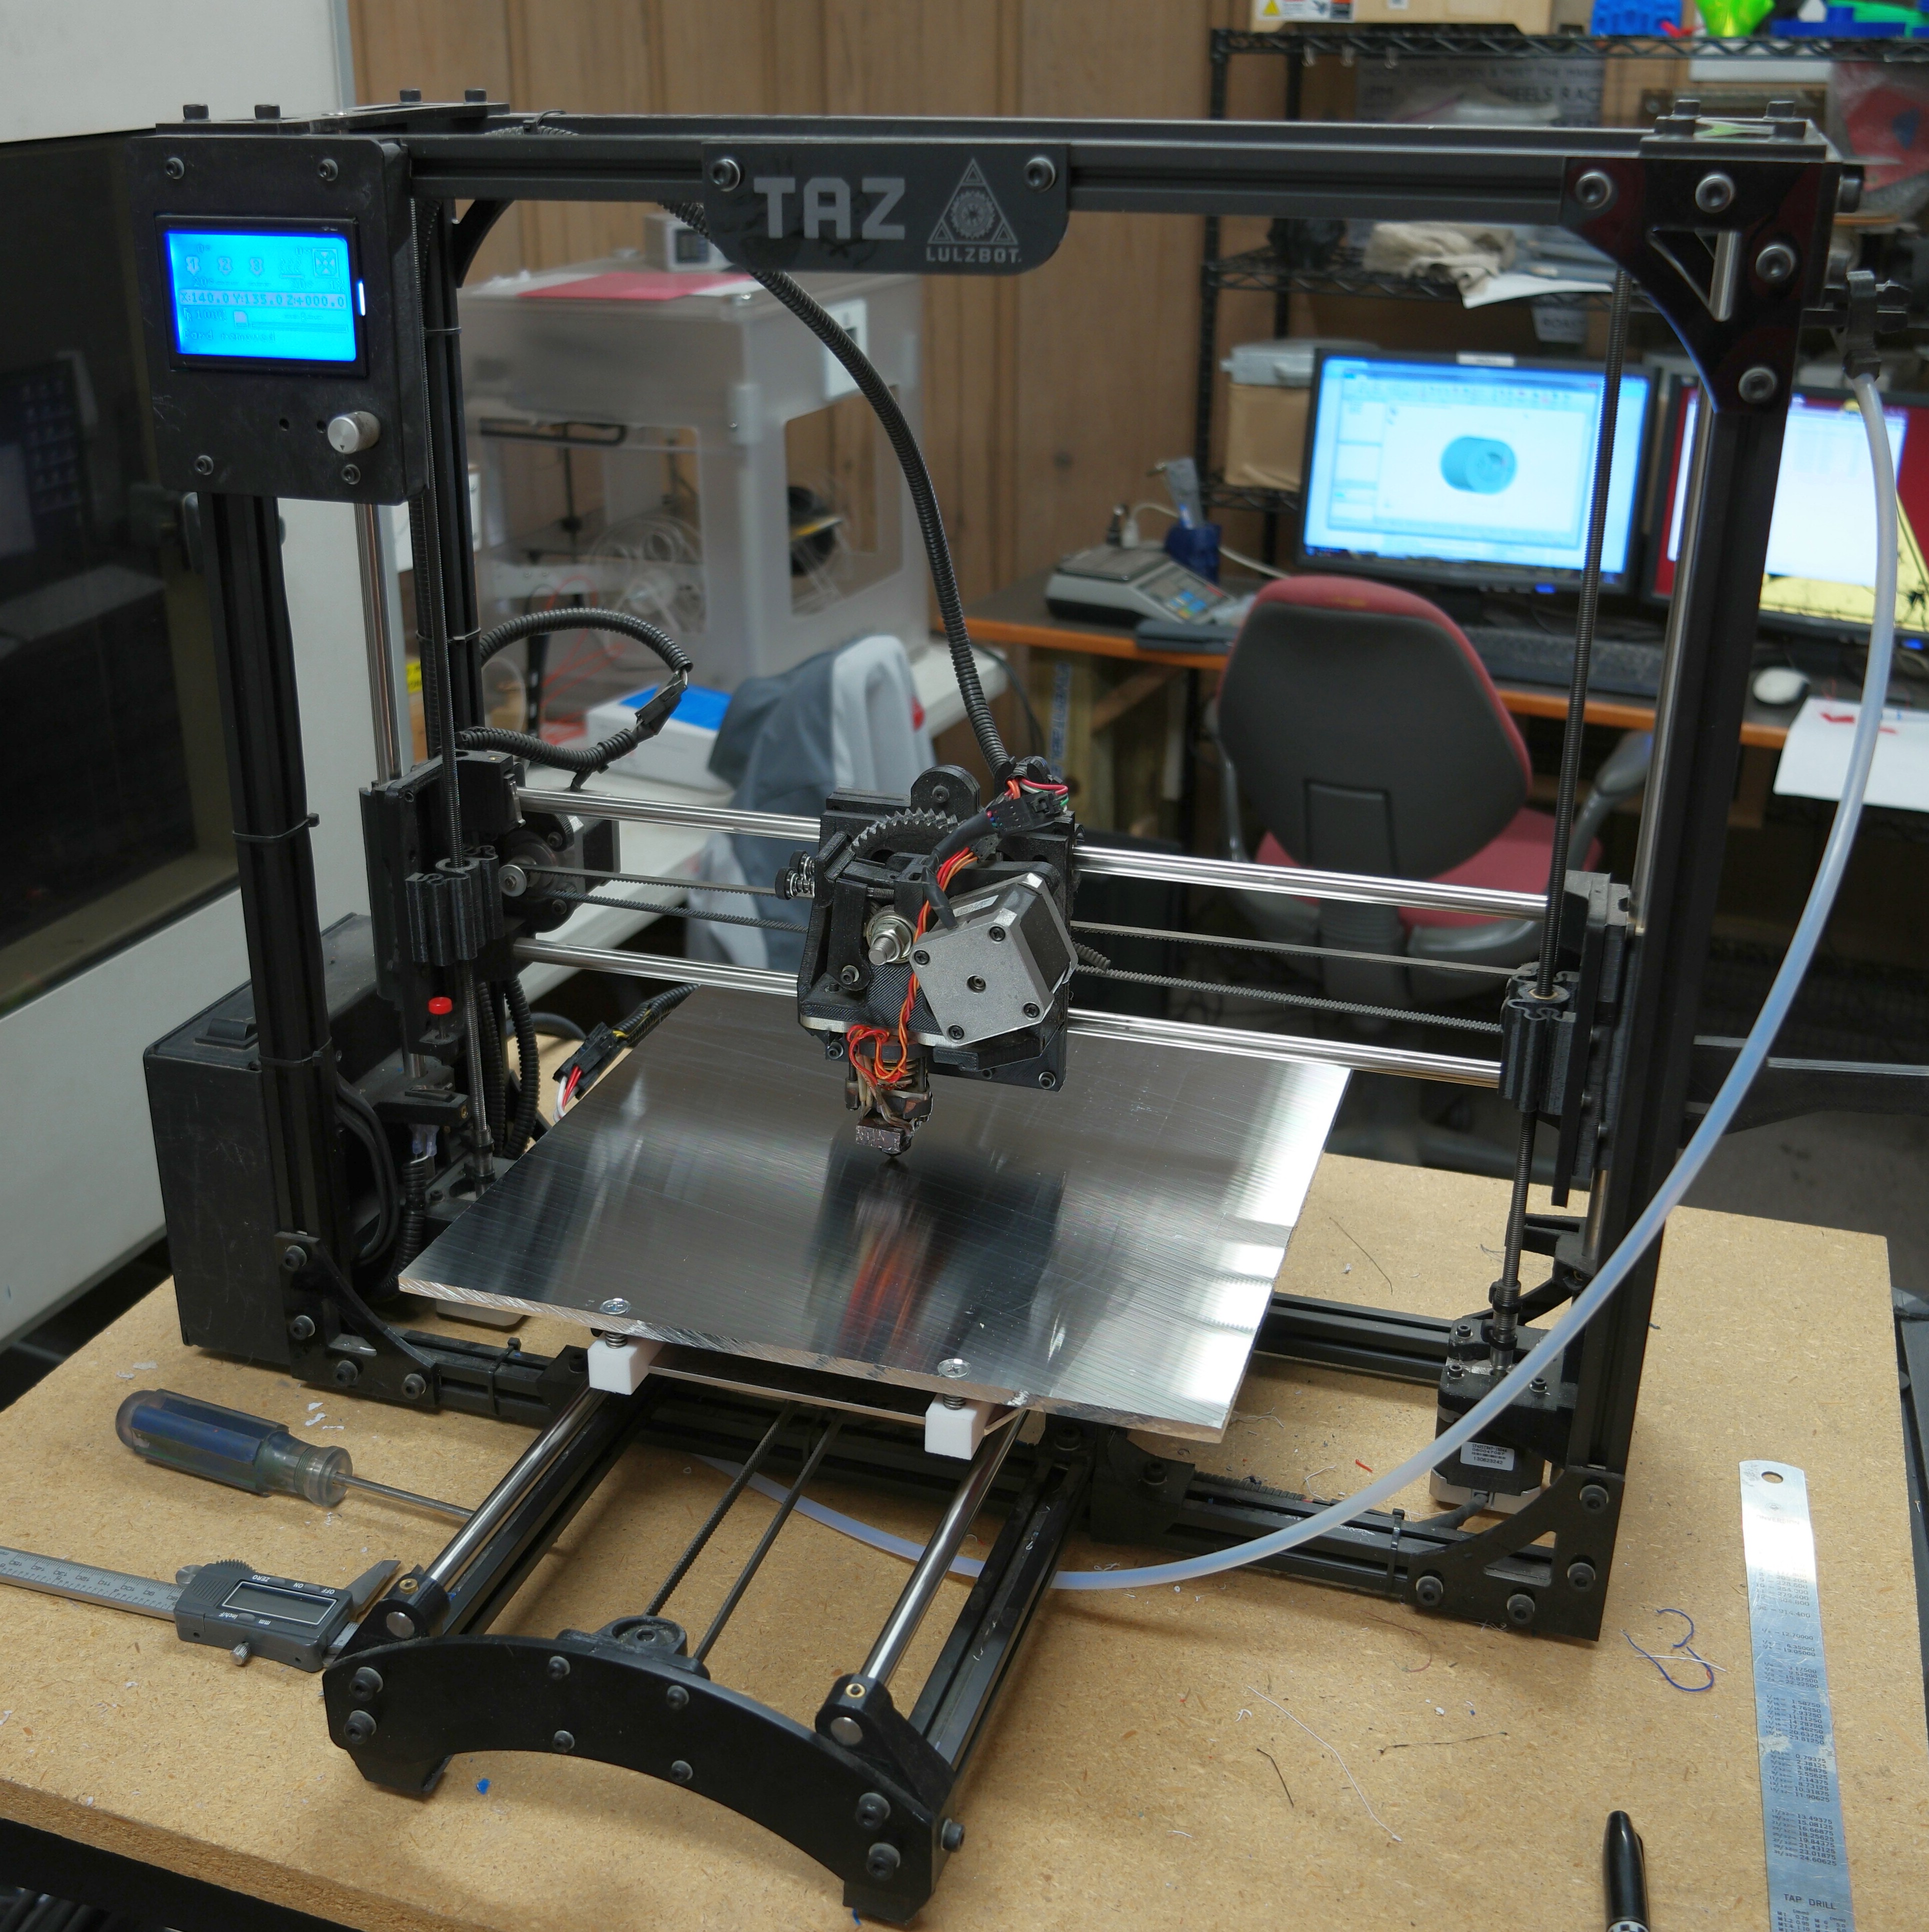
New bed plate and undercarriage mounted on the printer
Some of you might ask why I would replace the glass bed with a piece of cast aluminum tooling plate. Thermal performance is one good reason. Here’s an IR photo of the original glass bed:
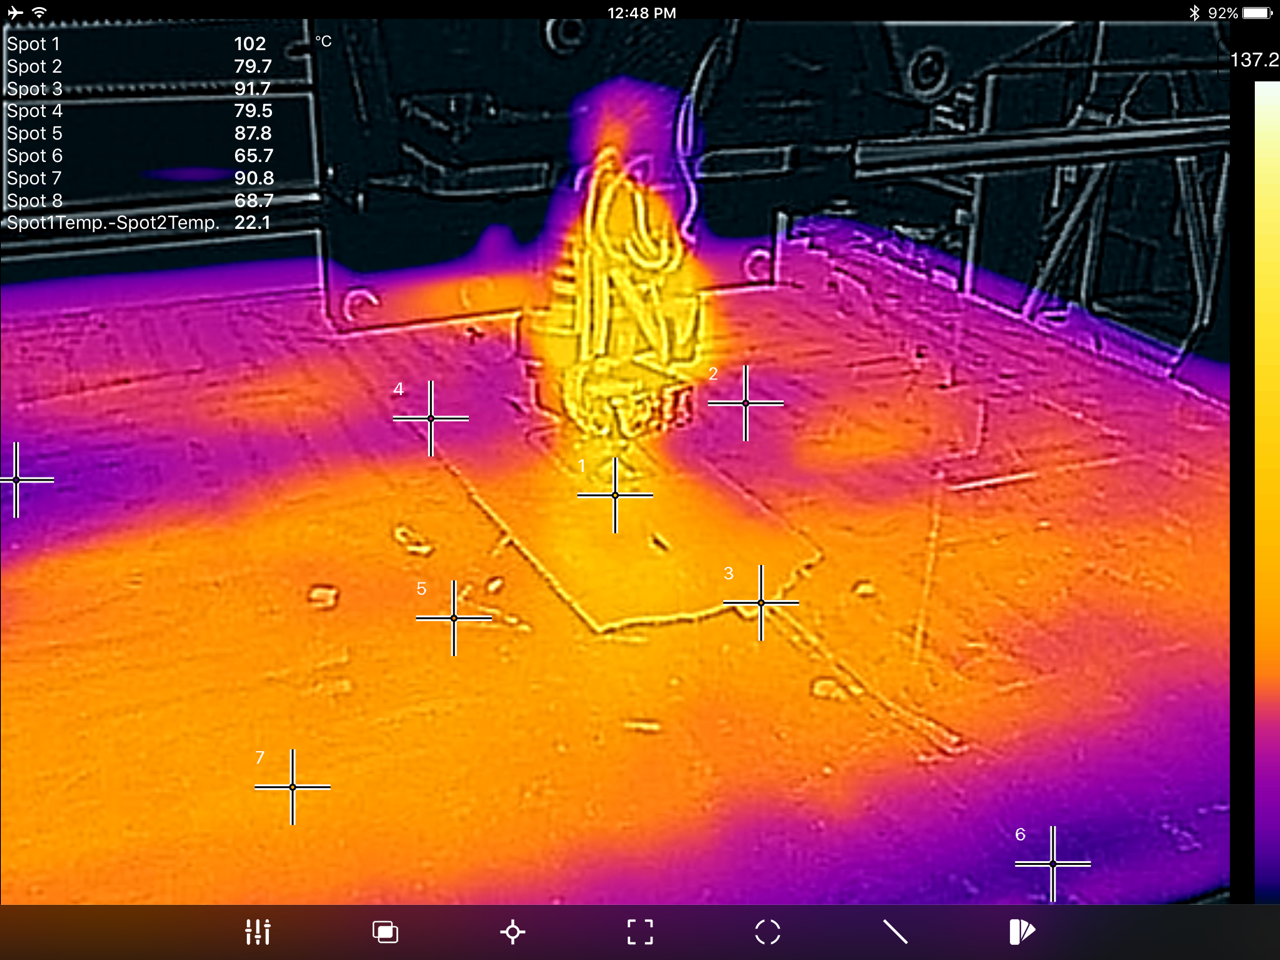
IR image of the Taz 3 printer with original glass bed.
Notice the hot and cool spots- 30C temperature variation across the bed.
Here’s what the new aluminum bed plate looks like:

Temperature variation is just a few degrees over the entire surface (the bright almost horizontal lines are not hot spots- they are reflections of the X axis guide rails).
I have run the PID tuning on the new bed and modified the firmware with the new constants. It heats from 25C to 100C in about 9 minutes.
I officially declare the Taz printer ready for action.