Neon Italy

Another neon project from Peter Merrick.

Background on this piece. This is the Italy “boot” in neon mounted to Walnut with engraved text. It is to commemorate a family vacation I took to Italy this year with the engraved text coming from sayings that we picked up from the trip.

Some detail on the process. The bending of the glass tube took roughly 15 hours over the course of a week. The Walnut was purchased rough, planed and jointed at the makerspace to get the boards square, and glued up into a panel. The panel was then cut down to size and run through the drum sander to even out any imperfections from the glue up. The engraved text was designed using inkscape and imported into CorelDraw for printing on “Katy Perry”, the 30W laser cutter. This panel was at the max cutting area for Katy Perry at 32″ x 18″. The cut took nearly 6 hours to complete. A box was constructed for the back of the panel to be used for concealing the electronics as well as a mounting point for the French cleat.

Total time to complete this piece was roughly 50 hours over the span of 2 weeks. Total material cost including glass, transformer, wood, stain, filling the tube with neon gas, and time on the laser cutter was roughly $200.

Building Patio Furniture for Fun and Profit

If you’ve ever looked to purchase patio furniture its either cheap and crappy …or expensive and still crappy.

So I decided to make my own. Because I wanted to drink beers on my porch and tell kids to get off my lawn.

With no further ado:

Before During After

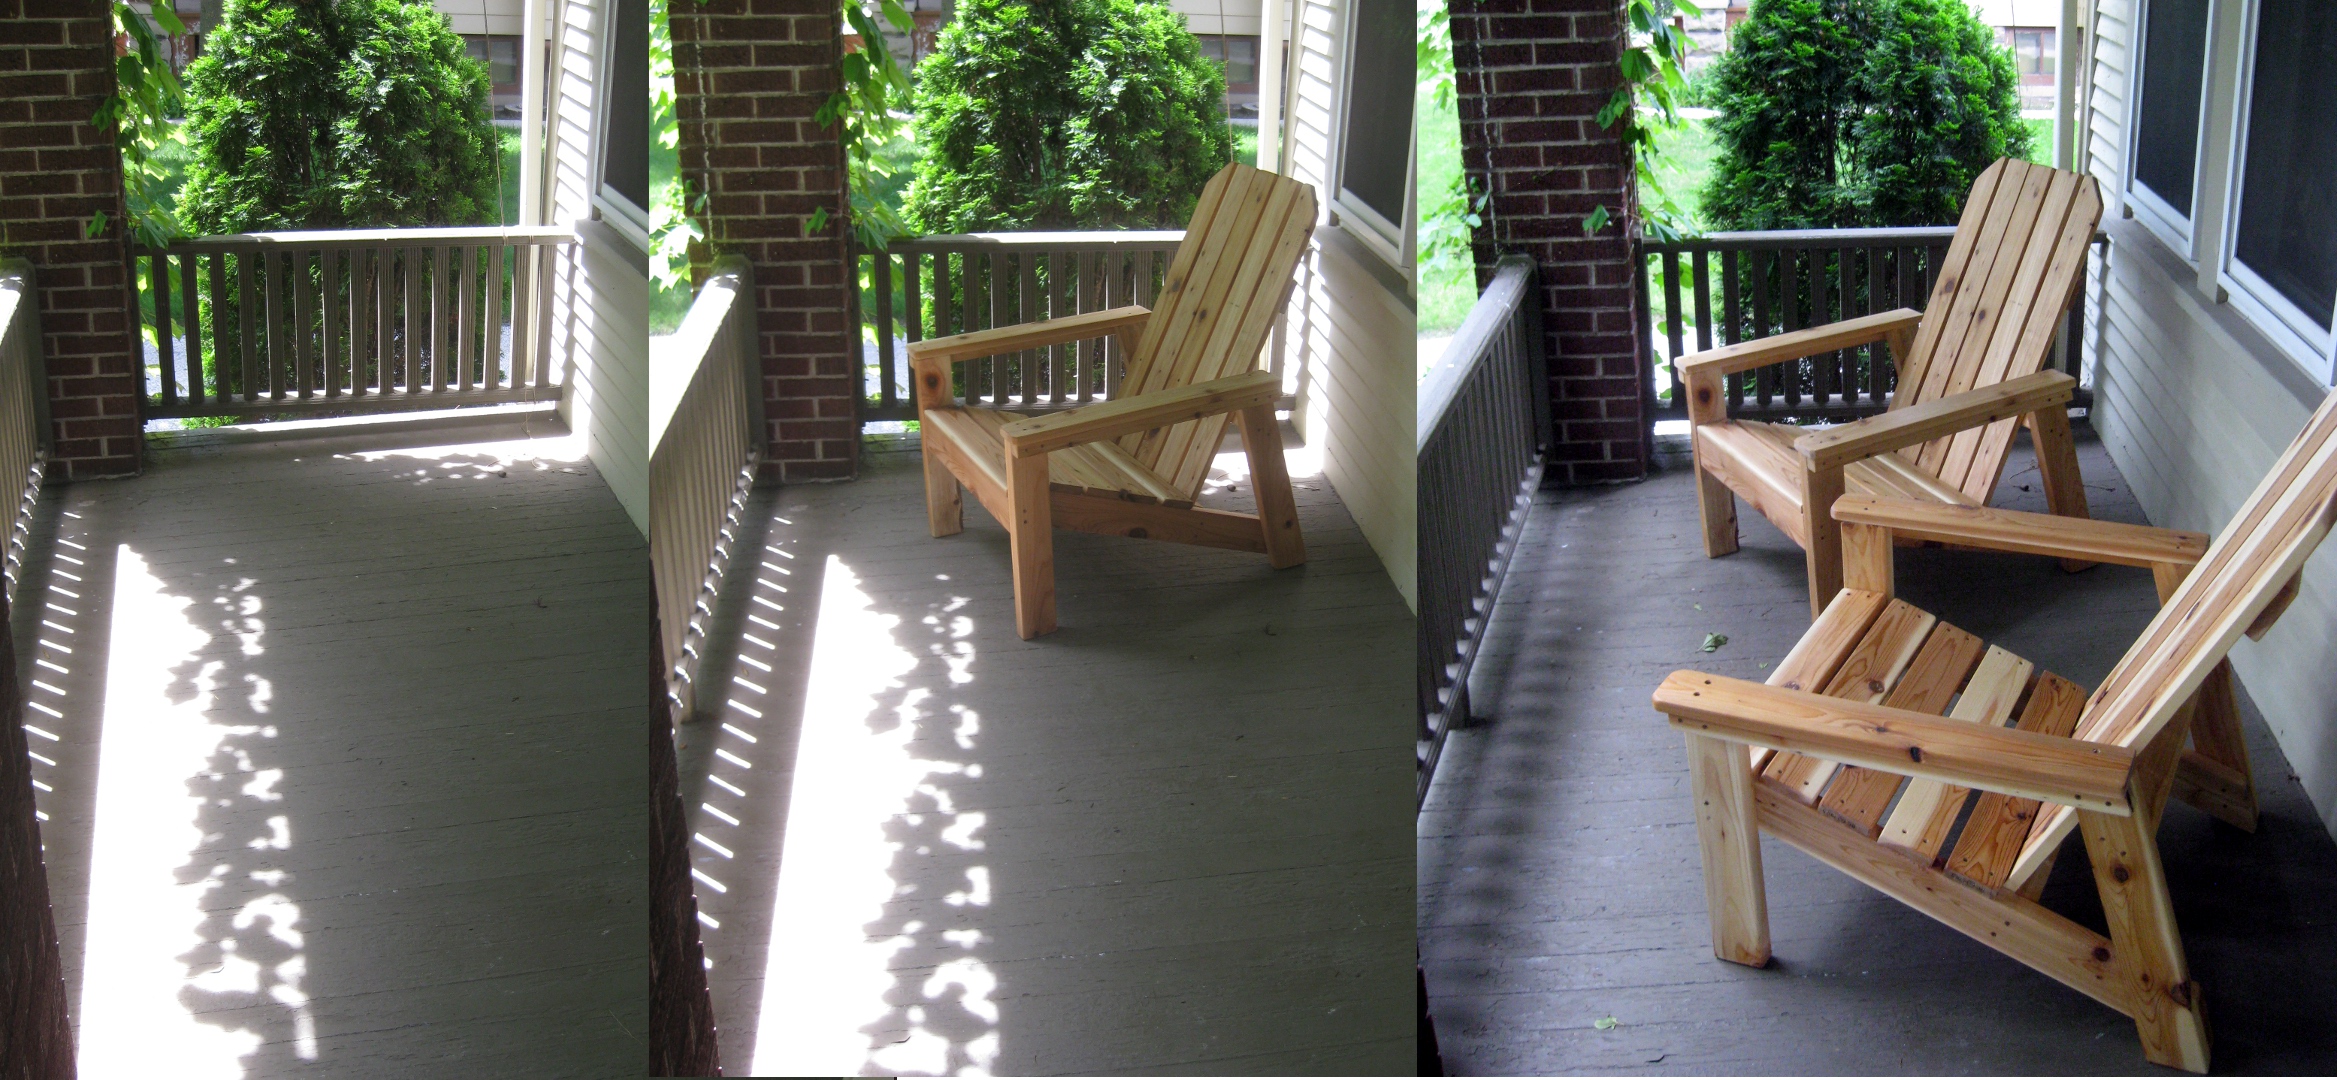
Figure 1: My Porch Before, During, After

Step 1: Find Plans.

I’ve never used any Ana-White plans before, but I found these that seemed reasonable. After some review though, I found the cutlist sucks so any of the pieces with angled cuts are listed at final dimensions rather than initial rough cut dimensions. Namely the angled stretchers need to be cut long (34″ish) and then angled. Same goes for the back legs (~22″) and the 2×2 arm supports (~28″). So do your own due dilligence before slicing all your lumber up.

Step 2: Cut All the Lumber

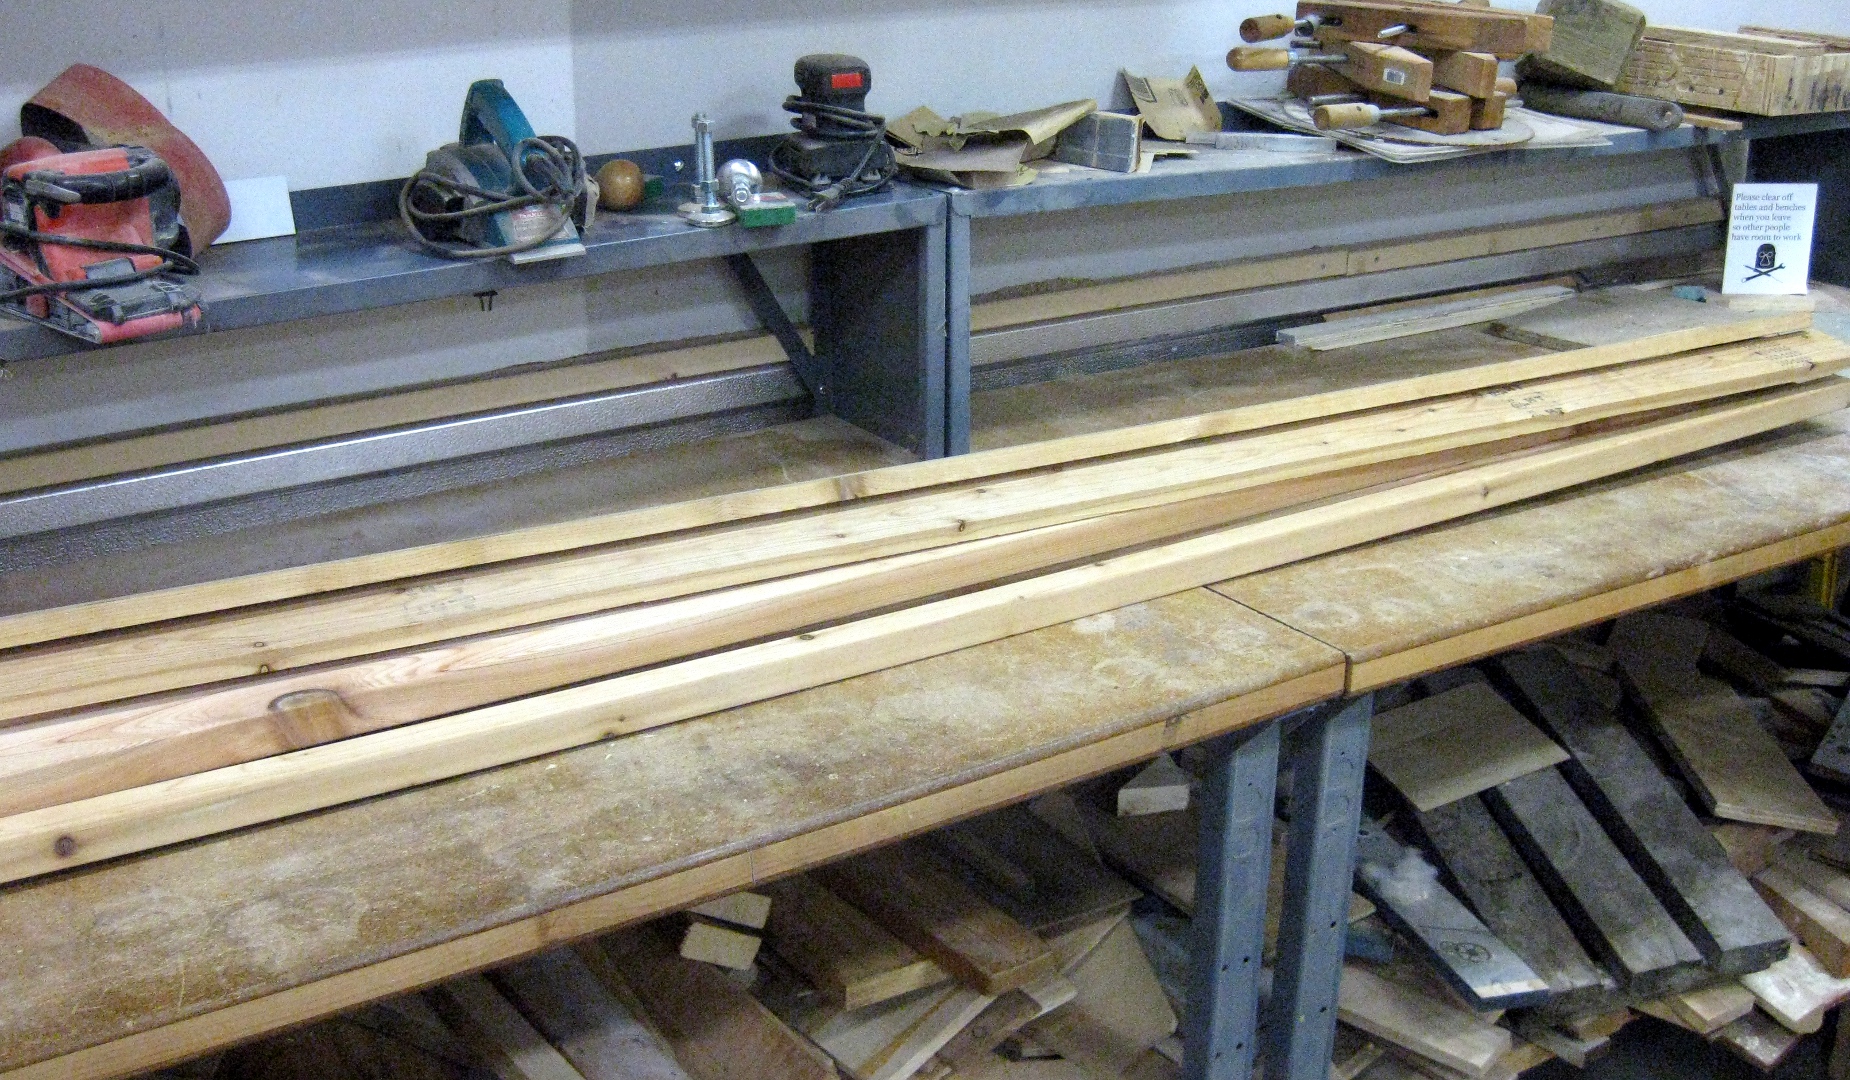
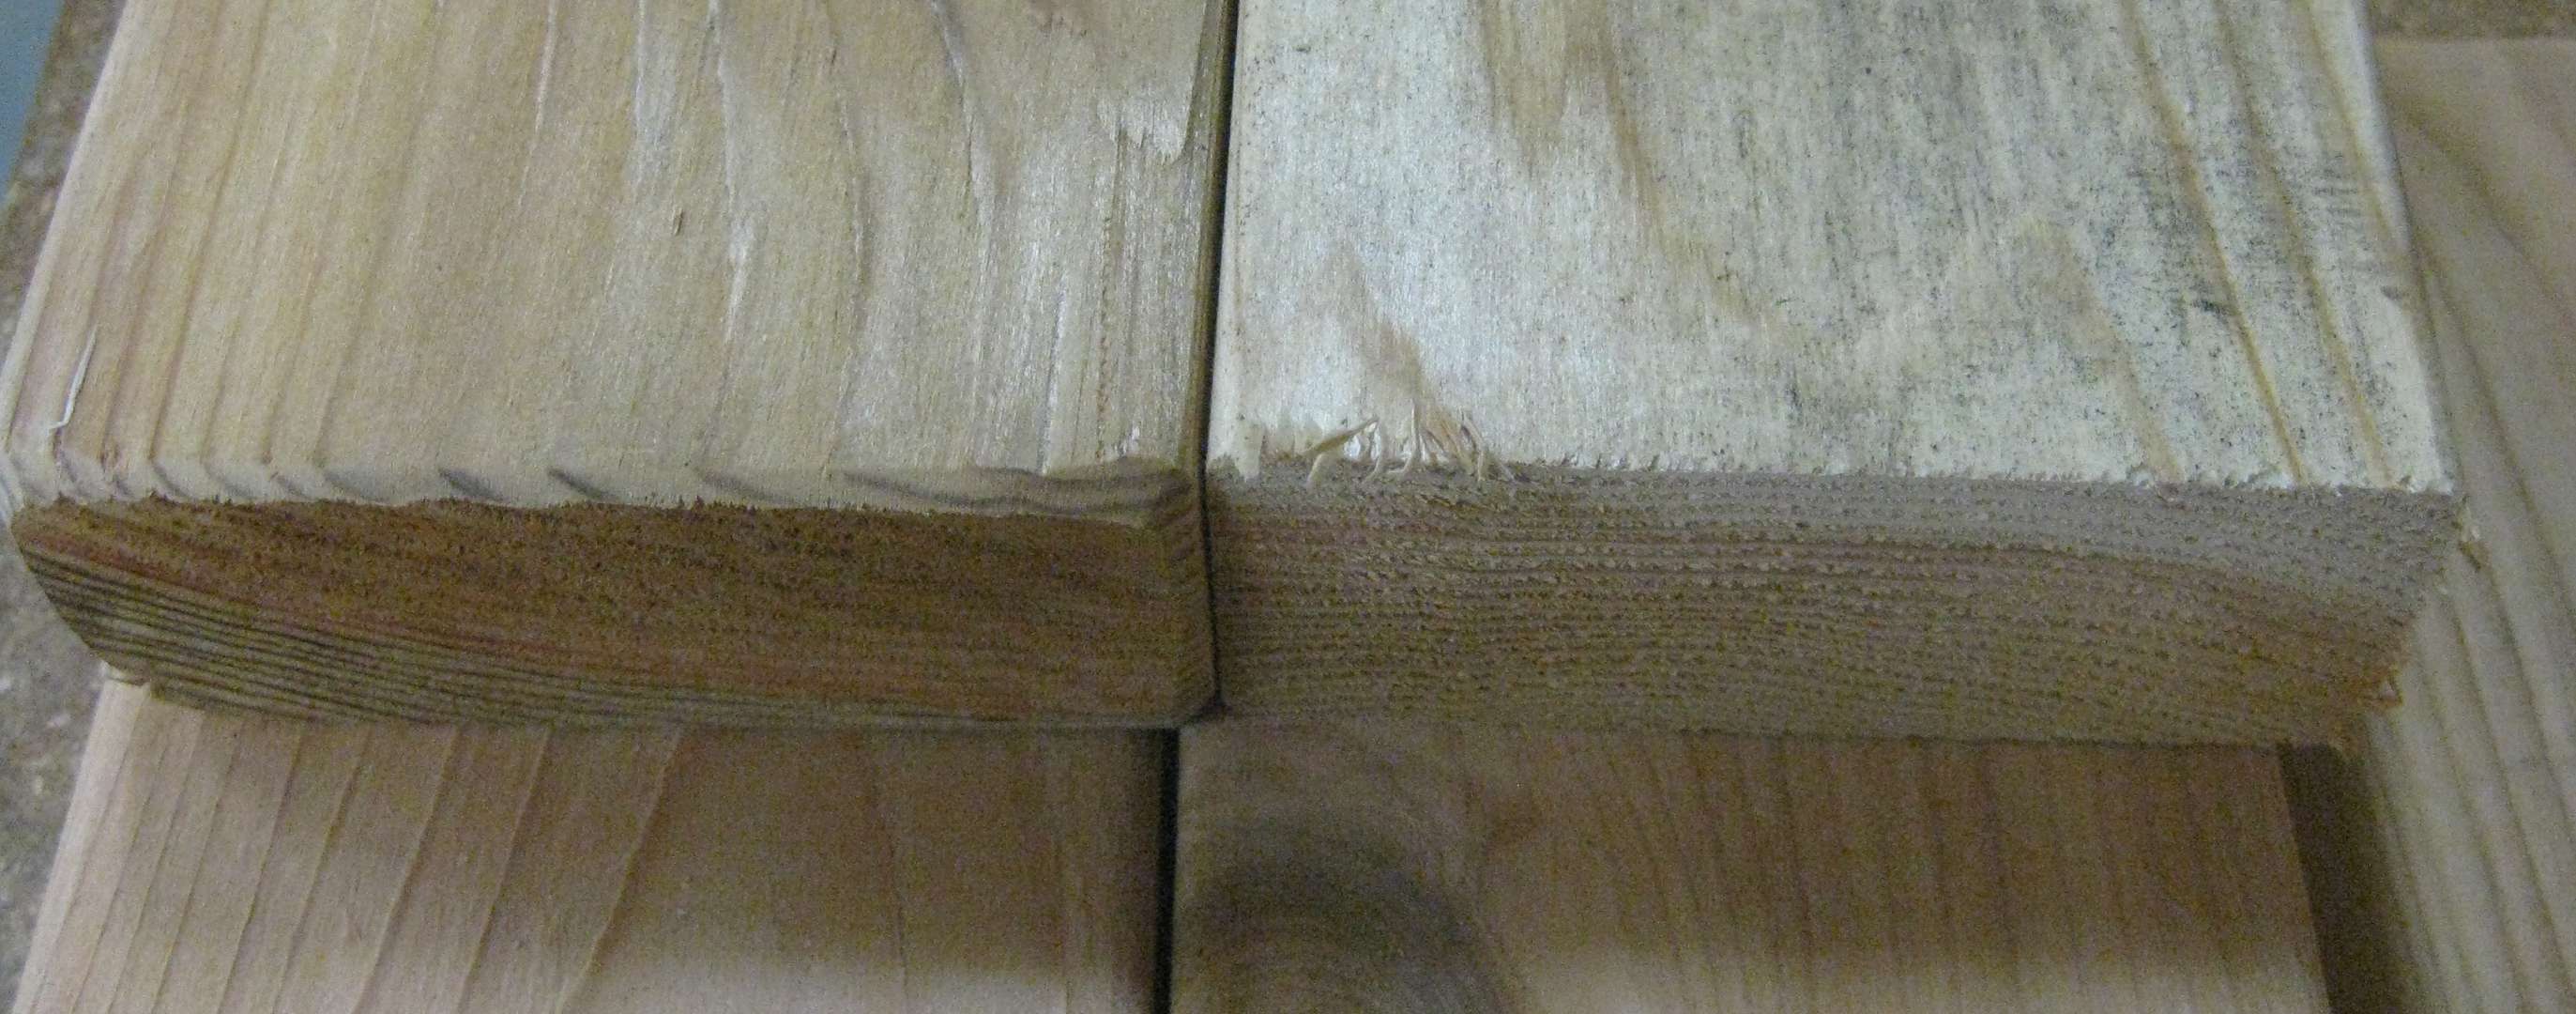
Pine sucks and I hate paint. So I went with Cedar.

Rough Cedar

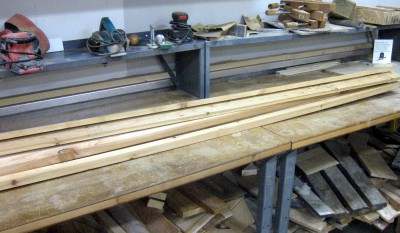
Figure 2: Rough Cedar from Menards

Cut Lumber

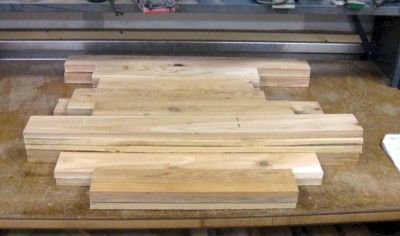
Figure 3: Cut to Size and Length

Rough Sand Cuts

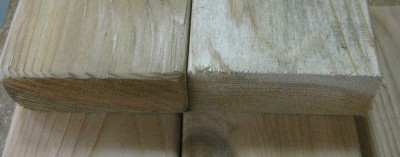
Figure 4: Apply Belt Sander

I recommend using a belt/drum sander on any of the rough cuts to give it a cleaner finished look.

Step 3: Follow Directions (Assembly)

Aside from the cutlist, the plans are straightforward and easy to follow. I built the sides and back as assemblies because I couldn’t transport a completely assembled chair in my car.

Follow Directions part 1

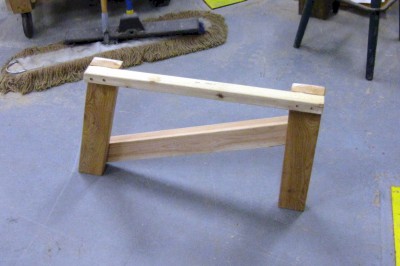
Figure 5: Side Assembly

Following directions somewhat p1

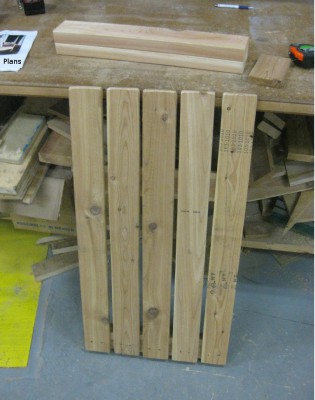
Figure 6: Chair Back Assembly

I deviated from the design a bit as I didn’t feel like using a jig saw, so I just set the miter saw for 45deg and lopped off each corner of the back (which you’ll see in the final assembly pictures)

Starting Assembly

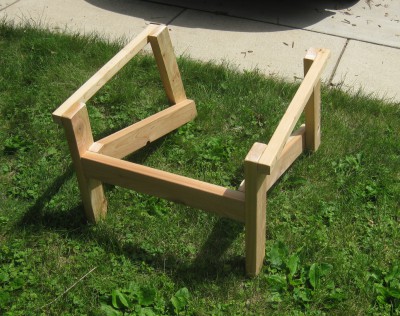
Figure 7: Starting Assembly

I transported the large pieces back to my apartment so I could put it together on-site. I don’t have any pictures of the middle steps, so it kind of jumps from here to completely assembled. Read the directions, you’ll know what to do.

Testing p1

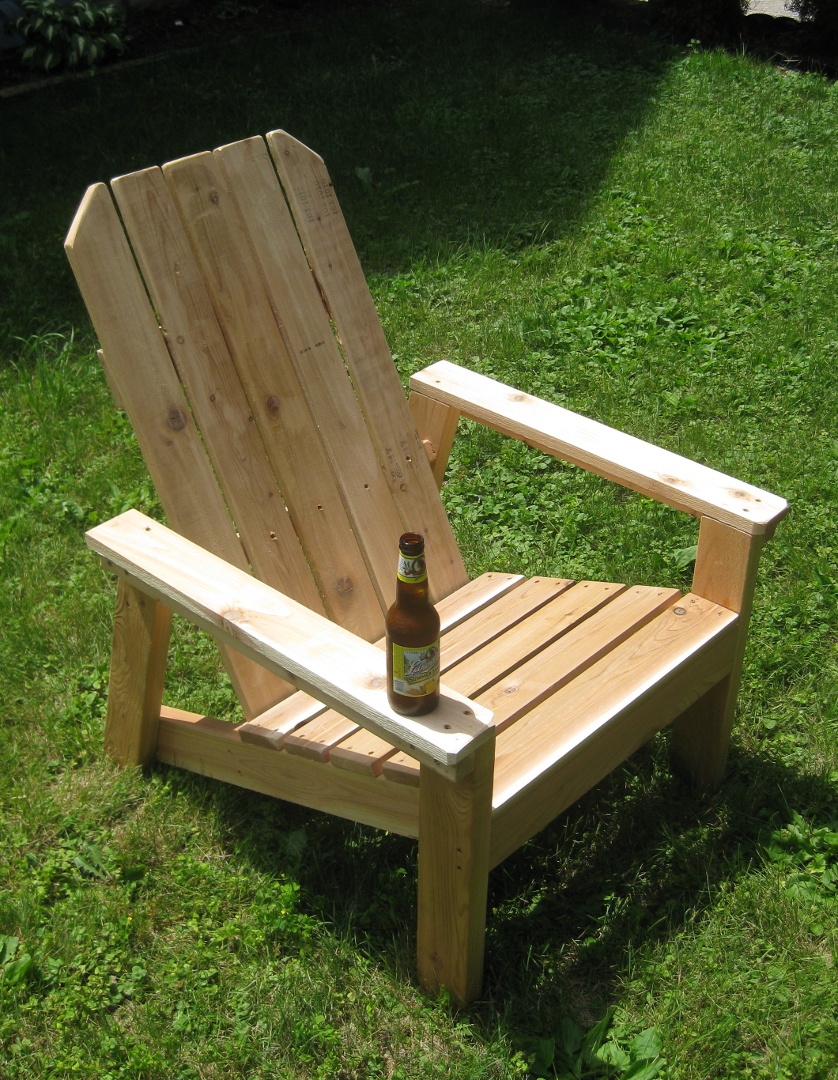
Figure 8: Assembly Done (Structural Testing)

Ta da. A chair.

The beer made up for the sunburn.

Step 4: Finishing

Like I mentioned above, I don’t like paint. So I winged this phase of the project.

I like oil based finished to bring out natural color, so I grabbed a can of Danish Oil. Cedar is naturally rot and insect resistant, but since I had some spray Spar Urethane lying around I figured a coat of that couldn’t hurt either. Lastly, because I like the texture of wax finishes I applied Paste Wax to any of the upright surfaces where you’d touch the chair in normal operation.
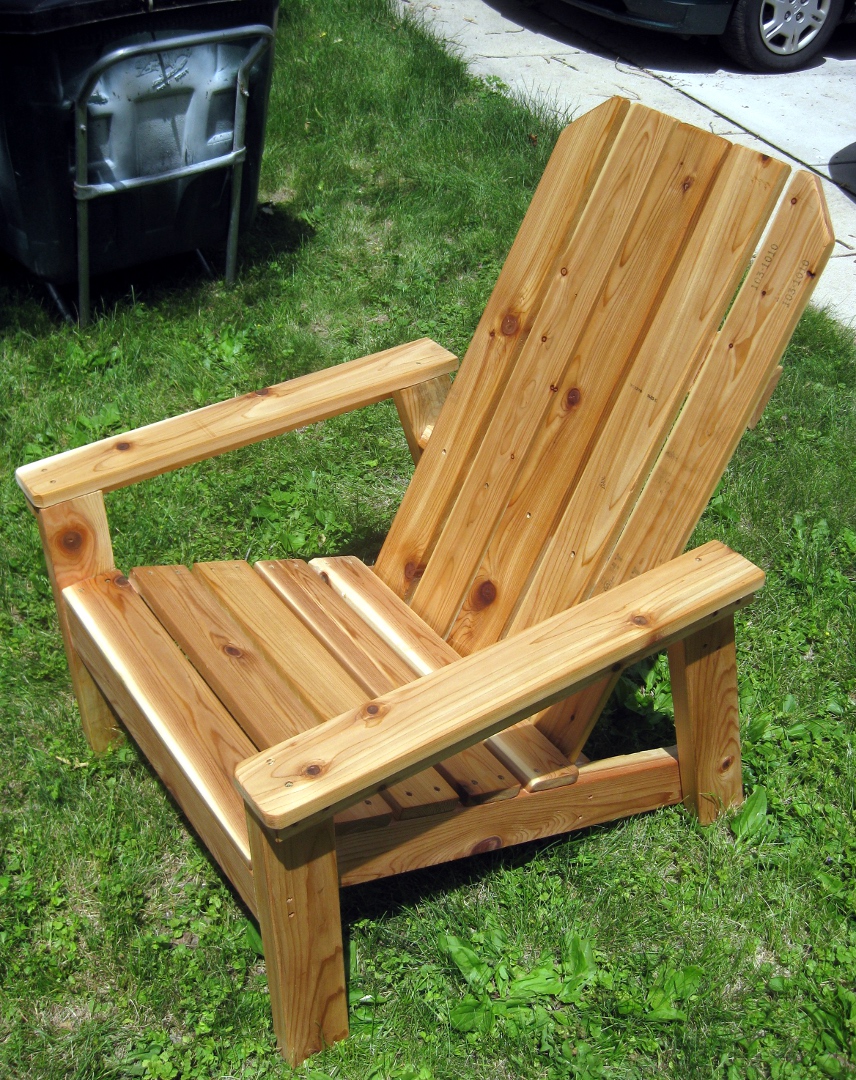
Finishing

Figure 9: Done!

I applied the Danish Oil  by hand, which was a pain, but worked out well enough in the end it seems.

Step 5: Build a Second Chair

This second one is a little better finished based on some in-process learnings from the first chair. I picked up a countersink bit to help clean up the exposed screw holes and tried a little harder to be symmetric and even with the holes as well.

I need to either build a table, or figure out a way to add a cupholder feature. (But so far the porch itself works fine)

Step 6: Fin

Before During After

Each chair was something like $41 for material not including screws, glue, and finishes and took approximately 4 hours to cut, assemble, and finish.


Gothic Arch Room Divider is Finished (Sort of….)

Sanctuary and More 102Silversark put together an amazing fashion show on Friday to showcase pieces she made inspired by church architecture and her trip to the Netherlands. This is something I cooked up for a background piece for the show.

The design work took several months and the actual creation of the piece took about a week, working 12-16 hours a day.  The frame is made from CNC routed aspen (thanks, Jason H.!) which is a rather “fuzzy” wood and required two days to hand finish, including the use of a set of needles files to smooth out the inset edges.

The acrylic panels were hand-stained with Gallery Glass stain and simulated liquid leading. They’re not quite finished yet, but I plan to complete the staining within the next week.

I’ll also be using this as a backdrop for various events including the Sustainability Summit coming up as well as the Concinnity sci-fi/gaming convention on April 5th. Additionally, this might be making its way to Embellishments in the Grand Avenue Mall for a window decoration.

I can’t wait to make another one!

Preschool playset remodel.

1

My youngest son and nephews pre-school is tiny. Literally it’s two classrooms, but it’s a great environment for them both which includes identical playsets in each class.

Hundreds if not thousands of kids have played on them. Being built in the 80’s when building codes weren’t as strict, they were no longer compliant.

While the wood is still good, had been sanded well and sealed well there were a few problems.  The banister rails been deemed to be too short and the handrails needed to have another one put on the bottom under the other two on either side.

The choices were to surround the play sets with a 6 foot giant landing mat around the sides, or to raise the banister rails and add another handrail. A landing pad would have taken up far too much room in the class so I volunteered to rebuild some of the rails so they met code.

Because construction was going to take a little while (actually it turned out to be a long while, started before Christmas it was finished in early April), the rail cutting / routing / sanding was going to take place off site and then assembled onsite during a weekend afternoon

First thing was to take lots of pictures, and lots of measurements.

2 3 4 5 6 7 8


I did up some high-level sketches just showing how the rails would be raised.


9 10


The next step was to cut up a whole pile of 2”x2” rails to the desired height with a 45 angel cut on the ends to match what was originally there. The rails also had been rounded off with a quarter round router bit, so I did that as well.


11


I knew there was no way I could match the old finish that was on the original wood so I decided to go with something a bit brighter and engaging for the kids mixing blue, red, green and white paints that I had my son pick out. Then it was just a matter of cutting and routing. Here are some shots of the wood after cutting but being painted. The coats ranged from 4-5 to get a deep coverage and then 3 coats of a clear poly to brighten it up.


12 13 14 15

By some miracle the measurements all turned out perfect, which is nearly a first for me. We still have the bottom hand rail to make but that will be easy to do.