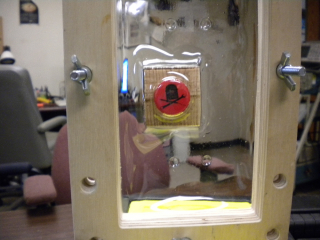
Due to repeated collisions with the ground, walls and every other structure in the area, my miniature Quadcopter required some plastic surgery. I contemplated using the large vacuum former at the space to make replacement bodies, but my quad is only 4 in. 101.6mm in length, so I decided to make a mini vacuum former.
My first step was to aquire a heating source, so I picked up a toaster oven for $6.00 US, at a local thrift shop.
http://www.flickr.com/photos/90705910@N06/8236346286/in/photostream
I used CamBam to design the frame to fit in the toaster oven.
http://www.flickr.com/photos/90705910@N06/8235277147/in/photostream
I used the CNC Router to cut the pieces.
http://www.flickr.com/photos/90705910@N06/8236347072/in/photostream
I assembled the base and inserted a piece of Non Glare Picture Glazing in the frame. The first time I tried it I set the oven at 400 f /5 minutes. The plastic was too pliable and turned out very brittle. The next attempt was using 300 f /3 minutes (using some thicker plastic I found in the scrap heap. That didn’t seem to be enough heat or time. The final attempt I used more of the Non Glare Picture Glazing at 350 f / 4 minutes, and that turned out to be perfect.
