Column Progress Update III

Well, I’m still working on them, but with what I’ve learned from the first two columns, it appears that the second two will dwarf the stylized look of the first ones.  In essence, it is clear that I learned a lot about column-making and I will make far neater columns in the future.

A set of 4 columns, two of which need the capitals created yet.The second two still need feet, and I’ve only mudded just the one, but I’ve designed the capitals for those two outer columns and today, when I get down to the ‘Space, I’m going to cut and assemble them.  The hardest part will be judging where to cut off the cardboard tubes so that all of the columns will be the same height, after the capitals are added.

I’m still undecided on what I’m going to use to bridge the gap across the tops….

Column Progress Update II

A picture of a fully assembled column.  I hesitate to call it "Doric," but that's close enough.

So this is the column, fully assembled.  I used 3M putty to fill in some gaps due, largely, to my less-than-average woodworking skills.  It is fully sanded and now it needs the one thing that the Makerspace doesn’t have time for…Primer.

In a couple of weeks, I’m going to order the sandstone textured spray paint and this first column will be finished.

On a completely different topic, the makerspace now has a fully automated buffalo-maker:

A silhouette of a buffalo, cut out of quarter-inch MDF, then painted with black and yellow caution stripes.

This is Barry, the “Caution Buffalo.”  I have some interesting plans for this one….

Column Progress…

The molding and detail for a set of columns.  Lots of curves and steps.

For a while now, I’ve been wanting to build some columns.  I know, this is not a “traditional” project, but the reasoning is sound: I’m going to be living in student housing for 4 years whilst I earn my GIS degree at UW-MADison, ergo, I can’t paint, I can’t put up crown molding, and I can’t knock down walls just because I damned well feel like it.

That being the case, I’ve designed several projects that will let me bring some architectural detail into my apartment in a non-destructive fashion and I’ll be bringing you blow-by-blow accounts as things progress.

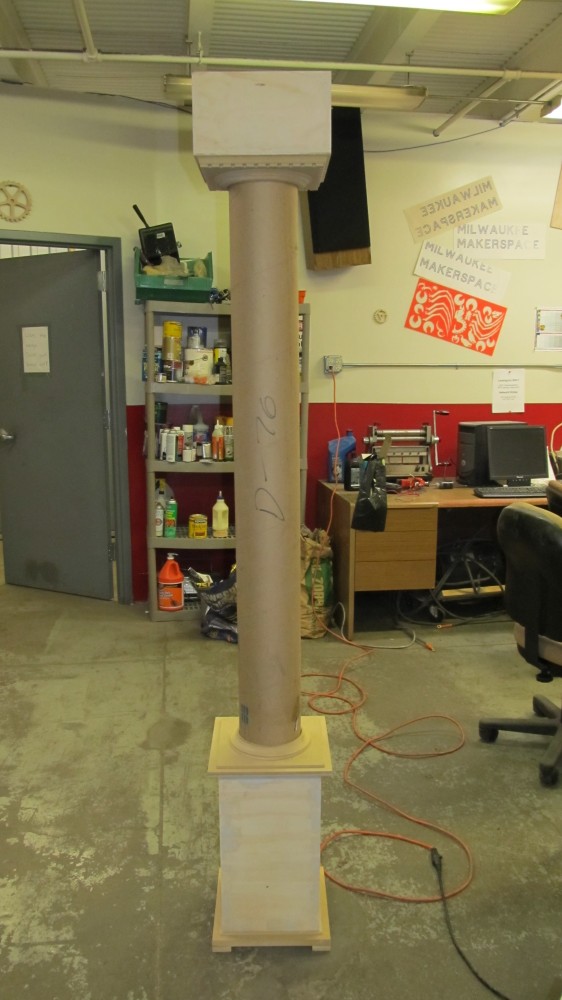
The columns themselves are just large cardboard tubes, much like the ones carpet is typically spooled on (thanks, Rich).  Everything else, well, that had to be designed and custom manufactured here at the makerspace…

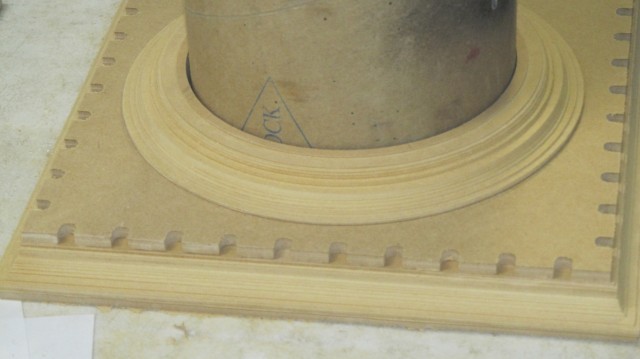
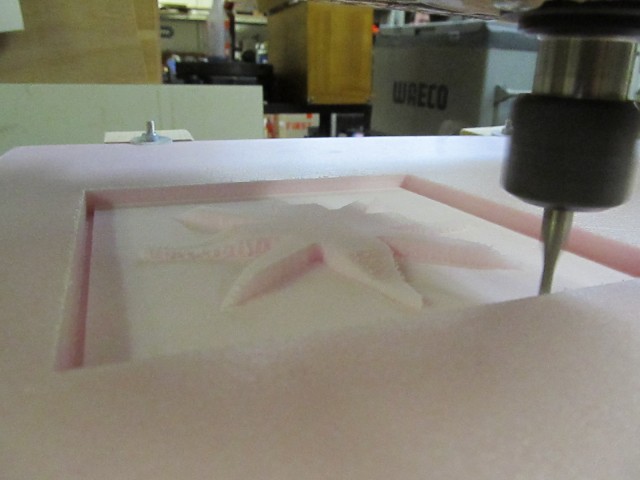
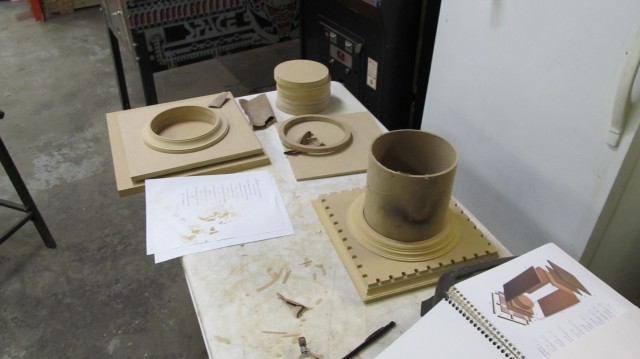
I’ve become thoroughly enamored with our DIY CNC Router, care of Ron and Tom.  After giving a demo on the wonders of 3D profiling, I thought I should delve into waterline routing which is the technique that I’ve used here.  The detail that you can achieve is pretty remarkable, although there is a significant amount of hand-finishing required for that craftsman look.

Tonight, I cut the main pieces for the base and the capital of the column.  Once I have this first one more-or-less done, I’ll know enough about the workflow that I can build the other three with less trouble.  In the end, each column will have a space in the top for a pot so I can train my philodendrons down and around them.
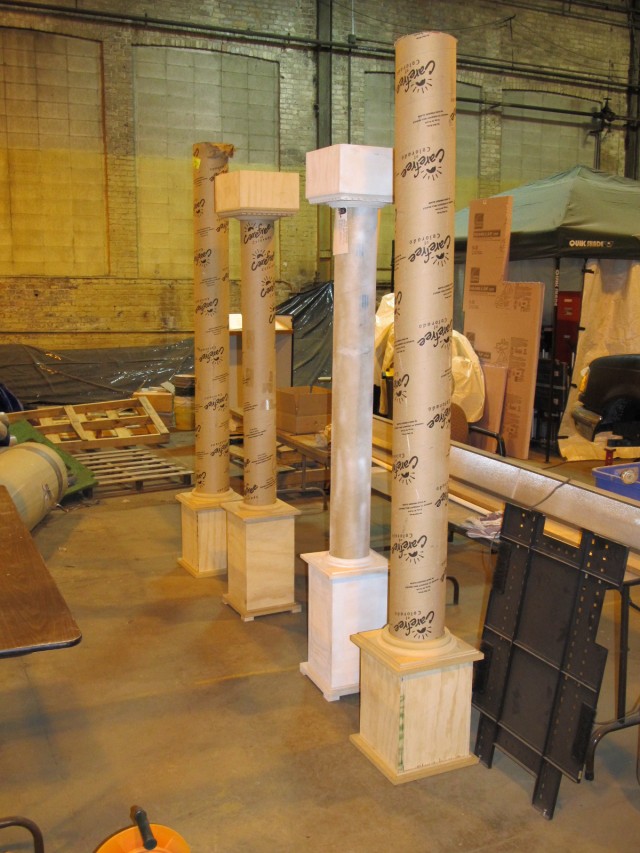
3D Profile Cutting Class This Sunday @ Noon!

An example of a flower, cut with our CNC router

The much anticipated 3D profiling lecture/demonstration will be held at the Makerspace this Sunday at noon!

Learn how to take a model made in any 3D program and bring it to life!

I’ll be going over the basic workflow starting with exporting 3D models as .STL files, various CamBam settings, and finishing with a cutting demonstration on the CNC router, hopefully before the Packers kickoff at 3.

All are welcome!

Experiment in Shapes 1, Helium

This started off as an overzealous doodle, inspired by my refusal to doodle squares.  After a fashion, I decided to turn it into a Windows icon via Illustrator…

An Abstract image; Yellow proto-square with spheres and other shapes.

It still haunted my dreams, so I used the Makerspace’s CNC router to create a variant in real life MDF….

I had a certain amount of trouble with getting the yellow enamel paint to dry fully before I added another coat.  This led to scaling of the top coat which was most ugly.  Tom suggested using a 100-watt bulb in an enclosure, to ensure that the piece was at the proper temperature to allow the paint to dry.  His suggestion worked perfectly and I now have a new art piece hanging on my wall.

Oh, the name.  Originally, this was “Art…with a Handle,” but that seemed to lack imagination.  Next, it was “Dream Explosion,” but that was a bit much.  After allowing the name to percolate a bit, “Dream Balloon” came through and this led to “Helium.”  So there.