I want to document some of my travels in a better manner. After looking around for a few map design inspirations, I came across the following example from a trek across Iceland.
I spent a quite a bit of time over 3-4 days before I found a solution. I was able to create custom maps within Google Maps, Google Earth, and Open Street Maps but they all had issues. I did not like the busy look of all base maps and the Google services don’t export custom maps in a vector format. Open Street Maps can export vector maps but the my requested area was too large. I tried a few JavaScript libraries as well but they all use the above mentioned services for map tiles and I wanted an independent file on my local machine.
So, I decided to create a map myself. I downloaded the following .SVG map of Scotland from Wikimedia.
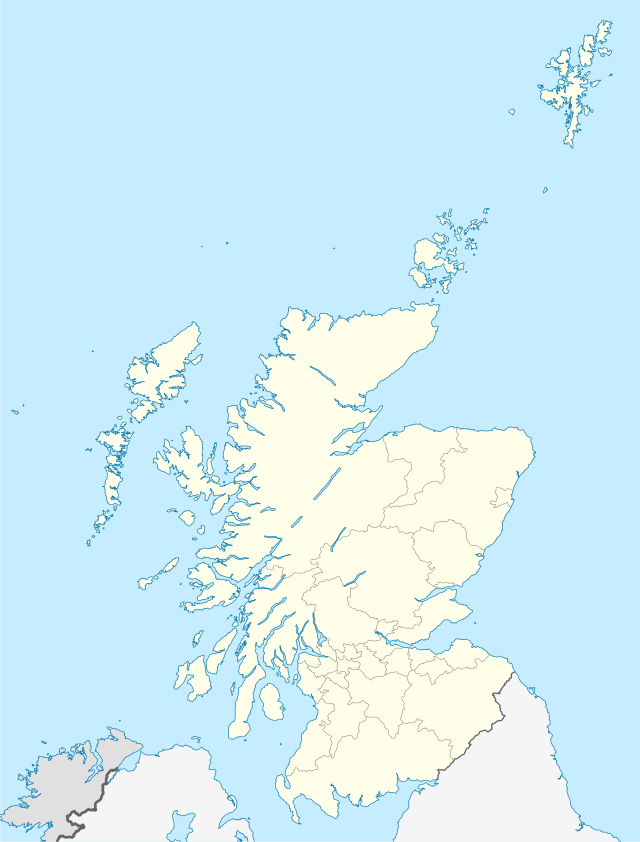
Using Inkscape, I deleted other countries, external water bodies, and remote islands. I thought about a unified border color but I ended up really liking the representation of water versus land boundaries.
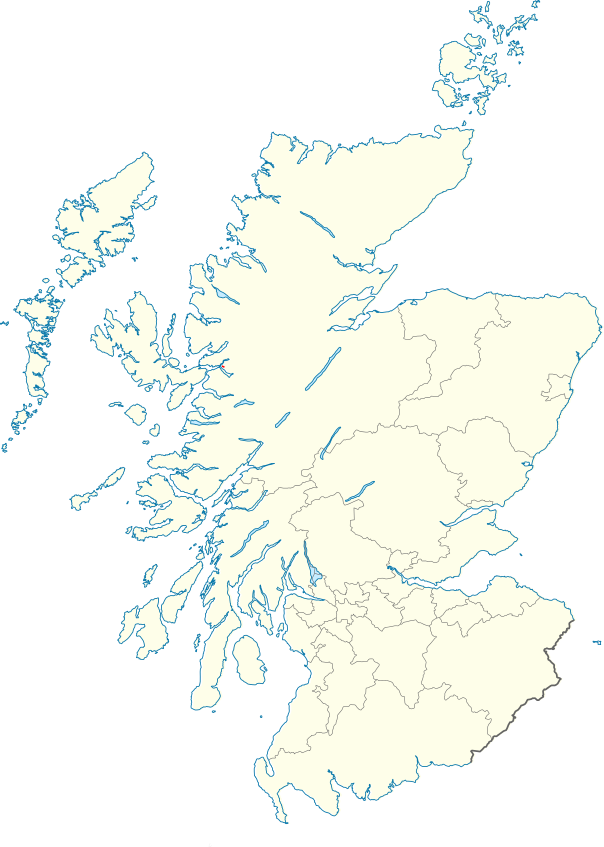
Looking better already! Now, I did not want to sit down and manually trace my journey. Since this file doesn’t contain any geographical information, my best bet was to somehow get my path in a vector format and manipulate it into the same scale, plane, etc., as map above.
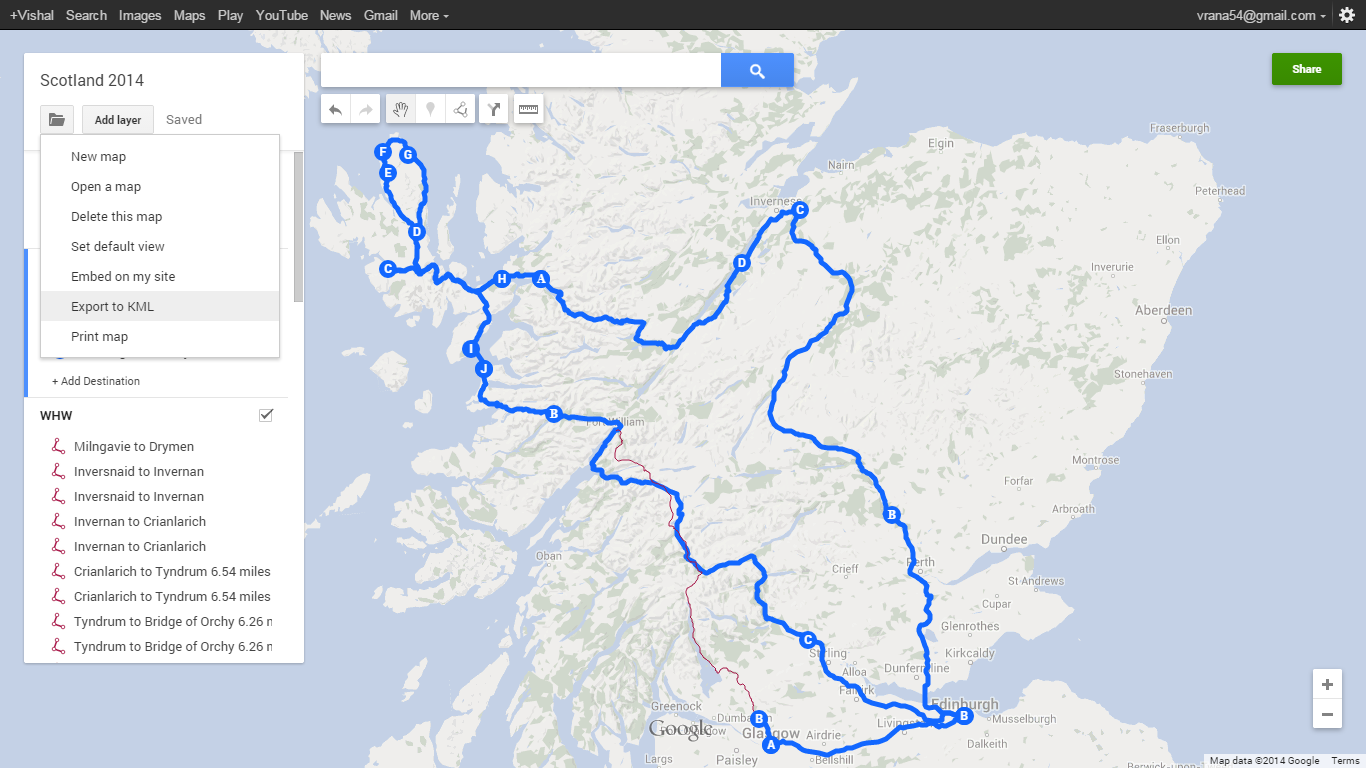
I started by recreating the trip in Google maps engine. The train and bus journeys were easy to plot – it’s just like looking up directions in Google maps. Plotting a hike was a little bit more complex since I did not record my GPS location. I was lucky to find a .KML file from a better prepared hiker through a Google search and imported it into Google maps engine without any issues. I exported the .KML file when I was done.
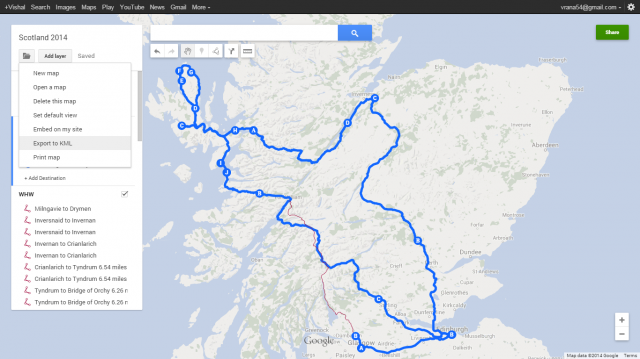
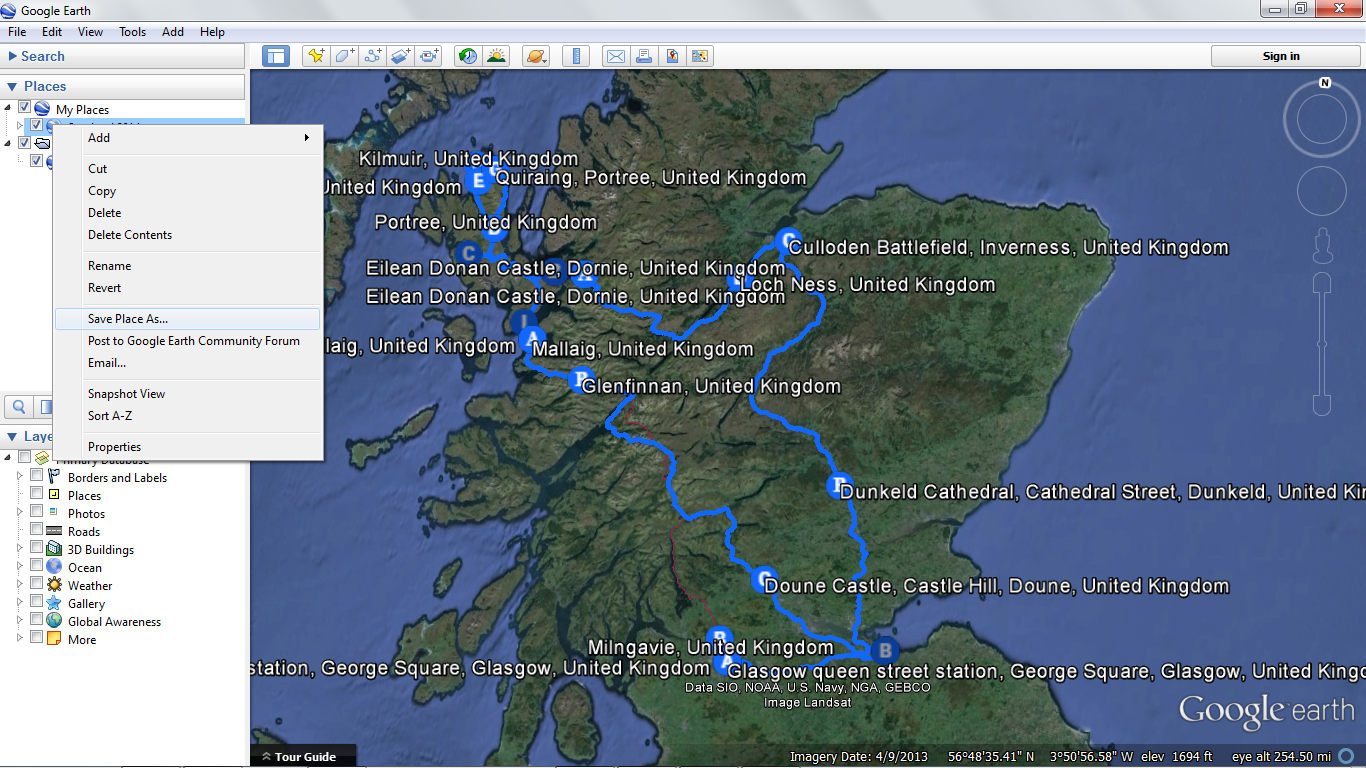
The file was saved as a zipped .KML (.KMZ ) file so I used Google Earth to save it as a .KML. This is starting to sound like an ad for Google. I swear I am not a shill – Ask Jeeves is a much better search engine, see!

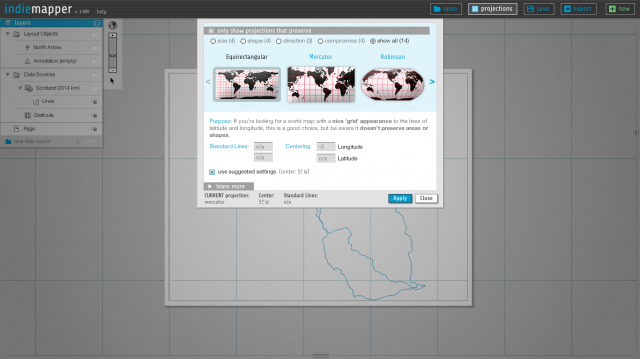
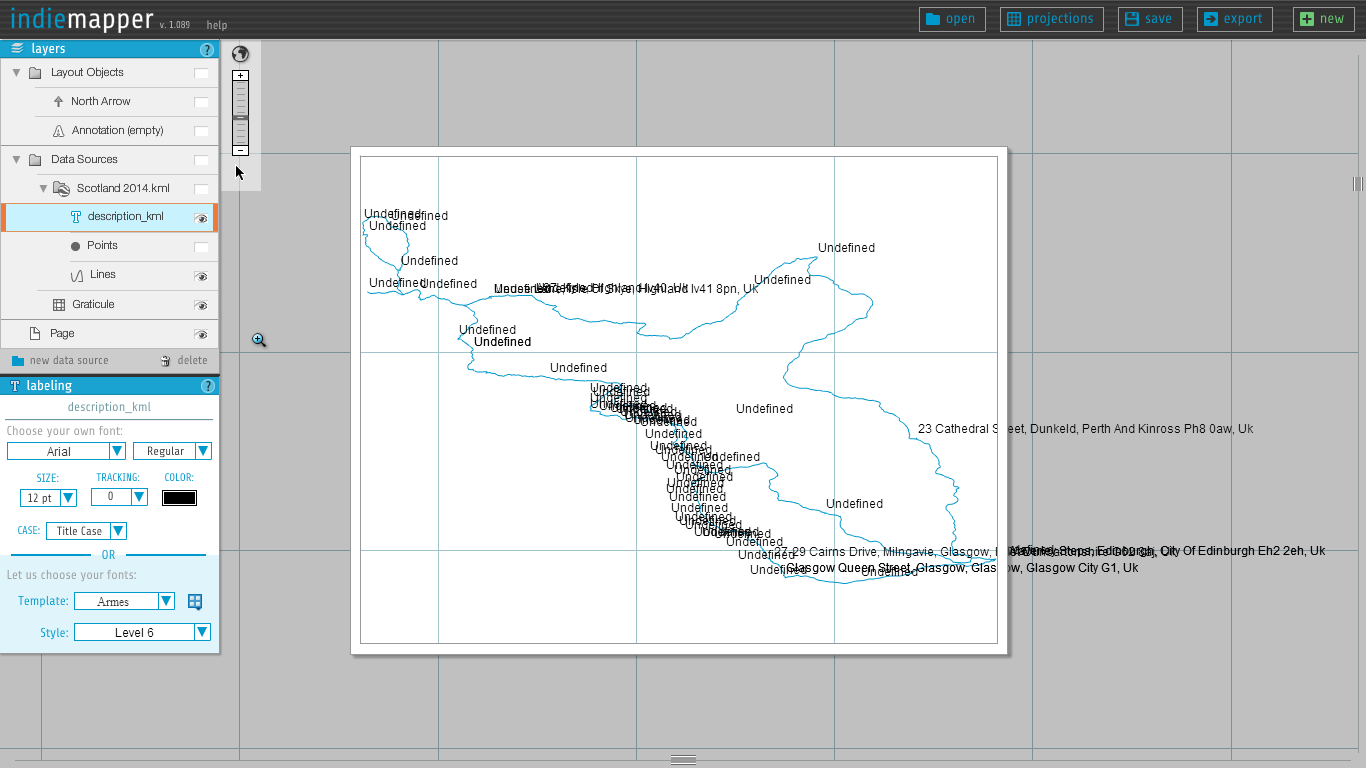
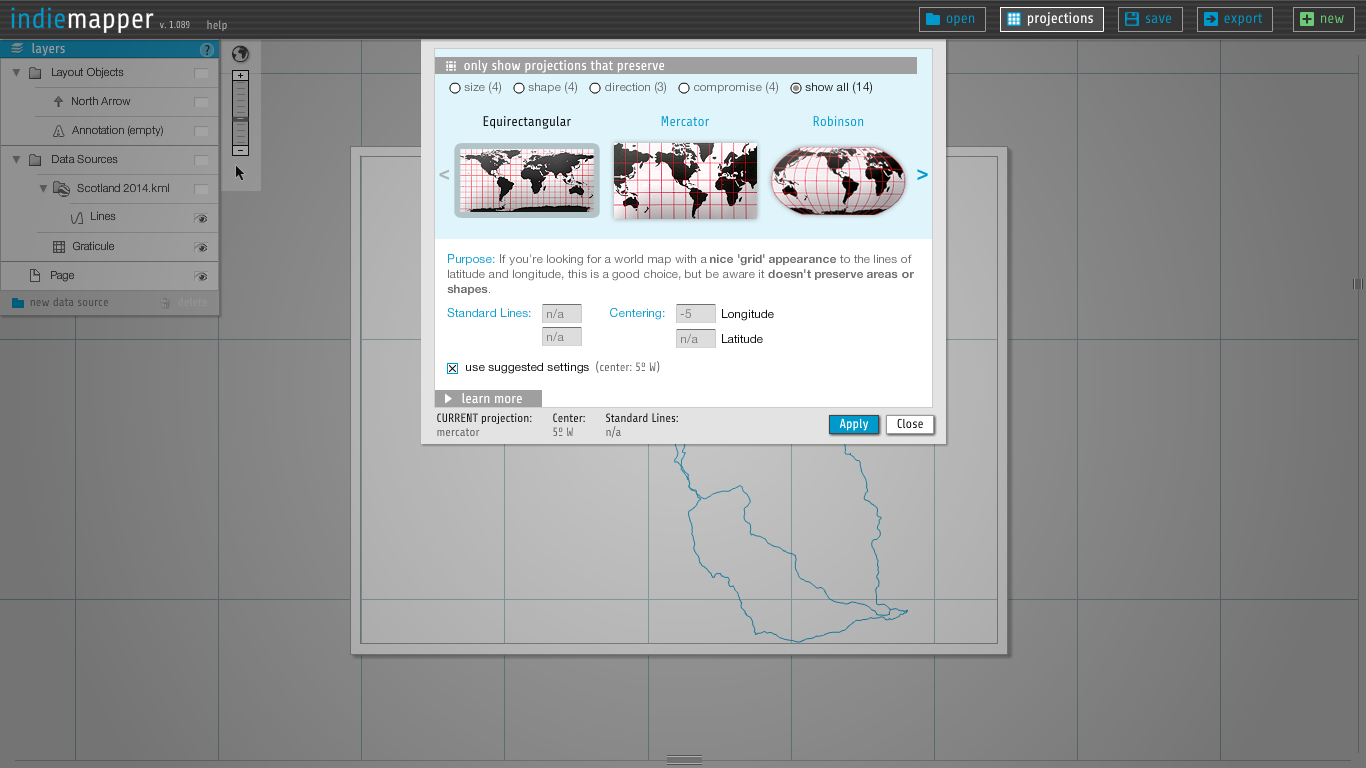
The .KML file was processed into an .SVG using my new best friend, Indie Mapper.

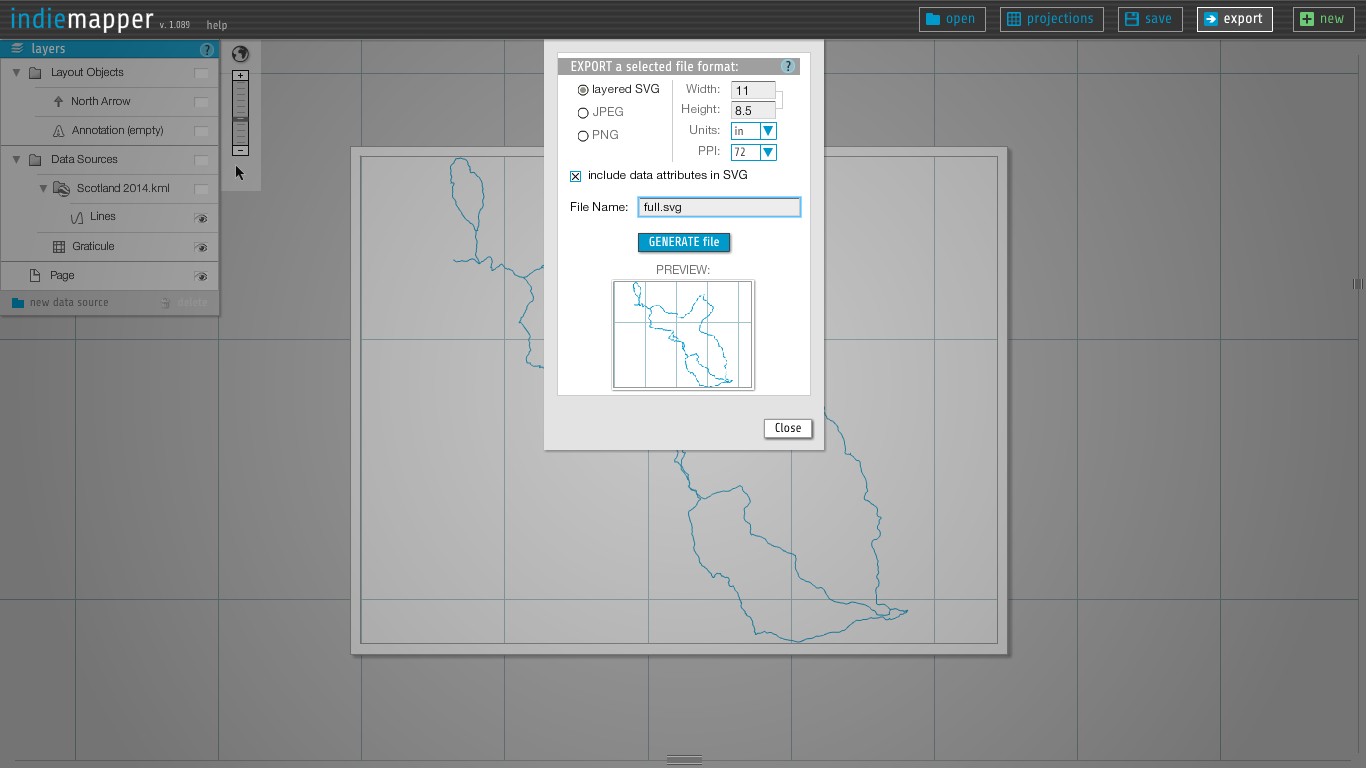
Since I only cared about the lines, I deleted the description and points using the menu on the left. Remember kids, always, and I mean always, read documentation. I spent a whole day scaling, rotating, skewing, bargaining, manipulating nodes, punching walls, trying to match the path output to the map from above. If I had simply read on the Wikimedia page, that the map had a Equirectangular projection and was scaled 170% in the N/S direction, I wouldn’t be writing this at 4AM in the morning. You can change the projection within Indie Mapper. Scaling was easily done in Inkscape later.
Export the file as a .SVG.

Yay! on three everyone yell, Compatible! Compatible! Compatible! Make sure you are alone.
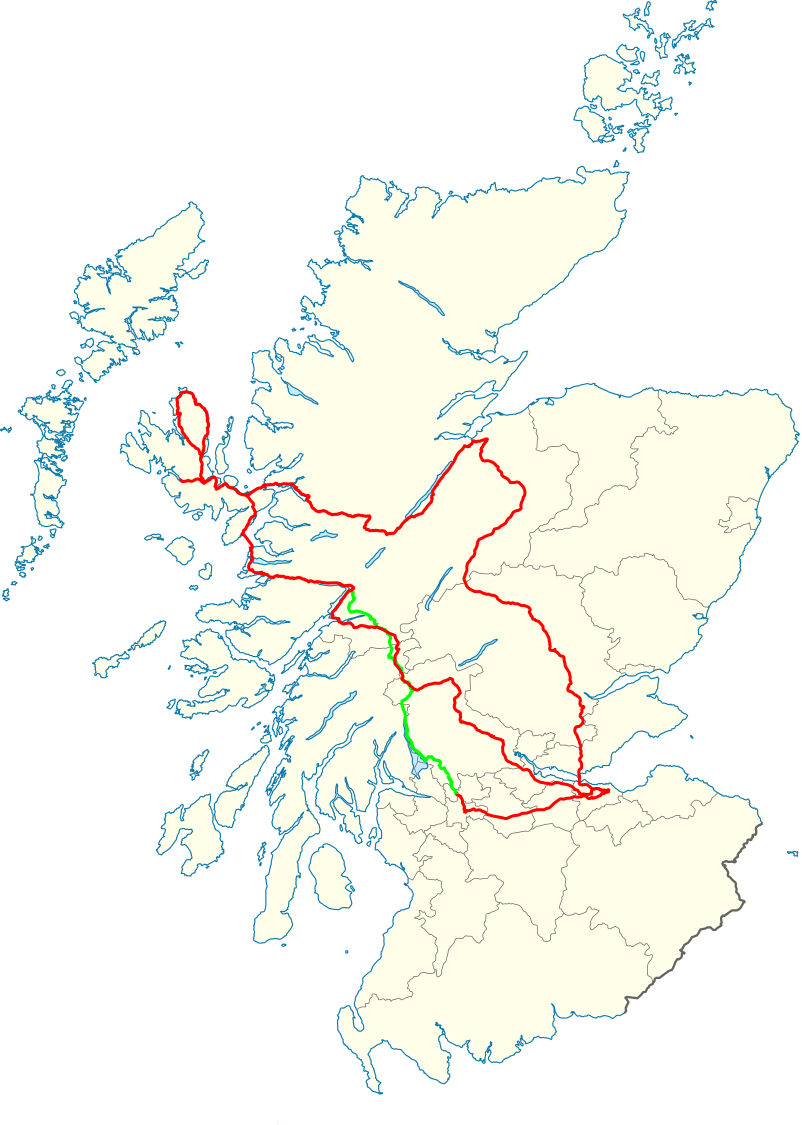
Upon path import, the first step was to scale the height only by 170% to match the map’s relative coordinates. Then, the height and width were scaled proportionally till they “looked right.” I compared the relative location of the path to ocean and lakes (I really should say “Lochs”) in Inkscape versus Google maps so make sure everything looked right. Since I had the right relative dimensions, it only look a couple of minutes and Voila!

I manually colored the hike in green and motorized travel in red. If I decide to laser cut this file, I’ll vector “burn” the border and water bodies on lower power versus the path. I’ll keep playing around with the design and maybe add day hikes as well but I am happy with the results for now!


