The Makerspace Eight Speaker Super Surround Sound System(MESSSSS) has been supplying music to the Makerspace for quite a while now, but I identified a problem even before the system was fully installed. Stereo recordings played back on two speakers are great if you’re in the “sweet spot.” If not, traditional approaches to 5.1 audio improve things, but all rely on there being a single “front of the room.” Unfortunately, it’s not clear which side of the 3000 square foot Makerspace shop is the front, and with four pairs of speakers in the room, even stereo imaging is difficult.
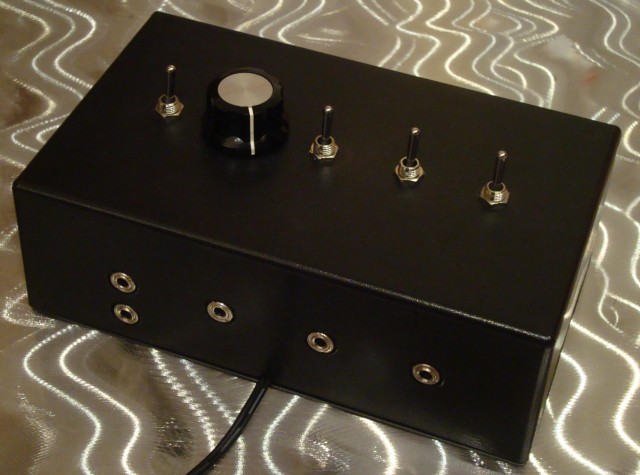
Fortunately, I’ve just completed the Makerspace Eight Speaker Super Surround Sound System’s Enveloping Surround Sound Synthesizer (MESSSSSESSS). The MESSSSSESSS takes stereo recordings and distributes sound to the eight speakers in an entirely fair and user configurable way, thereby eliminating the need for a “front of the room.” Now listeners can be arbitrary distributed throughout a room, and can even be oriented in random directions, while still receiving an enveloping surround sound experience!
The MESSSSSESSS user interface is somewhat simpler than most surround sound processers, as it consists of only four switches and one knob. Somewhat inspired by StrobeTV, the simplest mode references questionable quadraphonic recordings, in that the music travels sequentially from speaker to speaker, chasing around the room either clockwise or counterclockwise at a rate selected by the knob. With the flip of a switch, sound emanates from the eight speakers in a random order. Things get considerably less deterministic after flipping the Chaos Switch, adjusting the Chaos Knob, and entering Turbo Mode: Its best to visit Milwaukee Makerspace to experience the madness for yourself. I’m legally obligated to recommend first time listeners be seated for the experience.
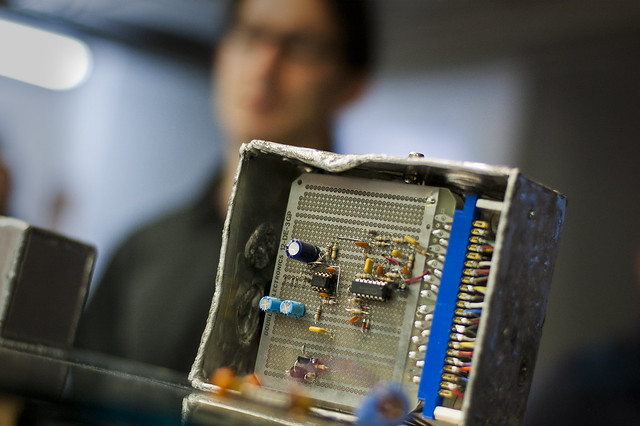
The MESSSSSESSS is powered entirely by an Arduino Uno’s ATmega328 that was programmed with an Arduino and then plugged into a socket in a small, custom board that I designed and etched at the Makerspace. The ATmega328 outputs can energize relays that either do or don’t pass the audio signal to the four stereo output jacks. Care was taken to use diodes to clamp any voltage spikes that may be created as the relays switch, thus preventing damage to the ATmega328 outputs.
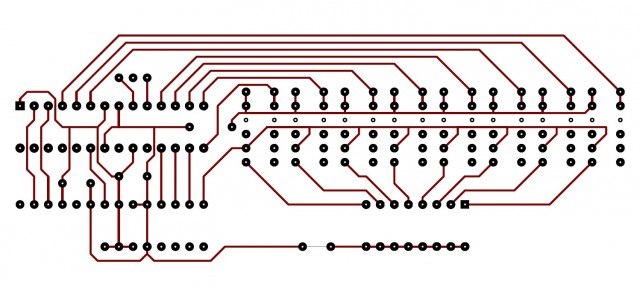
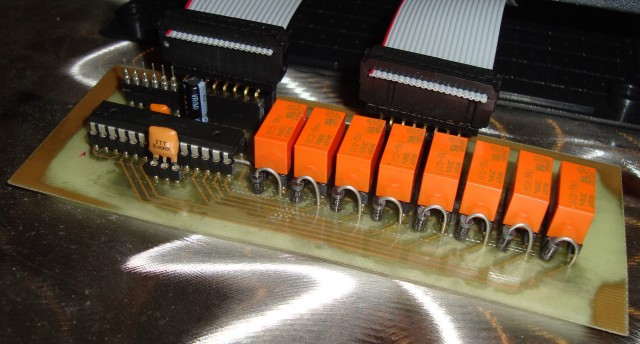
As shown by the minimal part count above, using the ATmega328 “off the Arduino” is quite easy: Just connect pins 1 (The square one), 7 and 20 to 5 volts, and connect pins 8 and 22 to ground. Then, add a 22uF cap and small bypass cap between power and ground, and a ceramic resonator to pins 19 and 20. You can even use an old cellphone charger as the power supply. Boom. That’s it. The real benefits of making your own boards are having a well integrated system, and cost, as the Atmel chip is $4.50 while a whole Arduino is $30. Also visible in the photo are a programming header and the two ribbon cables that route all the signals to and from the board.


