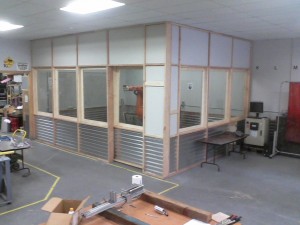
Whew. This project was a D-O-O-O-ZY! We needed to enclose our giant industrial arm so he can’t run away and join the robot circus…
Well…maybe not for THAT reason, but when we start cutting stuff with this robot, we need to keep spectators out of his reach and make sure that if a cutting bit does break, it doesn’t go flying out into the shop and maim someone.
This entire project was the work of several people and really shows why the Milwaukee Makerspace is a great place to build stuff/hang out with friends/play with power tools, etc…
———————————————————————————
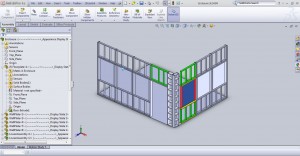
Step 1: Design it! I used Solidworks and modeled each and every piece of wood that went into this project.
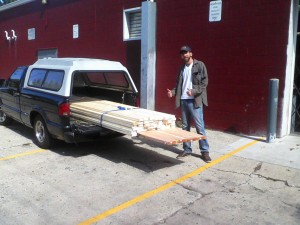
Step 2: get the wood! We made multiple trips to Home Depot, which thankfully is only 5 minutes away and we had great weather during the whole building process. I love having a truck! Fortune also shined upon me, as we had a new member join up right before I started this project, Jake R., and his help in building the wall was immeasurable.
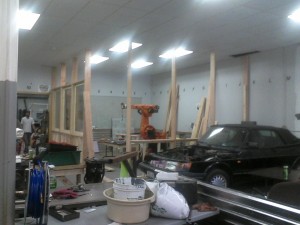
Step 3: Bolt the wood to the floor so we know where to put the wall, and then build some framing!
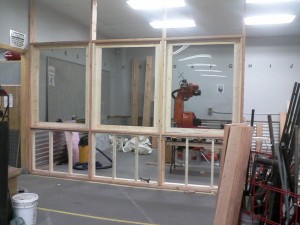
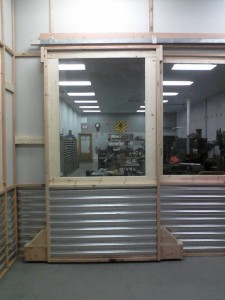
Step 4: Put in the windows, drywall paneling and metal wainscoting. We were very lucky to get seven pieces of slightly-smoked Lexan from one of our members, Jason H. We also cut small holes in the ceiling tiles and ran 4 braces up to the metal ceiling trusses above. This enclosure is ROCK-solid stable! Thanks to Tony W. and Jim R. for helping with that!
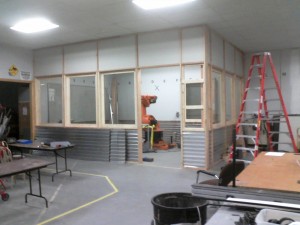
When I went to Home Depot, I thought my truck could handle a 48″x 120″ sheet of drywall. Not so much… one of their employees helped me split 10 sheets of drywall in half, in the parking lot…so I would later find out that I did not have drywall tall enough for the wall corner. Hence the need for more “framing” so I could use smaller pieces.
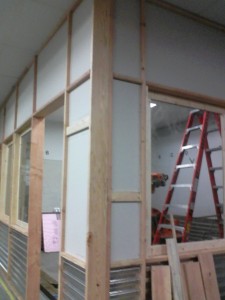
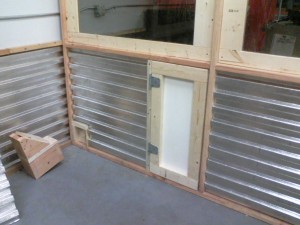
The large cabinet that powers the robot arm is right next to the enclosure; I placed it outside to keep it away from foam & wood shavings. However, we will need to have the programming pendant next to the machine every now and then….hence the need for 2 small pass-thru doors next to the cabinet.
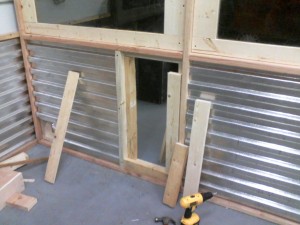
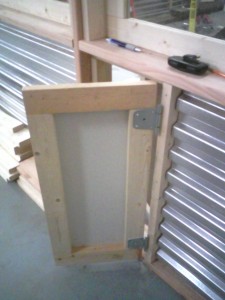
I used doweling to help hold the door frame components together…..probably not needed, but it ensures a STRONG door!
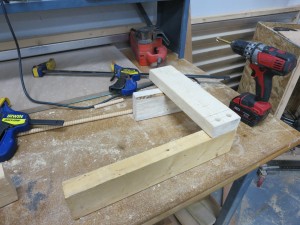
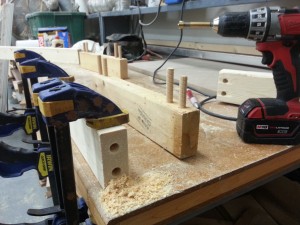
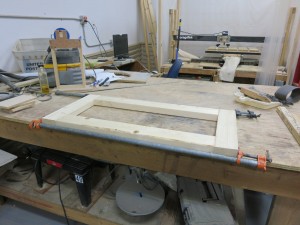
Again, hooooray for the Makerspace and all its tools! We have several LONG pipe clamps that came in VERY handy for gluing the door frame pieces together.
Here’s the outside of the enclosure. The big metal control cabinet will go right here, hence the framed “mouse hole” in the lower right corner so we can pass the cables through from the cabinet to the robot arm.
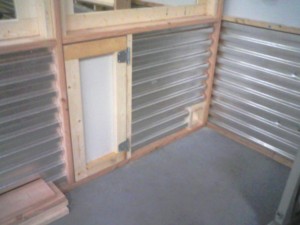
The same area viewed from inside the enclosure.
Here’s the ginormous sliding door. It’s mounted on a barn-door track-rail and supported on the bottom by two custom-made wheel brackets.
Here’s how I made the wheel brackets. I got two lawnmower-style wheels and bearings from Tom G., then Tom K. enlarged the center holes on the wheels on his Bridgeport mill so I could use bearings for smoother action.
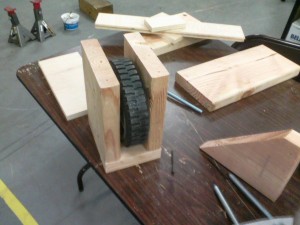
I figured on four carriage bolts for a super-strong connection to the door frame.
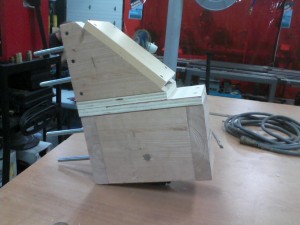
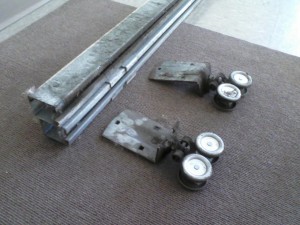
This is the track and wheel bogies that hold the sliding door to the wall.
Bolting the brackets onto the door was “fun”…I forgot that the very bottom of the door framing is two horizontal pieces, so the very bottom bolt had to go. ‘DOH!
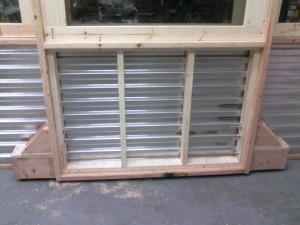
Here’s the final, assembled view. You can see the robot’s control cabinet in the lower right corner.
Now that the fabrication is complete, we’re working on decorative ideas for all that blank-looking drywall.
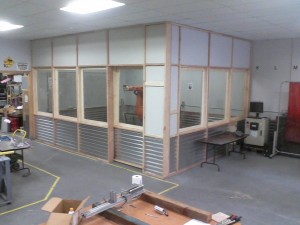
Whenever I look at this finished project it feels like to took several months to get it up, even though construction only lasted about 2-1/2 weeks.
Thanks to Jake R., Tom G., Tom K., Tony W., Jim R., and Bill W. for their assistance with this project!
