As previously promised, MegaMax’s Y-axis has been converted to screw drive along with the addition of a larger motor, DSP based driver, and 32V power supply. The SmoothieBoard arrived and was quickly swapped in to replace the ATMega2560/RAMPS combo. After studying and configuring the Smoothieboard I attempted a few test prints. That’s when the problems started.

32V Power supply for Y axis motor. No regulation necessary!
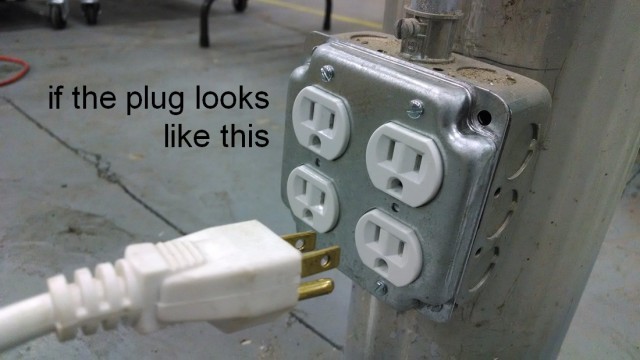
Smoothieboard is supposed to read the config.txt file from its uSD card (conveniently accessible via USB) every time it boots. That makes changing configuration very easy and fast – all you do is edit the config.txt file, save it , and reboot the board. Firmware is updated the same way. With the ATMega2560 you have to find the configuration variables by searching through multiple configuration files, make the necessary changes, recompile the firmware, then flash the controller. I said the SmoothieBoard is supposed to read the file every time it boots, but it wasn’t doing it. I’d make changes and they would not appear in the behavior of the printer. Hmmmm.
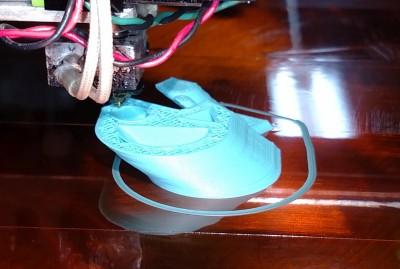
Layers kept shifting in the X-axis- I expected Y-axis problems, but not X!
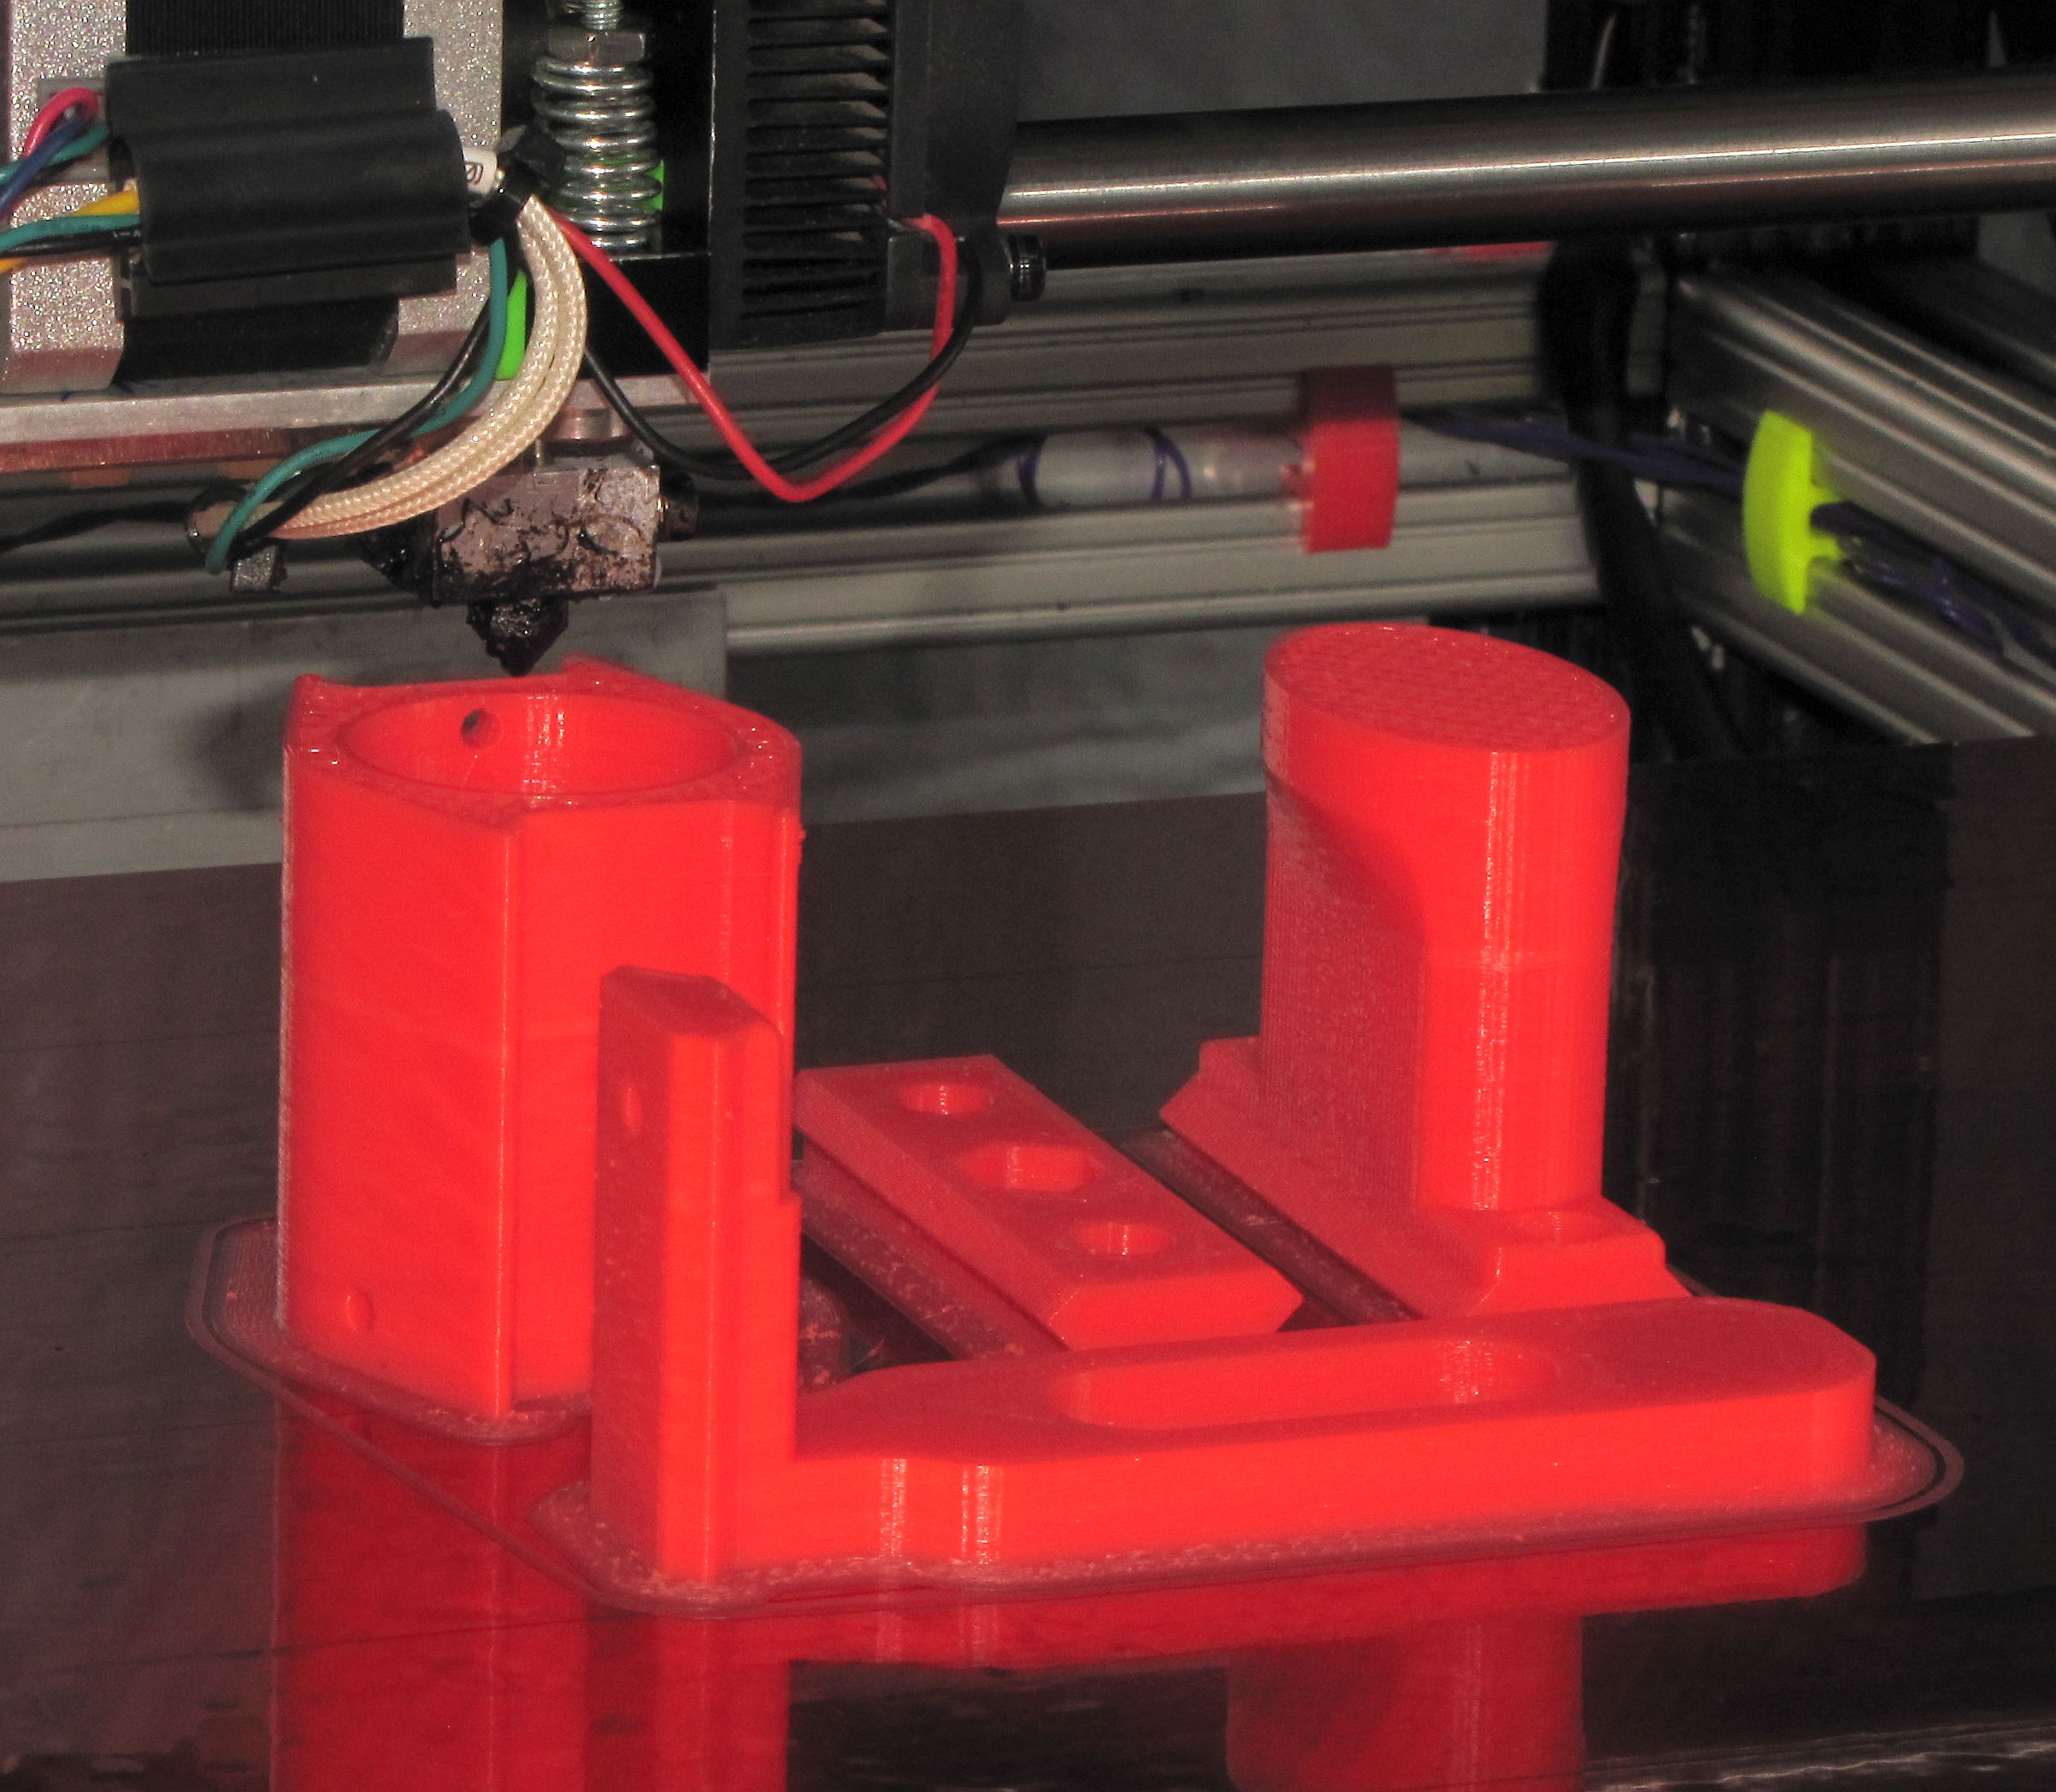
I attempted some prints and managed to get two decent ones in about a week of screwing around with it. I tried dozens of combinations of speed, acceleration, junction deviation (smoothie-speak for jerk) and even tried different slicers. The machine went completely nuts on two occasions and ignored the Z-axis limit switch and slammed the extruder into the print bed, gouging through the Kapton tape and into the aluminum! I decided I needed some professional help so I got on the #smoothieware IRC channel and discovered that the developers of the board/firmware hang out there quite a lot. After a lot of back and forth Q and A and testing someone suggested it might be the uSD card causing the problem. I picked up a new card at Walmart, put the firmware and config files on it , booted the machine, and attempted a print. PERFECT!
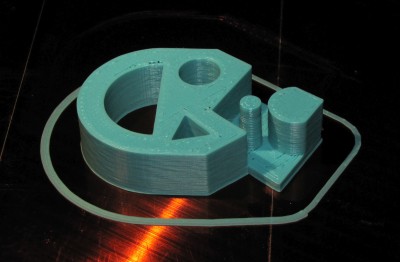
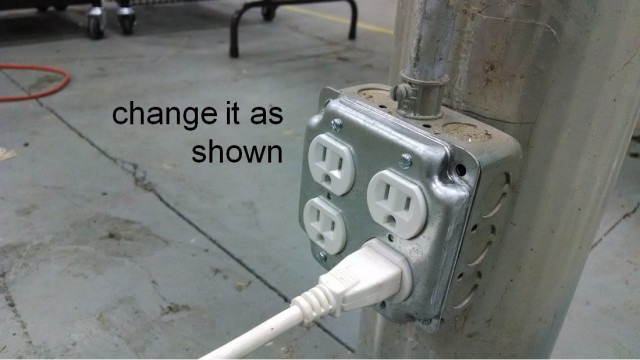
The new uSD card worked! The small round post is 4mm diameter.
I have made several prints since last night and they have all come out fine. I still have a little tweaking to do and to test the limits of the machine’s performance, but I think the problems are behind me.
Next up: X-axis redesign/build. I’m replacing the two guide rails with a single linear guide. I have also ordered and received a BullDog XL extruder to replace the hacked up QUBD unit I’ve been using. I’ll be adding a DSP driver and 32V power supply for the X-axis motor, too.
After that, I have some ideas for a filament respooling machine and ways to fix the retraction problem in the SnakeBite extruder.
It never ends!


