Another neon project from Peter Merrick.
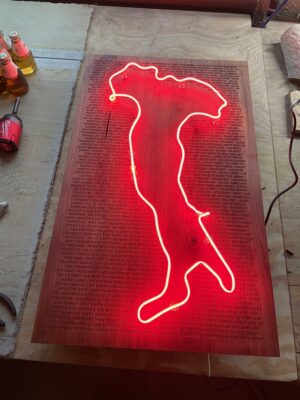
Background on this piece. This is the Italy “boot” in neon mounted to Walnut with engraved text. It is to commemorate a family vacation I took to Italy this year with the engraved text coming from sayings that we picked up from the trip.
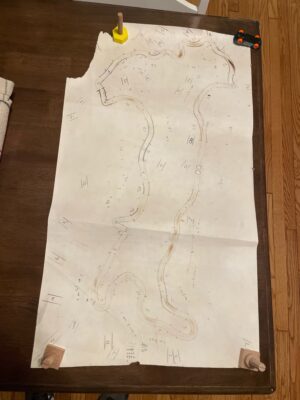
Some detail on the process. The bending of the glass tube took roughly 15 hours over the course of a week. The Walnut was purchased rough, planed and jointed at the makerspace to get the boards square, and glued up into a panel. The panel was then cut down to size and run through the drum sander to even out any imperfections from the glue up. The engraved text was designed using inkscape and imported into CorelDraw for printing on “Katy Perry”, the 30W laser cutter. This panel was at the max cutting area for Katy Perry at 32″ x 18″. The cut took nearly 6 hours to complete. A box was constructed for the back of the panel to be used for concealing the electronics as well as a mounting point for the French cleat.
Total time to complete this piece was roughly 50 hours over the span of 2 weeks. Total material cost including glass, transformer, wood, stain, filling the tube with neon gas, and time on the laser cutter was roughly $200.