Tabletop Game Boxes

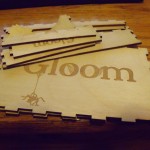
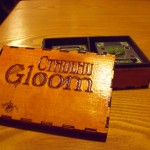
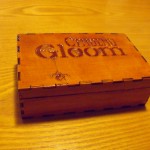
With Tabletop Day approaching and my great affinity for complicated rules attached to cardboard (see picture on leftDSCF0722 
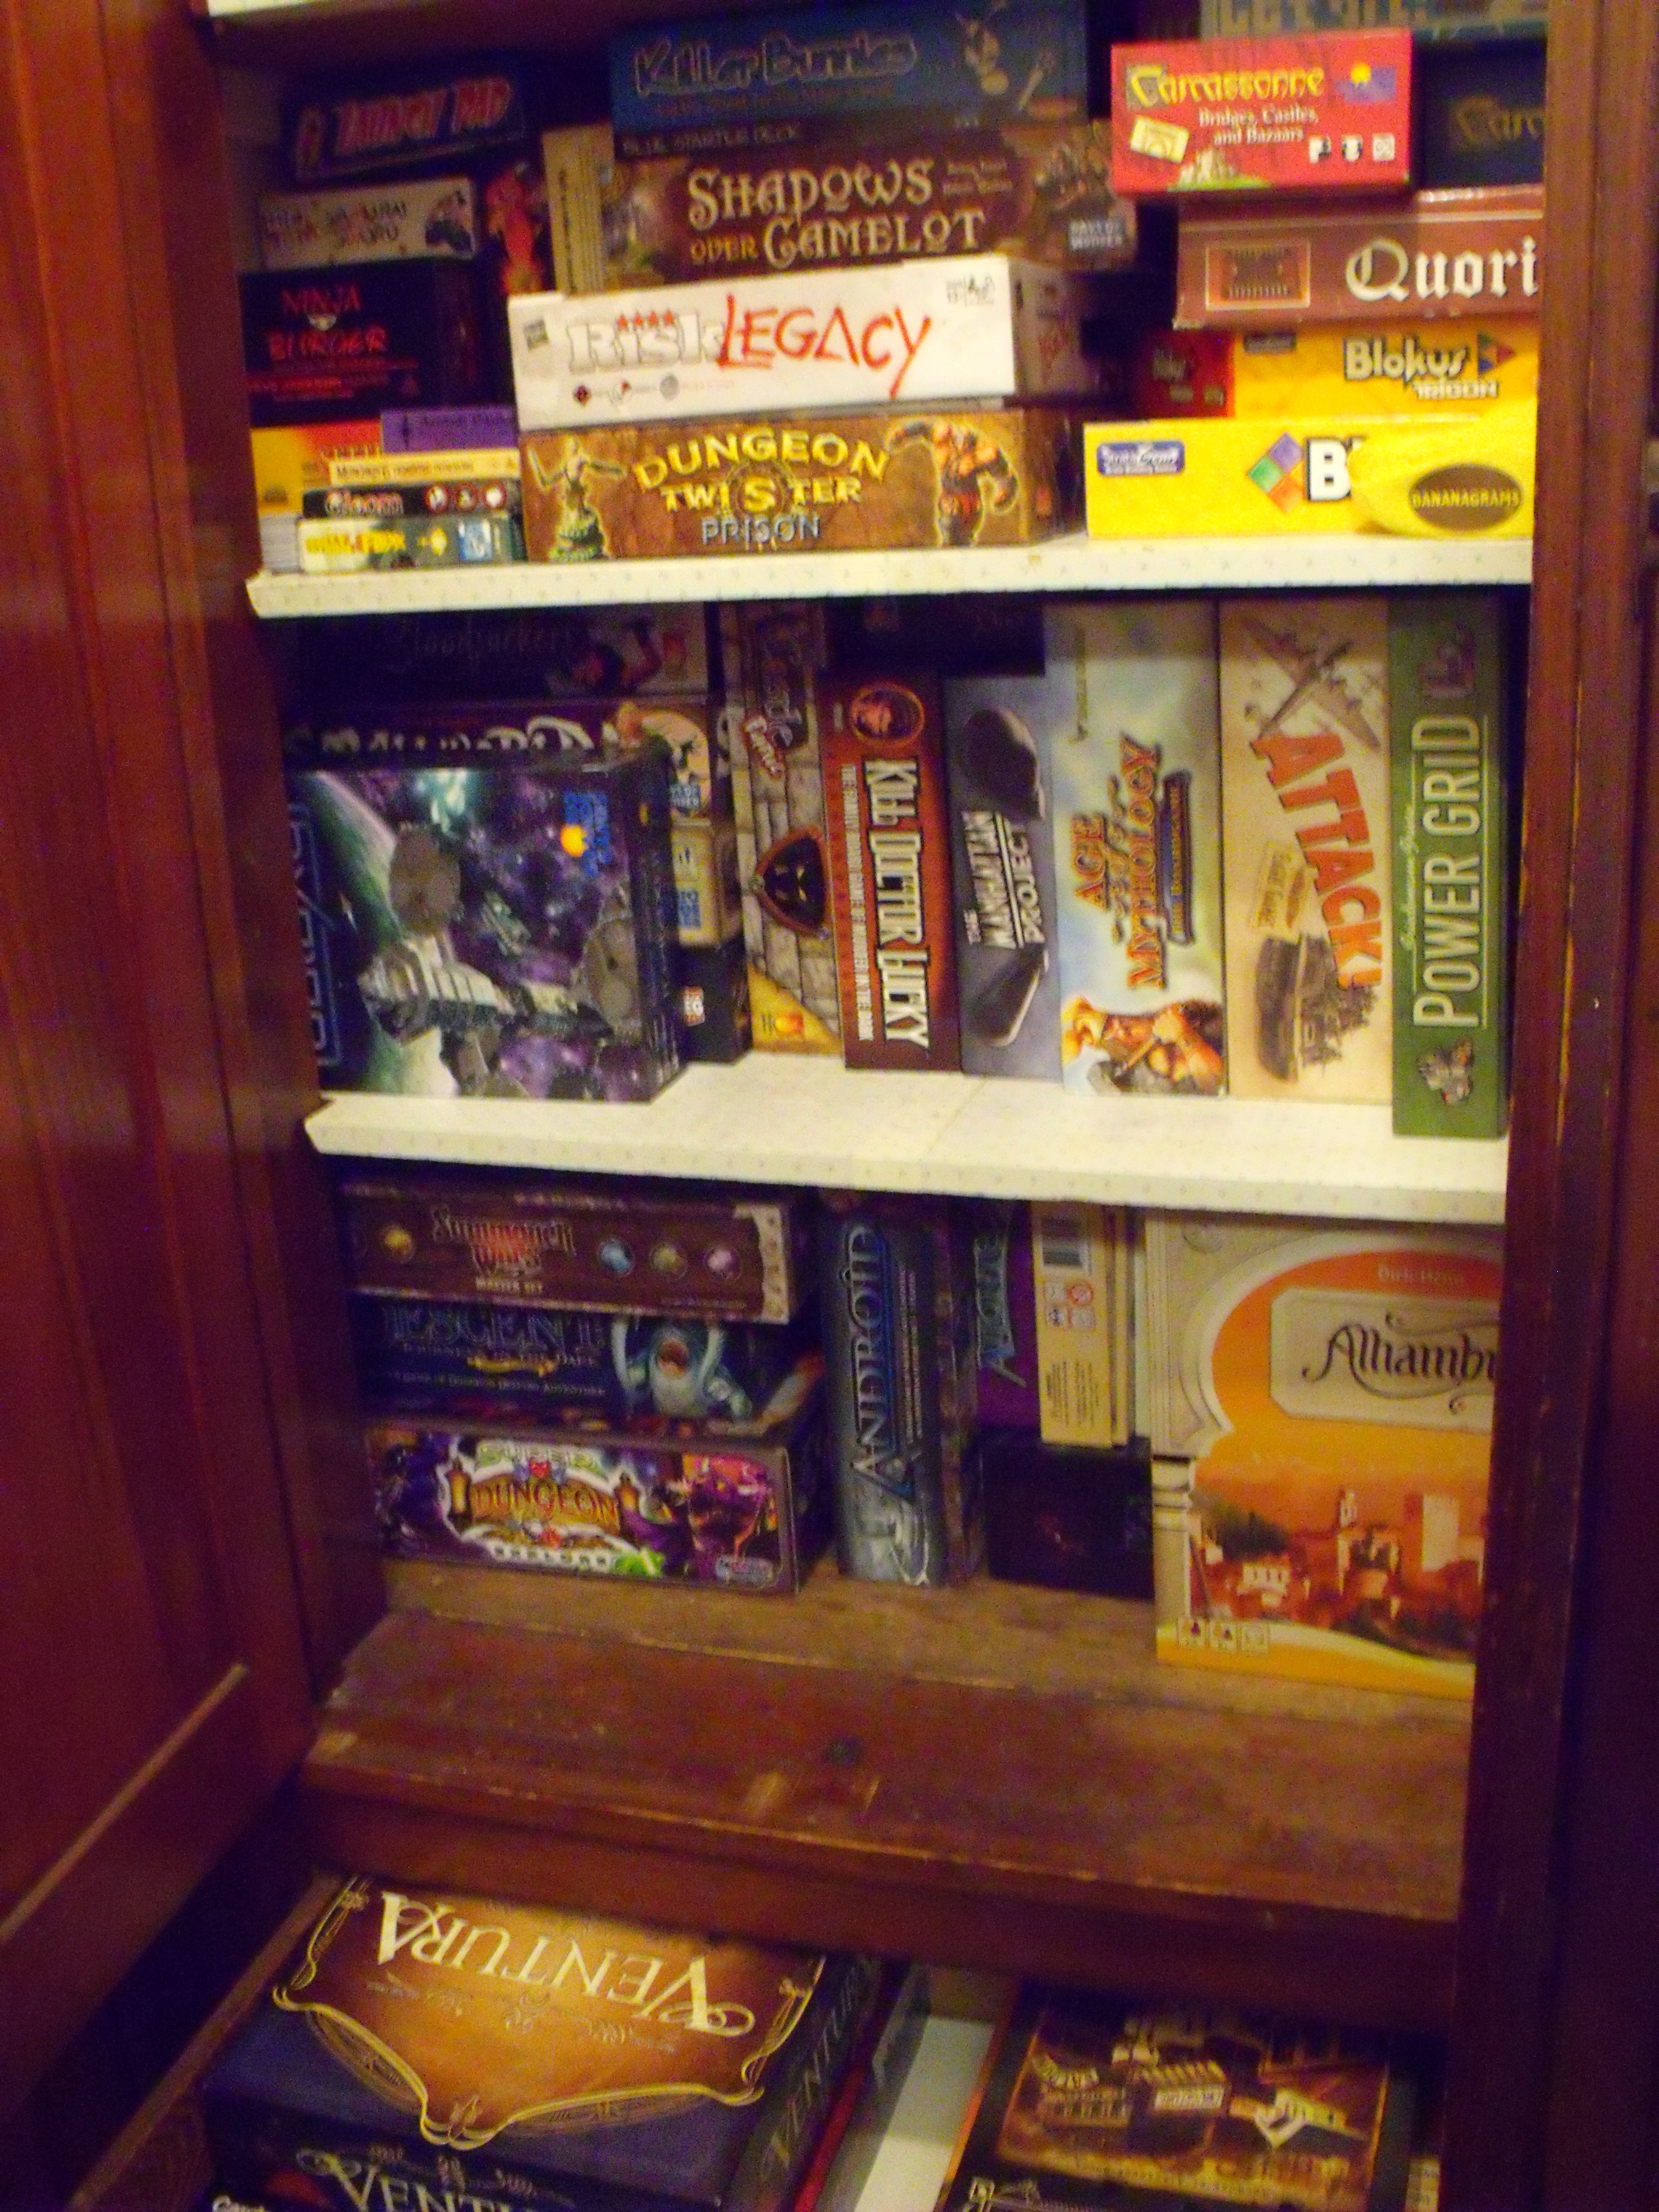
of what should be my linen closet) I thought it would be the perfect time to work on a few projects to improve some games that I much enjoy. On top of some other, smaller things I decided that the boxes that come with a great majority of card games are kind of worthless. Take for example. Gloom. A fantastic game in which you try to make your family as miserable as possible before killing them off in horrid ways all the time trying to make your opponents family happy so they cannot do the same (I realize I sound crazy but if you come down to the MakerSpace this Saturday I will have it so you should give it a shot. It really is fantastic). While the game is fantastic it came in was one of those that has the bump of cardboard in the middle between the two stacks of cards that is supposedly, in some fantasy universe where cards have different physics than everything else, supposed to keep them separate. This never works and the box usually breaks fairly quickly.

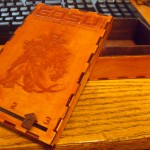
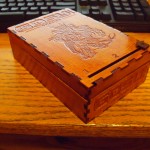
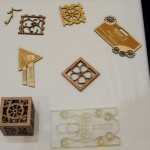
Being utterly fed-up with these boxes I decided to make my own for 3 games. Gloom, Cthulhu Gloom, and GOSU: Tactics. With the first two this also has the added benefit of being able to make the box large enough that I can fit expansions in with the base game and in the case of GOSU it is an opportunity to make a box that better fits sleeved cards and add a 3 turn counter to keep track of the round after the pass (If you have played GOSU you know it can get a little hazy when some people are taking a whole slew of turns per round).

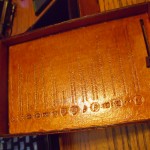
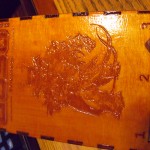
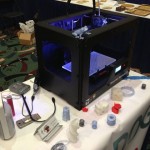
After some playing with Inkscape, cutting out the first one on the laser cutter, realizing I suck at measuring, cutting things again, some gluing, and several layers of shellac later I had a few new boxes.

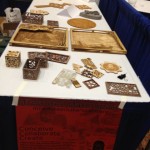
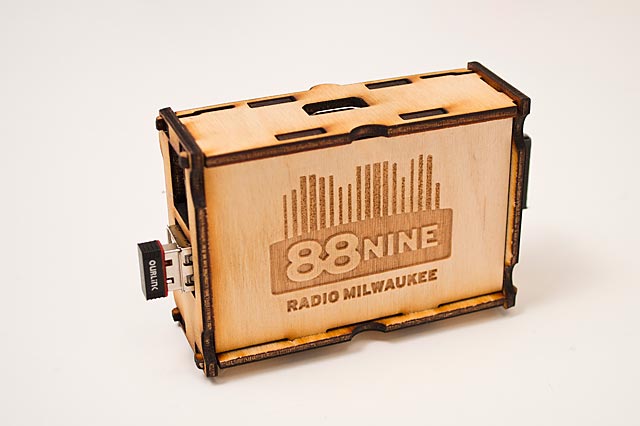
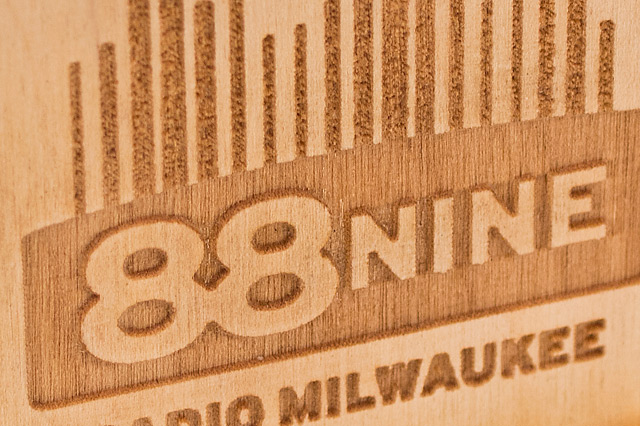
I had several people ask me how it was that I achieved this look on Baltic birch plywood so I thought I would go over that quickly. TheCGloom Box Open

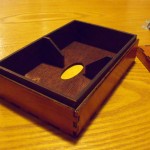
inner part was just rag stained with some dark Minwax stain (I think it was Red Mahogany) so nothing special there but it adds a nice contrast to the lighter outside I feel. The outside is an amber shellac. I just applied 5-6 coats with a heavy sanding between the first two and a very light sanding between the rest. Nothing too exciting but it really makes this plain wood look pretty decent.


Makerspace rocks Sustainability Summit

IMG_0627

Members of the Milwaukee Makerspace built and manned a booth at Milwaukee’s Sustainability Summit this week.

Josh Z. and Ben N. talked with the crowds, showcasing member’s projects ranging from an electric motorcycle to 3D-printing, aluminum casting, CNC woodworking, lasers, and more! Several of the event organizers told us that we were the busiest booth there, which was pretty obvious, because my throat is still sore from speaking with attendees for two days straight!

The 3D printer was especially eye-catching to the crowds and there was a strong interest in 3D printing and laser-cutting.

We did NOT have electricity at the booth, so in true DIY-style, we MADE our own with a real-world “Vehicle-to-Grid” Display, powering a laptop, 2 computer monitors and the 3D printer directly from the electric motorcycle. Our display featured a slideshow of Maker projects on the double monitors, the hands-on Laser Kalidescope, and even conductive Play-doh!

One of my favorite moments was speaking with the owner of the “Cow Sailboat” out in Madison about converting its diesel system over to an electric drive. We also briefly saw Ed Begley, Jr. and Will Allen. (Thanks to Growing Power for the sprouts!)

All in all, it was a great event! The organizers donate the booth space to us because they love the real-world, hands-on teaching and excitement that we bring!

If you were at the Summit, and are swinging over here to the web-page after learning about us, WELCOME! Stop on by, meet some members, and take a tour, we’d love to have you!

Thanks to Josh, Ben, Shane, Pete, and others that loaned projects for us to display!


88nine Lazzored!

Radio Milwaukee Lazzored!

I used the laser cutter to make a Raspberry Pi case, and rather than leave the front of it all boring, I added an 88nine Radio Milwaukee logo to it. (Since I had a project that involves a Raspberry Pi and 88nine, it seemed appropriate.)

Radio Milwaukee Logo

I started with the original 88nine logo, which is brown and orange. I couldn’t find a nice hires version, but a quick web search turned up something that would work…

Radio Milwaukee Logo

To start with, I converted the logo to black and white, since color wasn’t going to matter to the laser cutter…

Radio Milwaukee Logo

I then separated the top bars (which are orange in the original logo) and dithered them to create a visual separation from the bottom part of the logo that was brown in the original.

Radio Milwaukee Logo

Here’s a close-up of the dithering pattern. It’s extremely simple, but it worked. I’ve done a lot of work with halftones and dithering, and you can get extremely complex, but sometimes the simple things just work.

Radio Milwaukee close-up

Here’s a close-up of the final piece of Baltic Birch plywood with the logo etched in it. I’m pretty happy with how it turned out.

We leave, we come back!

Leaves

Even though we left Chase Avenue and moved to Lenox Street, we’re still not a fully operational battle maker station… yet.

But here’s the thing, for a lot of us, we never stop making, and if someone needs help on a project, we’re still going to do what we can to help out. So when some friends of mine at Sensorium Gallery ask for help with a laser cutting project, we found a way to deliver.

They were looking for white paper leaves to cover the floor for an event, and had the idea of laser cutting a few reams of paper. I found a maple leaf on OpenClipArt, tweaked it a bit, and sent it to Neille at Sensorium. She sent me back a new file, and I gave that to Brent who has access to a laser cutter he could use while the Makerspace laser cutters were not up and running.

A few emails back and forth, and between the three of us we got the leaves done in time. Sweet! Once we return to “making as usual” it’ll be nice to help people out with their projects without having to chase people down and send a bunch of emails. I hope Bay View is ready for us! :)

Custom Snow Globe


Well, I’ve been slaving away on creating a unique X-mas gift for my wife and two-year old daughter, and I think I got it right. They loved it!

I’m talking about a Custom Snow Globe!

A while back, I was working in the driveway on a styrofoam project. Of course, that white stryrofoam dust gets static-charged and STICKS TO EVERYTHING. I also found that the best tool for cutting it was my wife’s kitchen electric carving knife. When I headed inside to take a break and warm up, I was COVERED with styrofoam. My two-year-old girl looked up at me and squeeled “Daddy a Snowman!”.

Indeed I was. I imagined myself inside a snow-globe with styrofoam swirling around me like a snowstorm. But could I actually BUILD a snowglobe that would match my imagination?

I started looking at every snow globe I could find and set to work building one. I looked around and found a glass dome, used for light fixtures. I got two of them, and gave one to my brother-in-law, who is a clay artist, among other things, and commissioned him to make a caricature of me. Since he had one globe, and I had the other, he could make a figure that would fit inside the globe, and I could do the woodworking on the base, and insure that the globe fit that.

I headed to the local cabinet shop and talked to old high-school class-mate Steve about what wood to use for a base. He gave me a maple block, and I grabbed some scrap maple from the bin to practice cuts and routering on. At my Dad’s back-of-the-garage shop, I experimented with routing, until I could get it right, and routed a circle for the base of the glass globe, cut the wood base to length and cut a 45-degree bevel on the top edge, and routed a pocket in the bottom for the electronics.

I wanted to make a “singing” snow-globe, so I bought a singing greeting card at the Hallmark store, and then dissected it for parts. The electronics were then mounted on the bottom of the  wood base, along with a custom switch.

I headed to the Milwaukee Makerspace to use the laser-cutter.

Using the vector graphics program on the laser’s computer, I laid out an inscription for both the top and bottom of the snow globe base. I practiced on a piece of paper, and then when I actually focused the laser properly and had everything else figured out, I wood-burned the maple block, front and back.

I also used a solder station to add the momentary on switch to the greeting card electronics, so that the song would play whenever the globe was picked up to shake up the snow.

Next, was clear-coating the figure and the wood base. I used “Parks Super-Glaze”, a two-part epoxy clear coat used for bars, to completely seal and waterproof both the figure and the base, as well as to permanently attach the figure to the base.

Then, it was a matter to holding the globe upside down, filling it with water, filling the routed circular grove of the base with silicon glue, and flipping the figure and base, upside-down, into the dome of water. Once it was cured, the snow-globe can be flipped right-side-up, gift-wrapped, and put under the tree!

I’m glad to say that the project turned out just great! It was a bit of a stretch to my skill-set, so THANK YOU to the people who gave me a hand with it. Nothing quite like a project that runs the gamut from sculpture to wood-working, electronics, glass, water, laser-engraving, and more! But that’s how we grow… by stretching a little bit more every time!

Merry X-mas

From Ben the Snowman.