Maker Faire Signs

IMG_2528 head

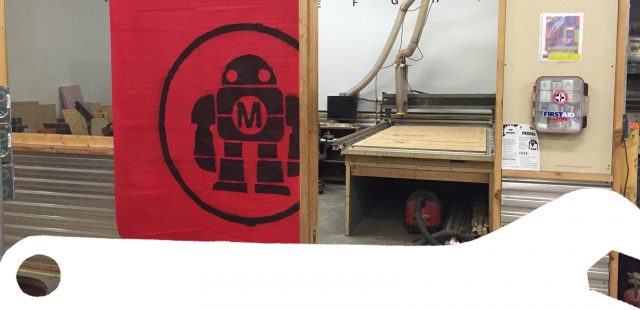
Over the last few weeks the Maker Faire team has been hard at work making some new signs to hang in the exhibit hall.  These signs are 10 x 5 feet and will make finding your way around much easier.  The logos are first traced on vinyl sheets and then carefully cut out.

signs 2 images

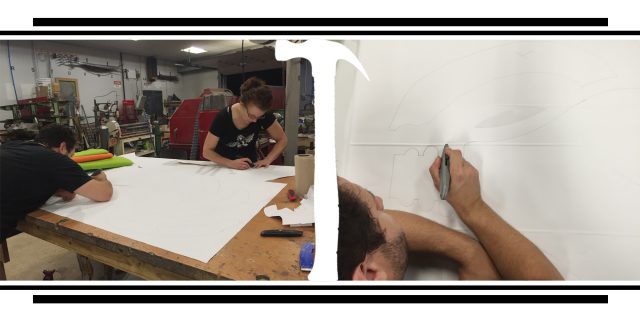
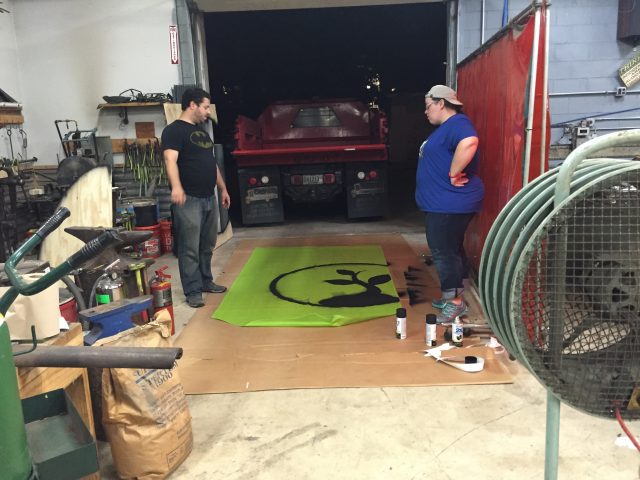
After the stencils are cut they are laid out on the fabric banner for painting.  It can be a challenge to get the curved lines of these very large logos to lay flat.  Kim, Mike, Kathy, and Pete have been doing a great job.  This project has been a labor of love for Kim who designed these signs and has seen them from drawing to fabrication.

IMG_2500

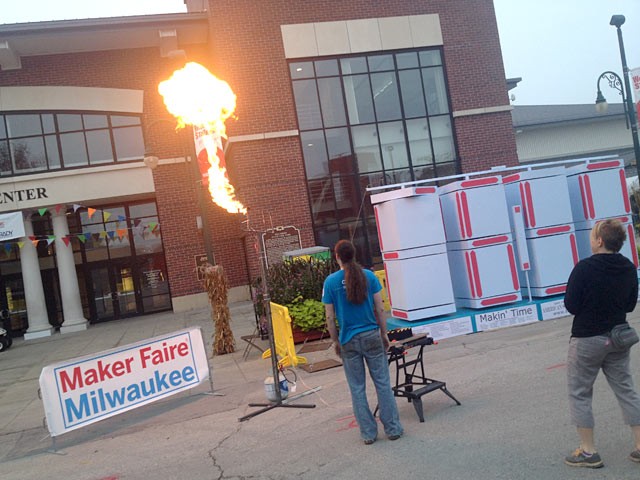
Be sure to look for these signs and lots of others this month at the largest free Maker Faire in the US right here in Milwaukee at Wisconsin State Faire Park.  For more information about Maker Faire Milwaukee and all the amazing makers that will be there click here.

IMG_2546

I made a thing!

This project began much like many of my projects at Milwaukee Makerspace have: an off-the-cuff discussion; in this case, with Lance Lamont about a possible project for Maker Faire Milwaukee. After a few rounds of discussion, we came up with the idea of an electromagnetic crane. I decided I’d attempt to build one similar to this style, and that I’d start off with the magnet. I purchased several small electromagnets from Tom‘s favorite website, Banggood. Thus, the MicroMagnetArray was born:

em_array

And failed miserably. Running at 18v (50% more than its rated voltage!), it was only drawing ~200mA, and could only lift 2-4 of the 7/16ths nuts I’d borrowed for use as ballast.

So my inner maker came boiling to the surface and yelled at me, “why not wind my own!?”… Continue reading

Let’s Detonate!

Dan Loves Fire!

Dan loves fire! It’s a fact! For Maker Faire Milwaukee we made a fire poofer which was triggered by pressing a button. Tons of kids (and adults) pressed that button over the course of the weekend.

While Dan the Blacksmith (and John McGeen from BBCM) were the primary builders of the fire poofer, I did the trigger electronics and enclosure.

The Detonator

I’ve written up a blog post with lots of images explaining the (somewhat rushed) build of the device. It’s Arduino powered, has some relays and a beeper, and looks semi-nefarious. Read more about The Detonator.

The Detonator Insides

Chocolate Cooling System Almost Ready For Testing

Chocolate printer progress continues.  This week was devoted to the print cooling system.  The chocolate will come out the extruder nozzle in a semi-molten state.  It needs to solidify by the time the next layer of chocolate gets deposited on it, and I’d prefer it doesn’t drip or sag, so it needs to be chilled right after extrusion.  The current plan is to blow chilled air over the chocolate just after it leaves the extruder.   The chilled air will come from a foam insulated box containing a block of dry ice.  There will be a blower pushing air into the box and a hose delivering the chilled air/CO2 to the print.

A couple weeks ago I got a blower from American Science and Surplus and this week I got it running by using a model airplane ESC and servo tester to drive its brushless DC motor.  It appears to be capable of blowing much more air than I’ll need.  There are many unknowns yet to test.  How much chilled air/CO2 will it take to solidify the chocolate after it leaves the extruder?  How long will a block of dry ice last when used this way?  Will ice build-up inside the chiller box adversely affect its performance?

I designed and printed three parts for this system- a mount to attach the blower to a foam box up to 1.5″ thick, a hose coupler to allow delivery of the chilled air/CO2 to the print, and a hole saw to cut holes to fit the other two parts.   The printed parts fit as if they were designed for the job!

3D printed hole saw

3D printed hole saw

Hose connected to hose coupler

Hose connected to hose coupler

Hose coupler parts

Hose coupler parts

Blower mount for air chiller box

Blower mount for air chiller box

First Ever Test of the 3.5 Liter Syringe Extruder

My last post showed how I made a plunger for a 3.5 liter syringe.  Today’s post is the results of the first ever test of that syringe assembly including the plunger.  The goal of the test was to determine if the syringe pusher would be able to push very thick, viscous paste (sort of like melted chocolate) out of the 1/4″ syringe nozzle.  It was also a test of the ability of the previously made silicone plunger to maintain a seal even against whatever pressure develops inside the syringe as it is pushing.

I mixed about 1 liter of extra thick pancake batter to a consistency that I thought would be much thicker than molten chocolate (pancake batter is much cheaper than chocolate) and shoveled it into the syringe, then bolted on the pusher and hooked it up to a power supply:

Looking back, I probably should have loaded the syringe from the other end.

Syringe loaded with super thick pancake batter.

Syringe loaded with super thick pancake batter.


Here’s the actual test.  It gets especially interesting about 1 minute in:

The syringe continued drooling after power was removed due to air that was trapped inside the syringe.  As the plunger pushed, the air was compressed.  When the motor stopped the compressed air continued to push out the batter.  I will have to be careful to eliminate air bubbles in the material when it comes time to use this in a printer.

It only took a couple minutes to clean out the syringe after the test was done.

The pusher did its job much better than expected, and the plunger held up just fine, too.  I feel confident that this device will be able to extrude chocolate.   Now the real work begins…