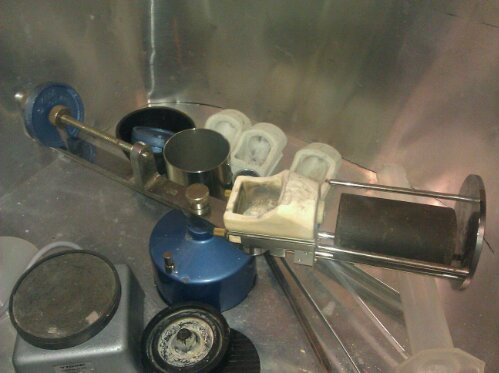
Previously I had blogged about a Star Trek logo that I cast as gift for my sister-in-law. I’ll update that project later in the post, however, I held a second casting back from the blog as it was intended as a gift for my wife.
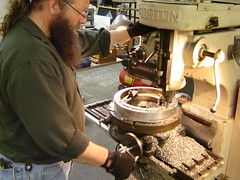
For a couple of years my wife co-ran Milwaukee’s Food Not Bombs movement. She has always had fond memories of that time and has on more than one occasion brought up their logo: a hand clutching a carrot. So, I decided to make her a pendant with a relieved carving of that logo. To begin with I pulled the jpg logo into Inkscape loaded with the Better Better DXF Output plugin. I used the Inkscape drawing primitives to trace over the major outlines of the logo and then export the tracing to DXF. Once in DXF I imported the file into CamBam where I cleaned of the drawing a little more and defined machining operations for our CNC Router to perform. I turned the outlines into a series of adjacent polygons. (e.g. a wrist polygon, a thumb polygon, etc.) I then setup pocket operations of varying depths on each polygon. Finally, I exported the file to G-Code for consumption by the Mach 3 router control program.
 If you look you can kind of see the polygons even if the depth setting of each pocket is not apparent.

 Above you can see the pendant in the process of being routed out and also the finished wax mold after routing. Below you can see the pendant after casting! She loved it and wears it frequently. I was a really good feeling to actually put some effort into making a gift this year. It made the act of giving the gift that much more special.

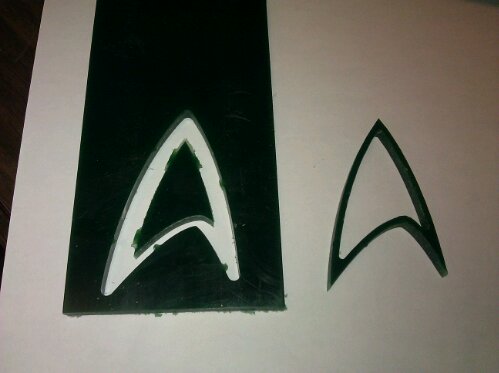
I also completed the Star Trek logo. I turned that into a broach.

Above you can see that I have mounted the Star Trek logo to a plastic backing. I’ve also cut one of Adafruit’s EL Panels way down in size and hooked it up to another one of her small inverters. The small inverter normally cannot run her panels, but after being cut down so much, it wasn’t a problem. Below you can see the two pieces put together.
 And finally the finished gift!
 As I said, I really enjoyed giving gifts that I made this year. I am going to try to do more of that!


