Magic Mirror Theater Prop

My sister is a Theater Manager at the Patel Conservatory in Tampa, FL.  About two weeks ago she texted me and asked if I could make her a prop she needed for an upcoming production.  “How keen would you be on making me a mirror for “Beauty and The Beast,” she said.  “They want a mirror that lights up and sparkles like the one from the movie.” Even with limited experience just tinkering around, I knew I could do something fairly easily, so I agreed and got to work.

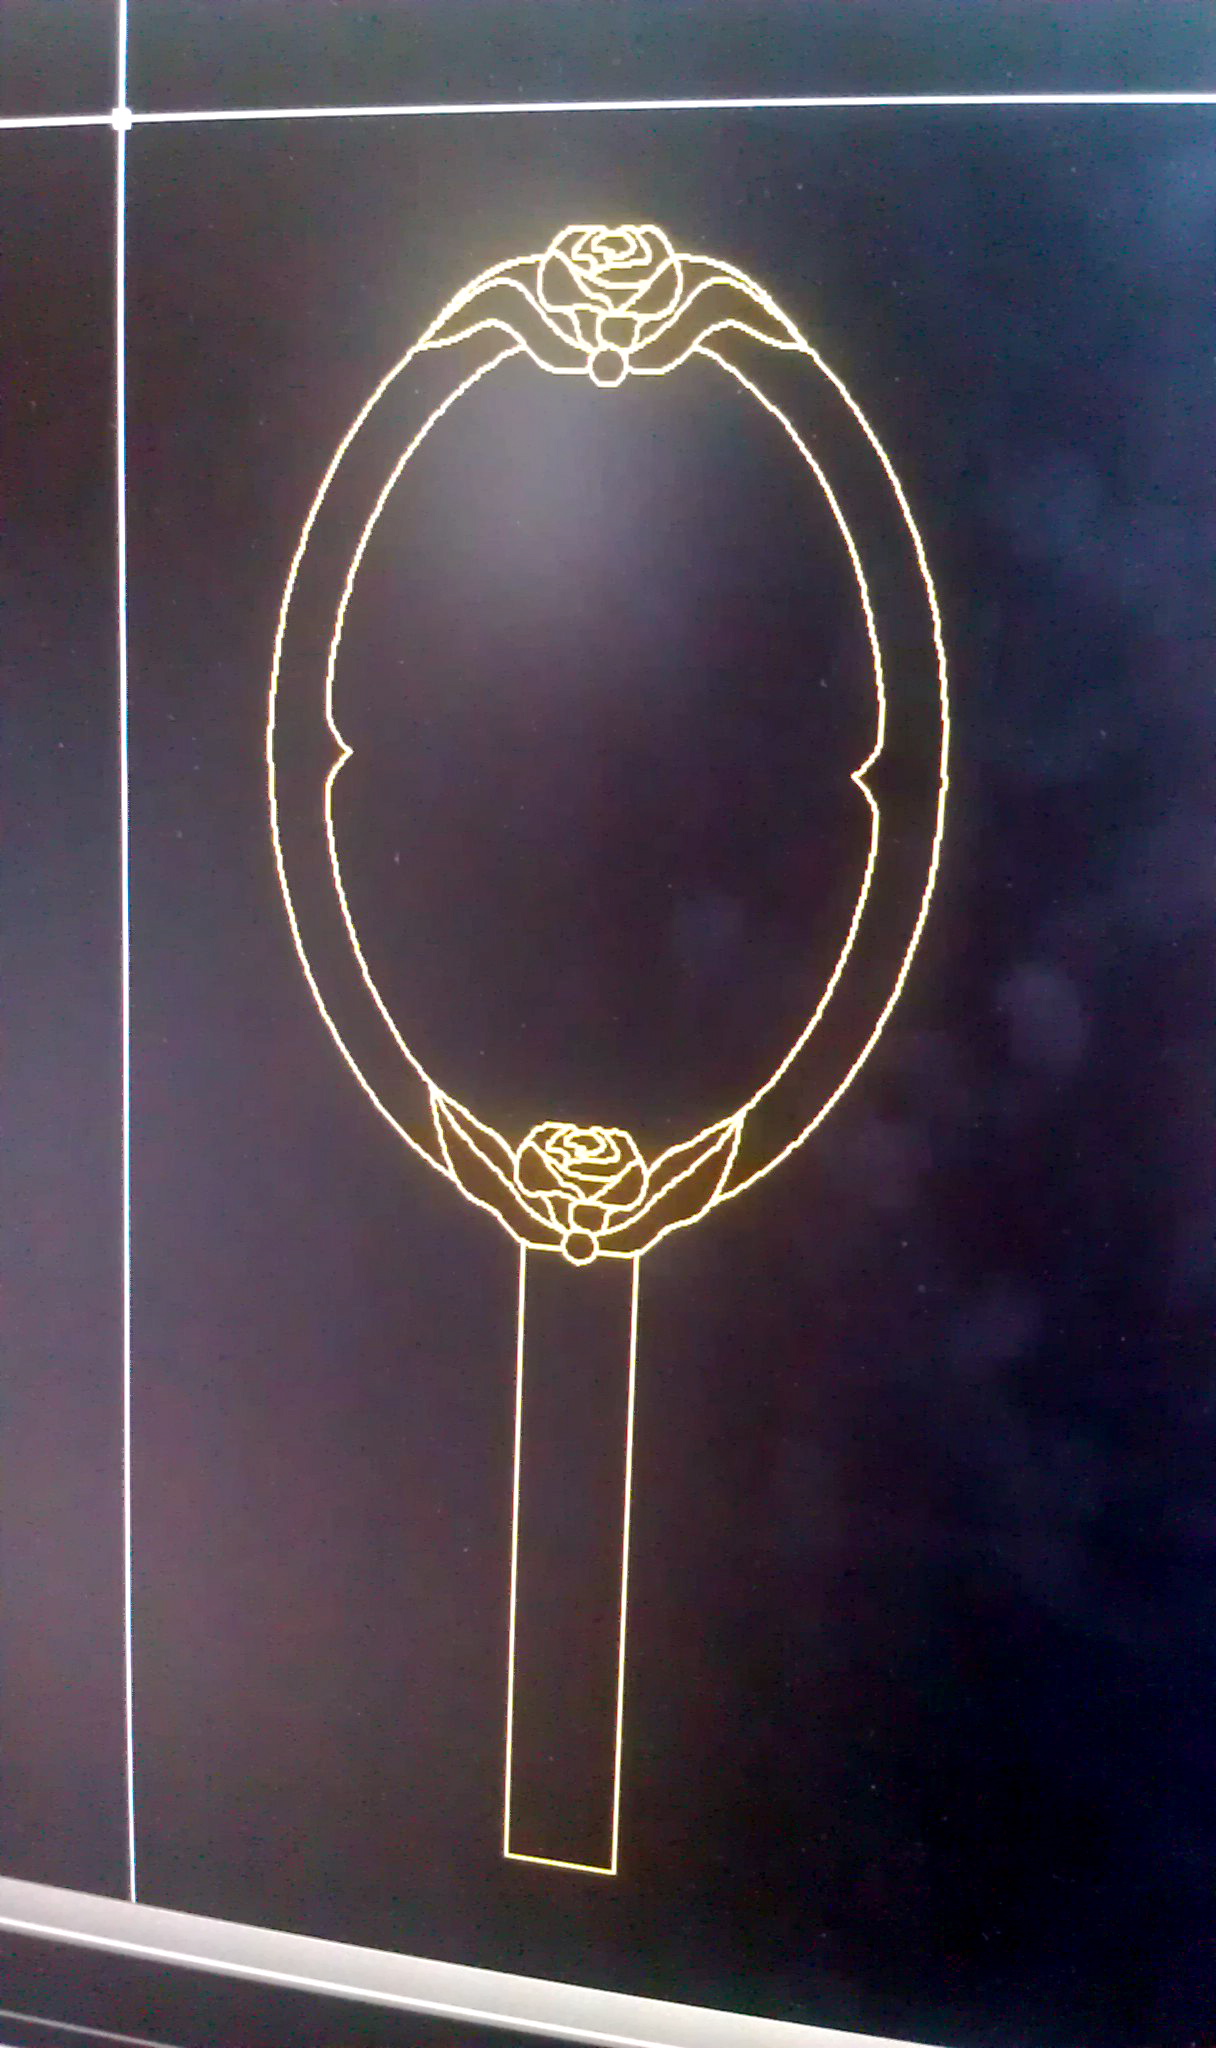
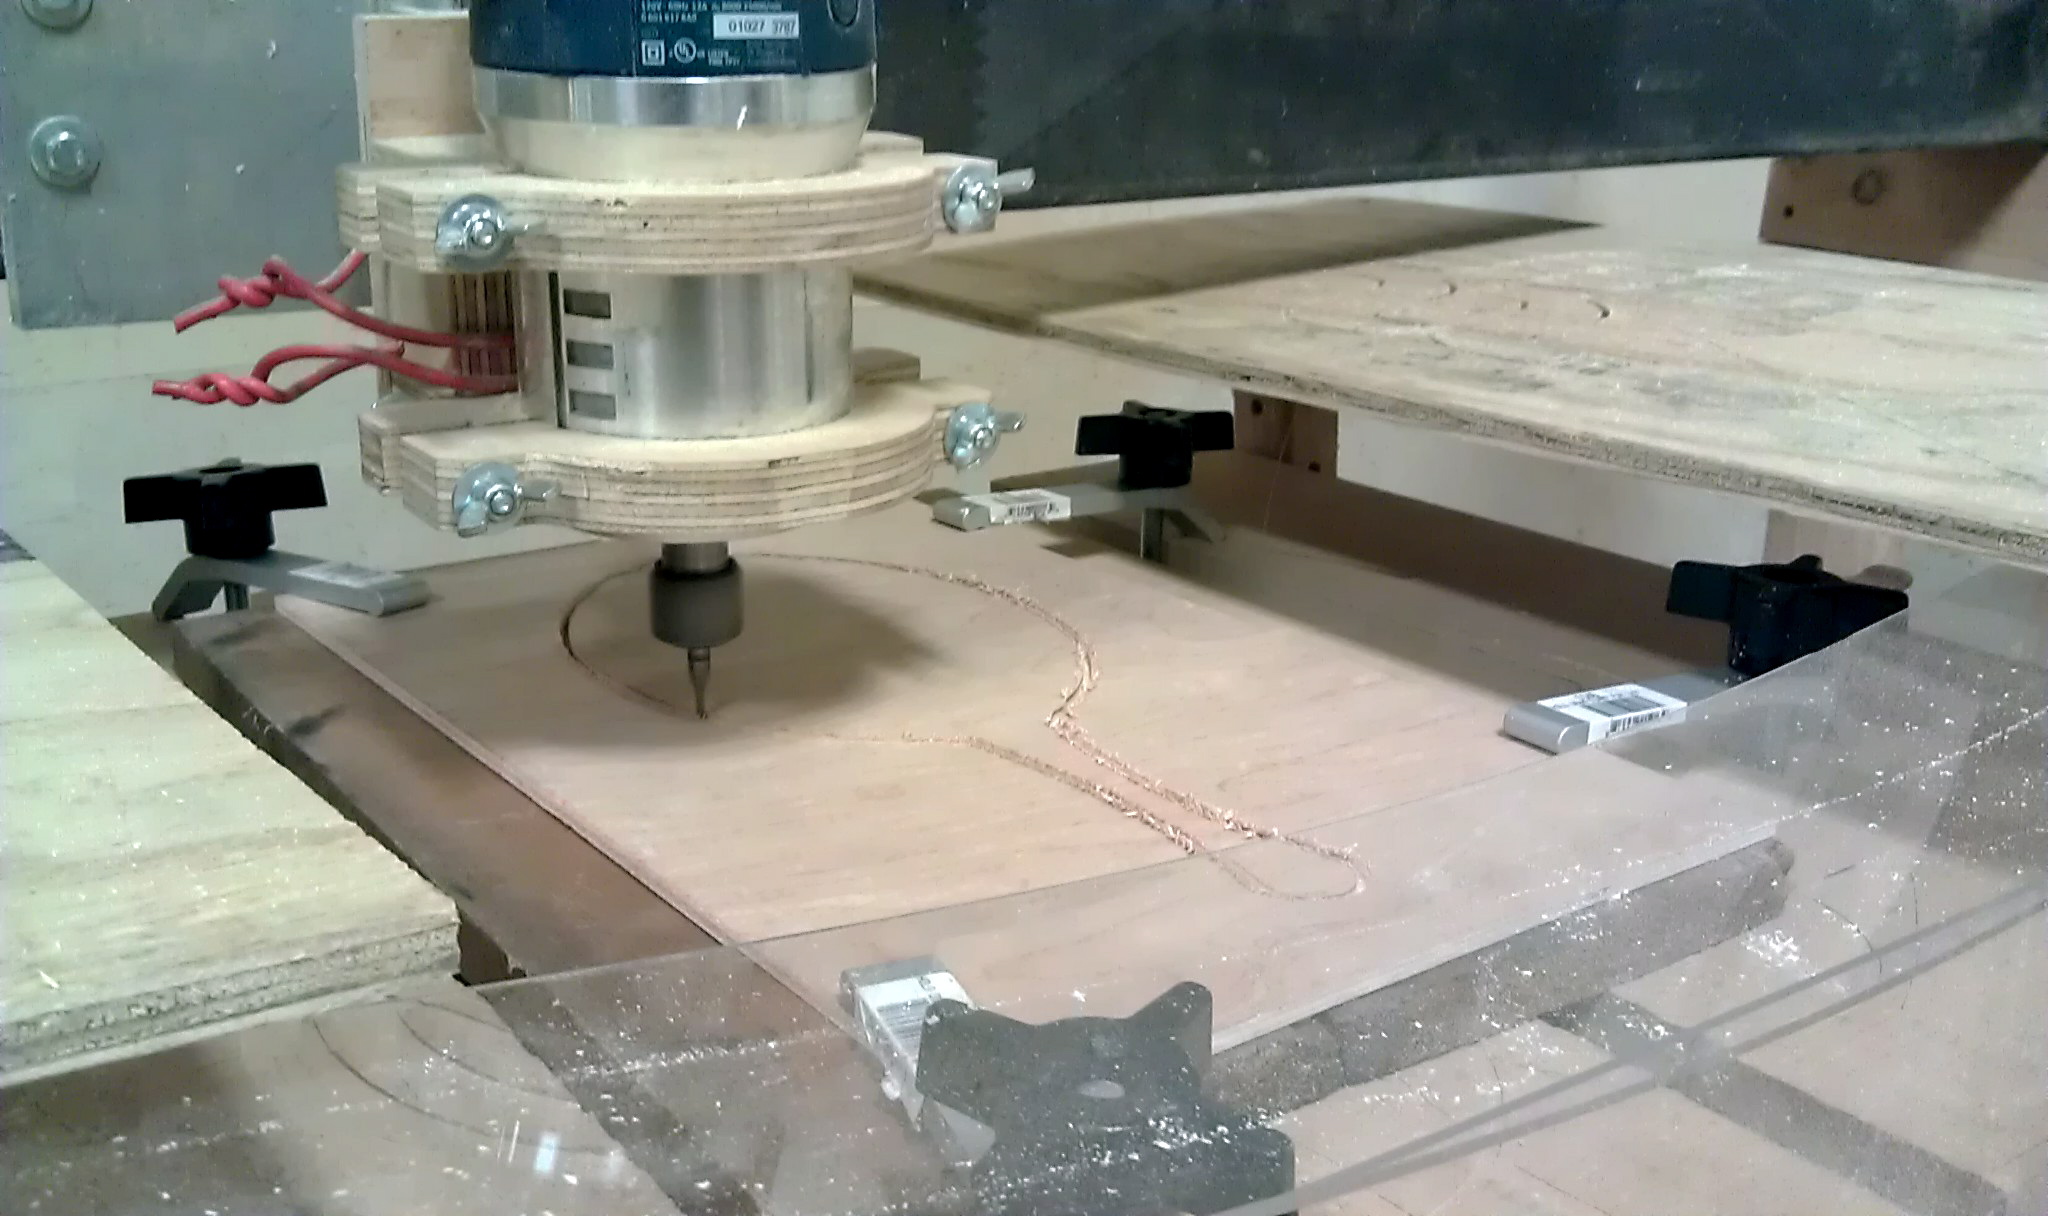
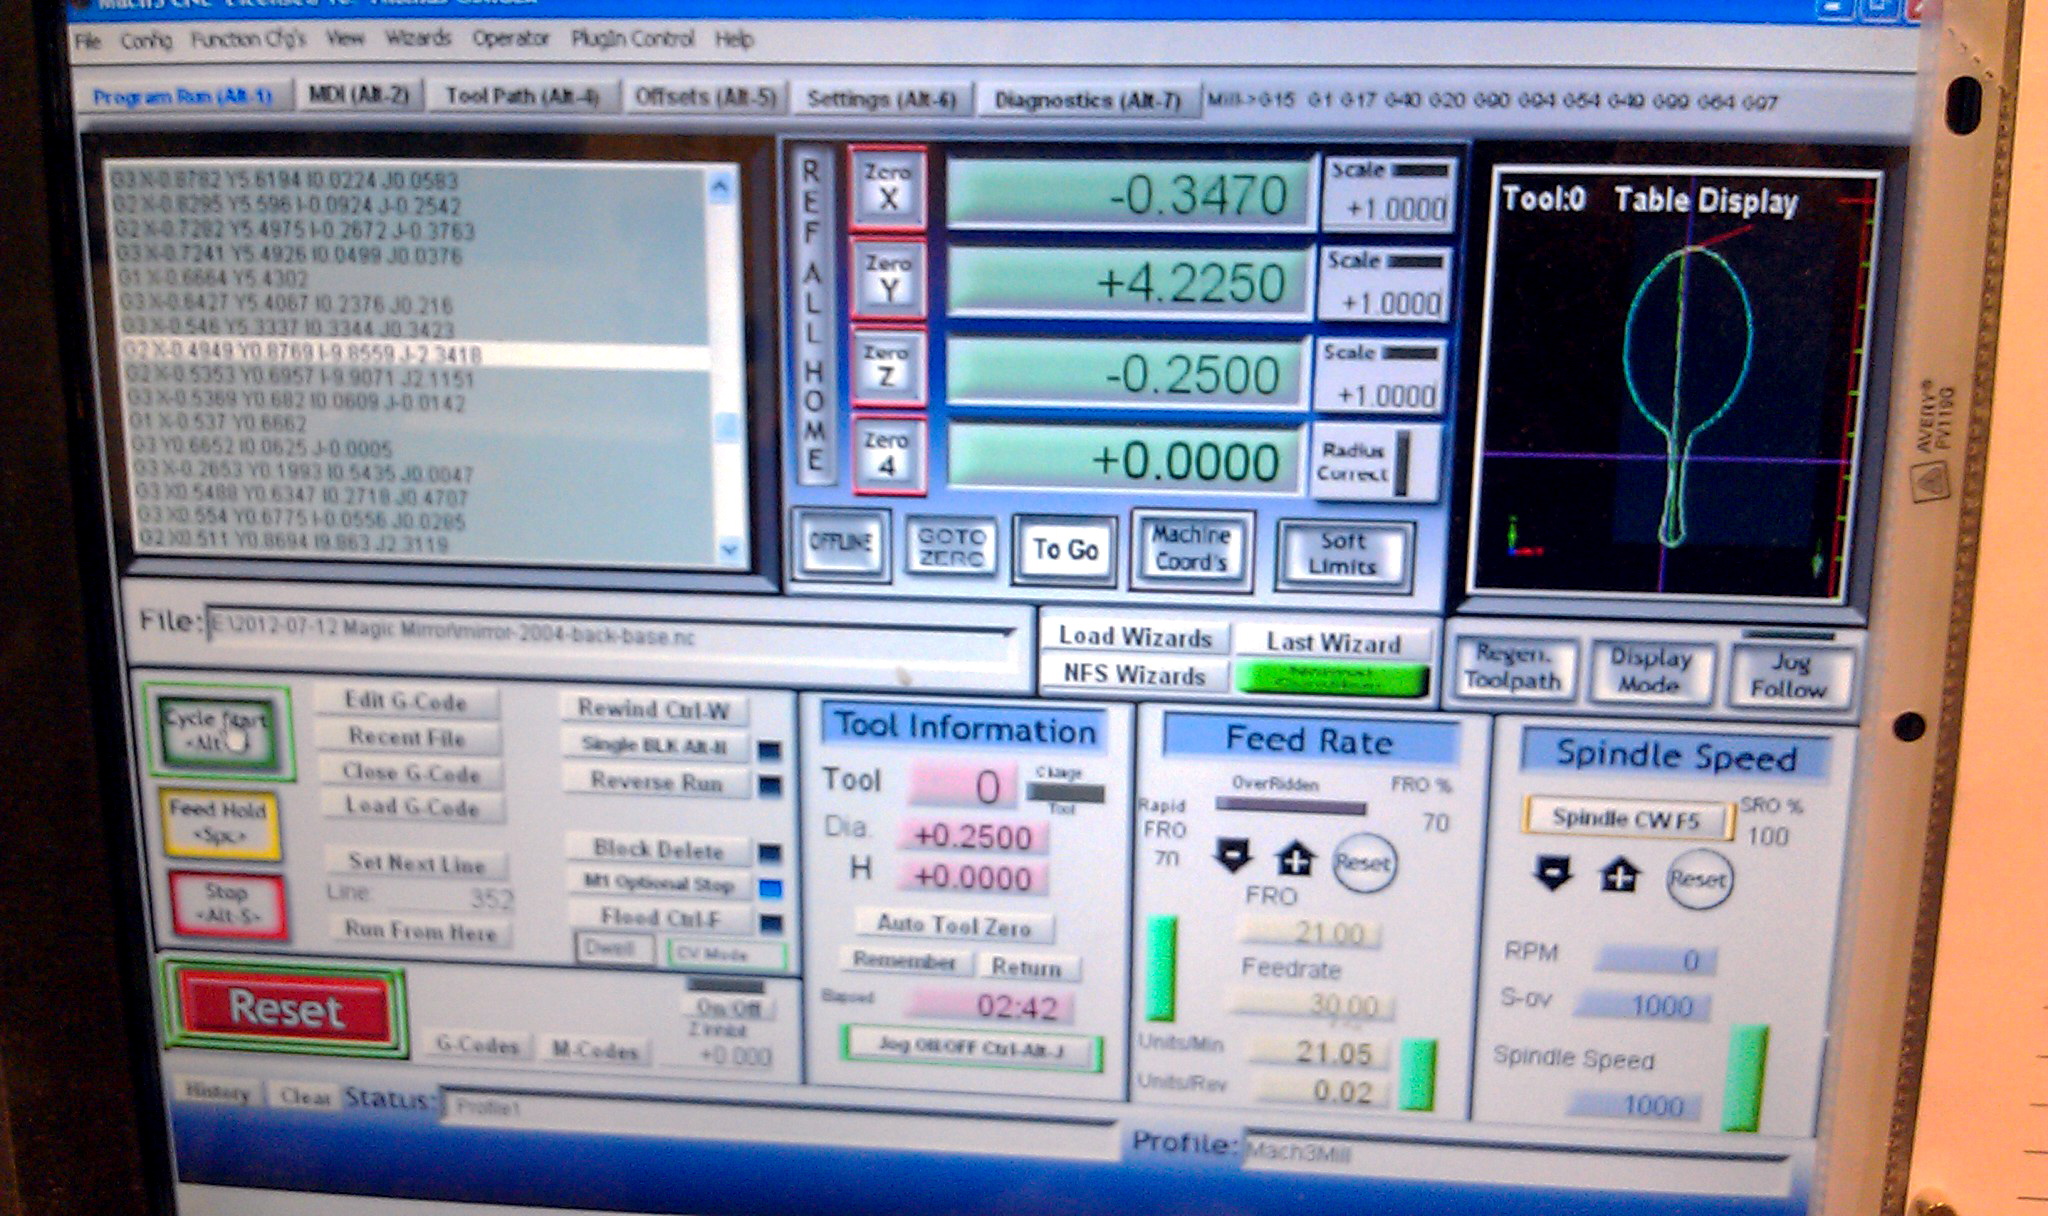
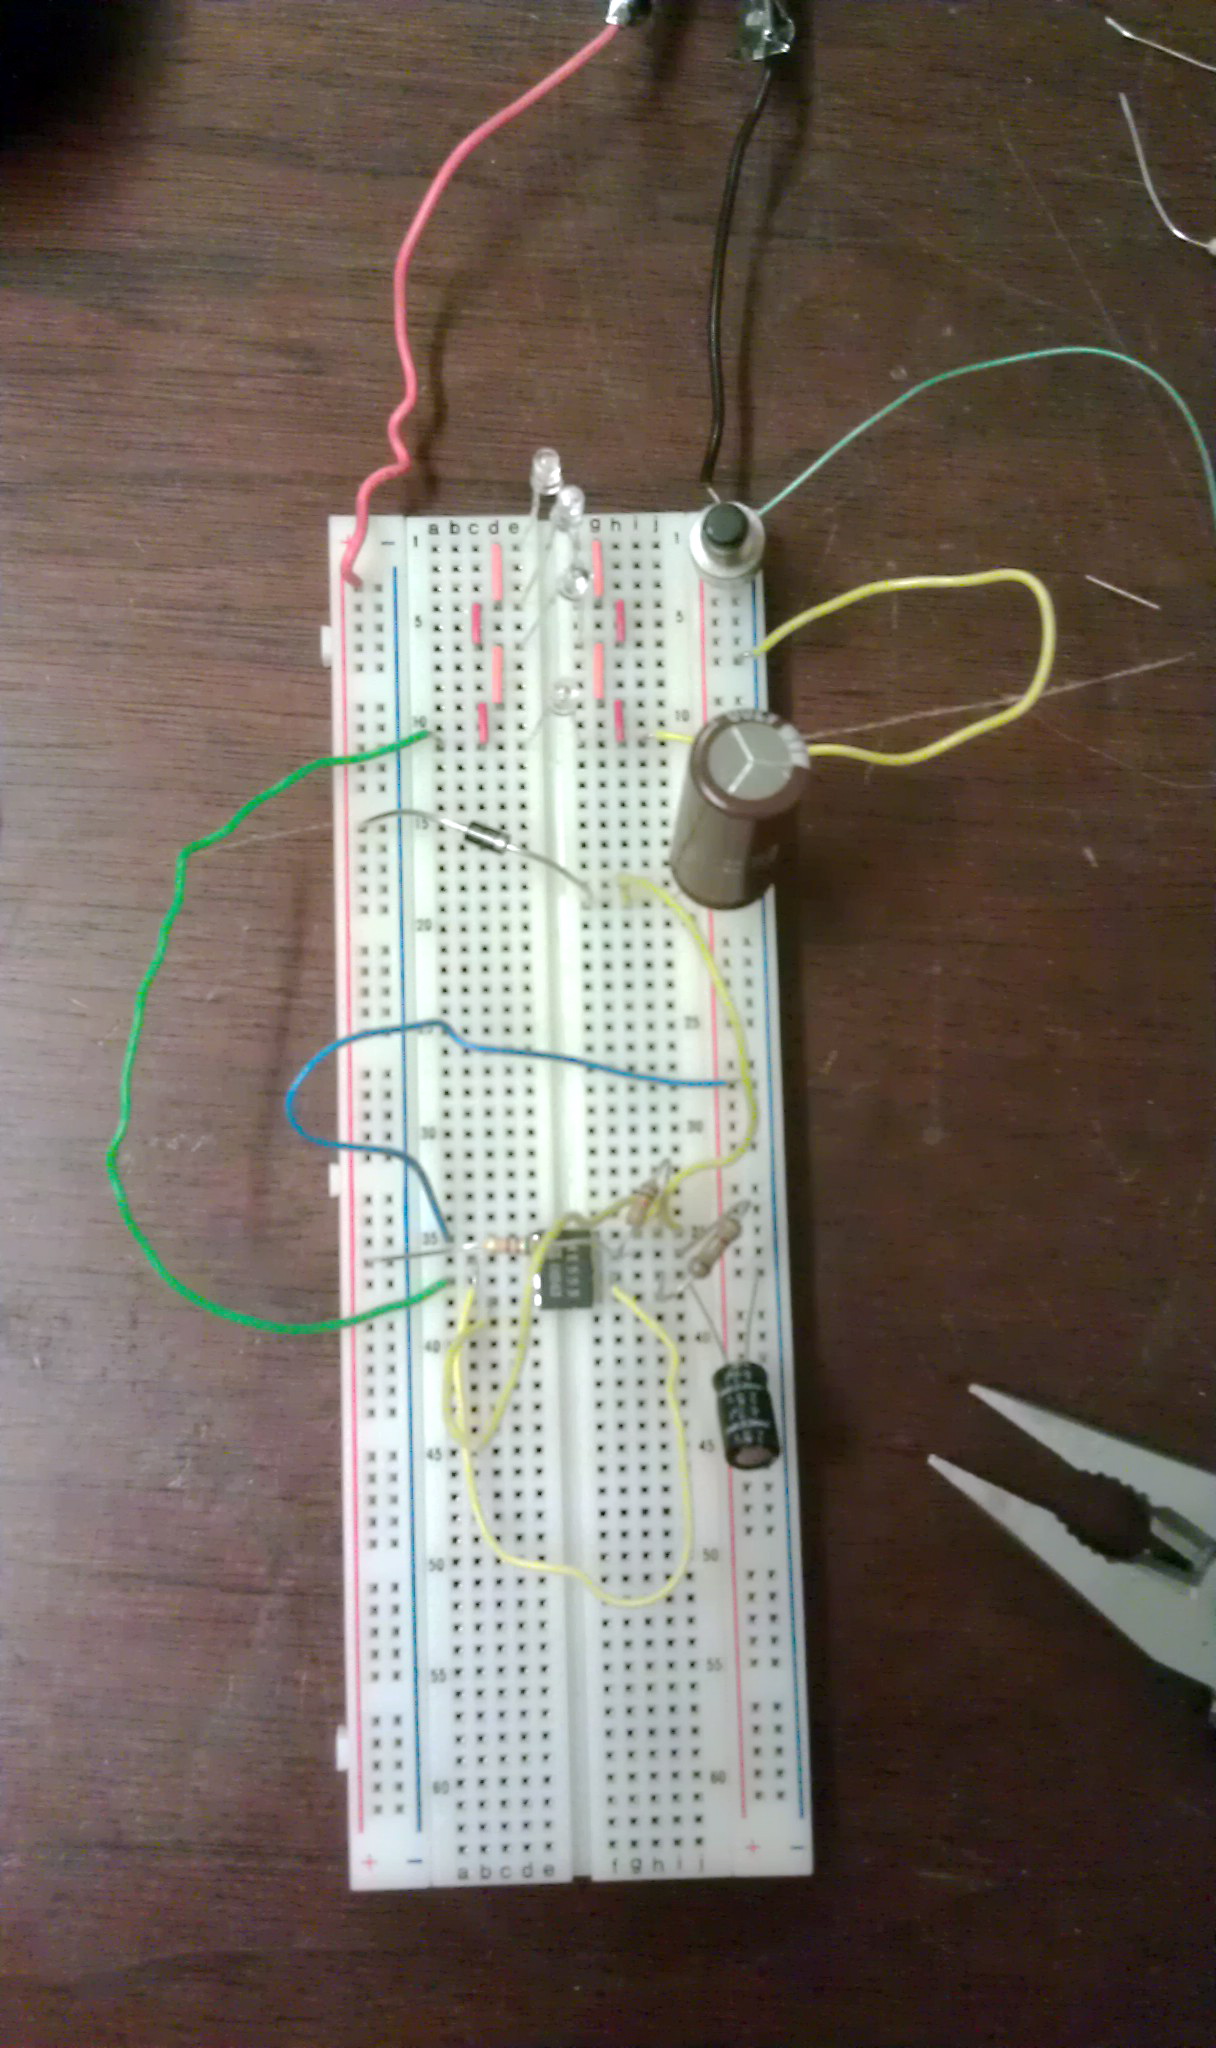
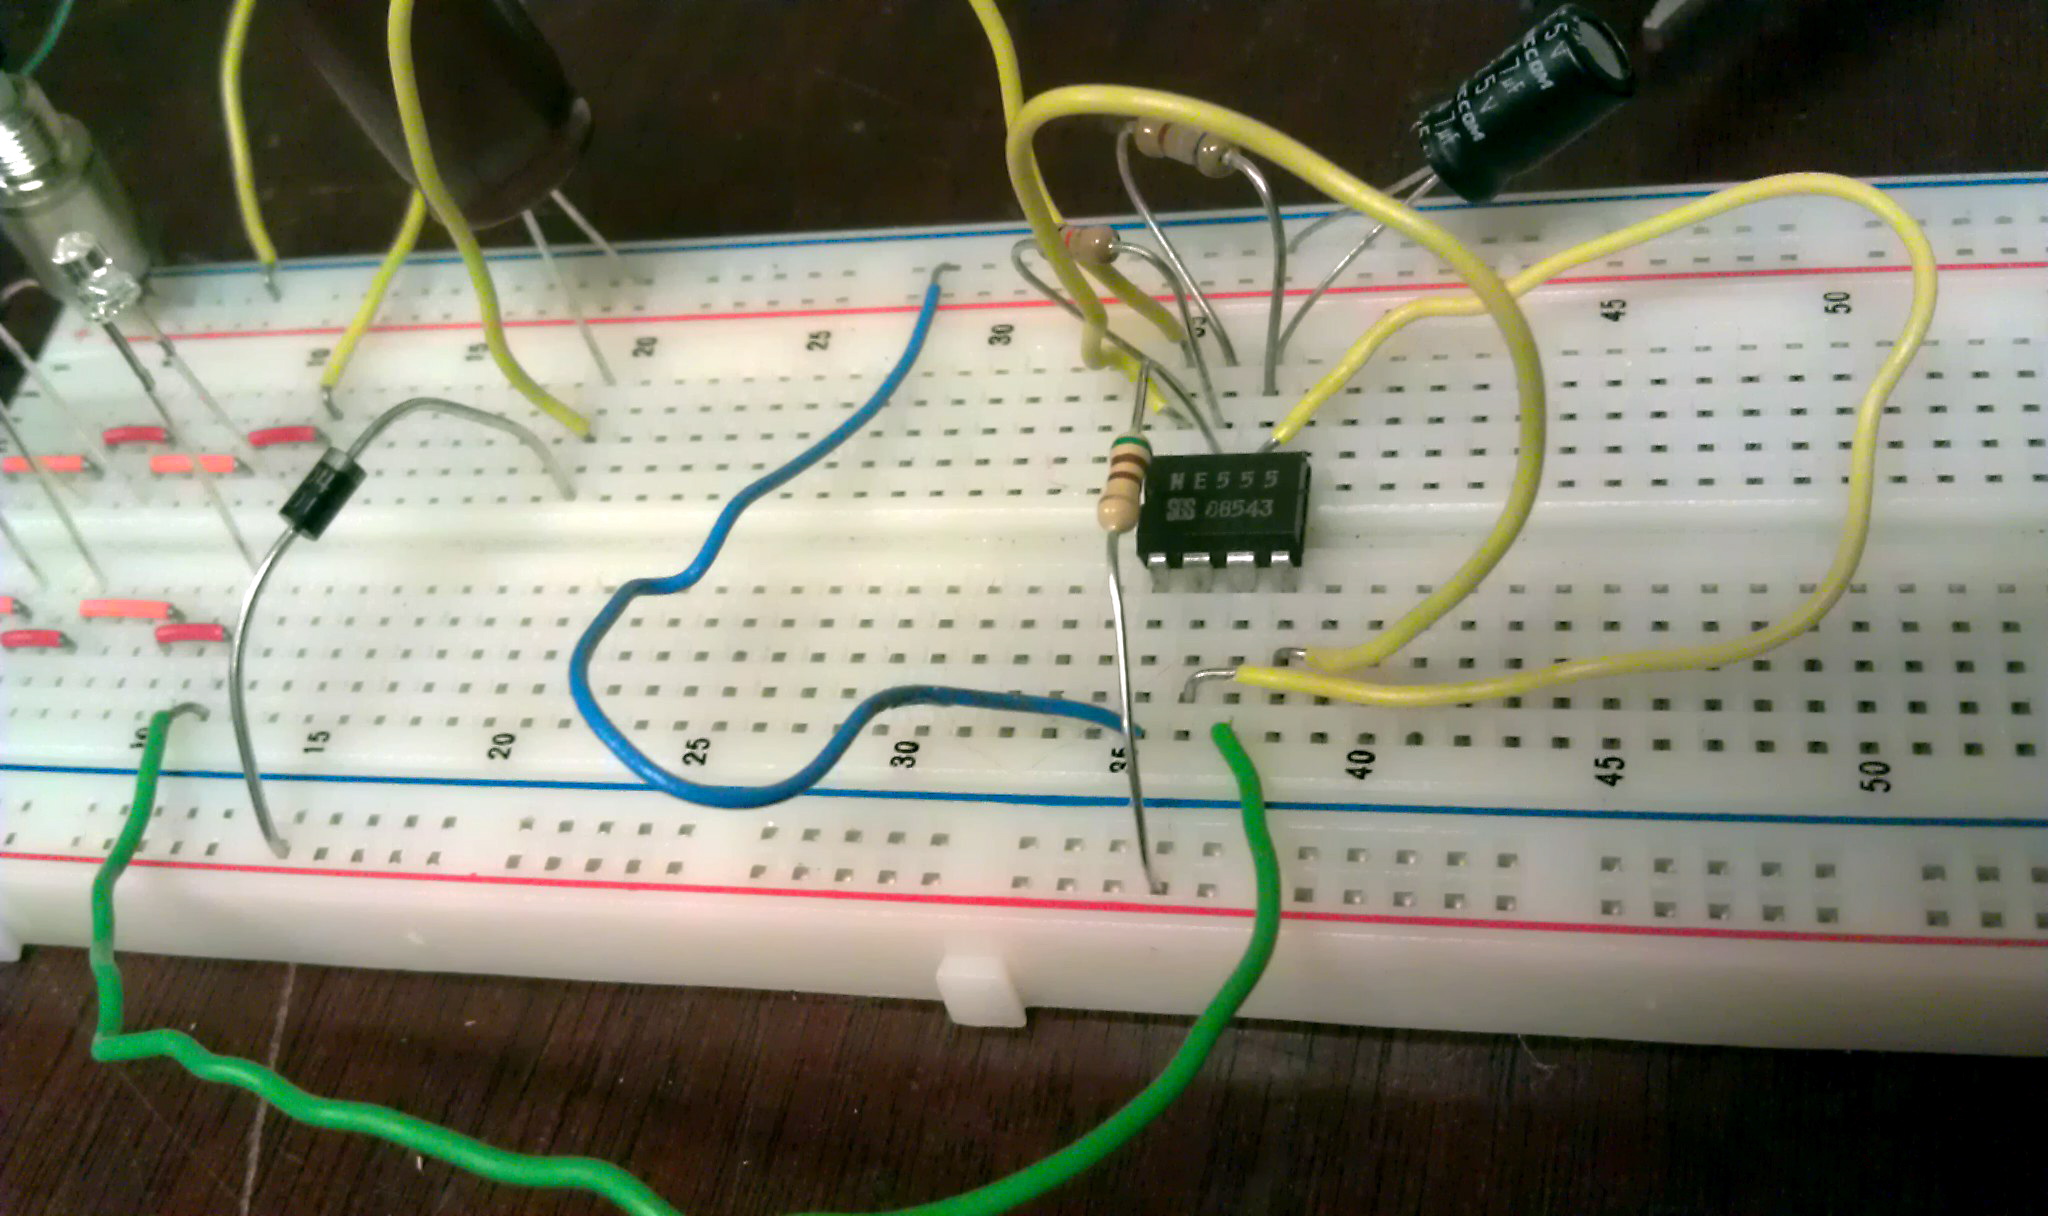
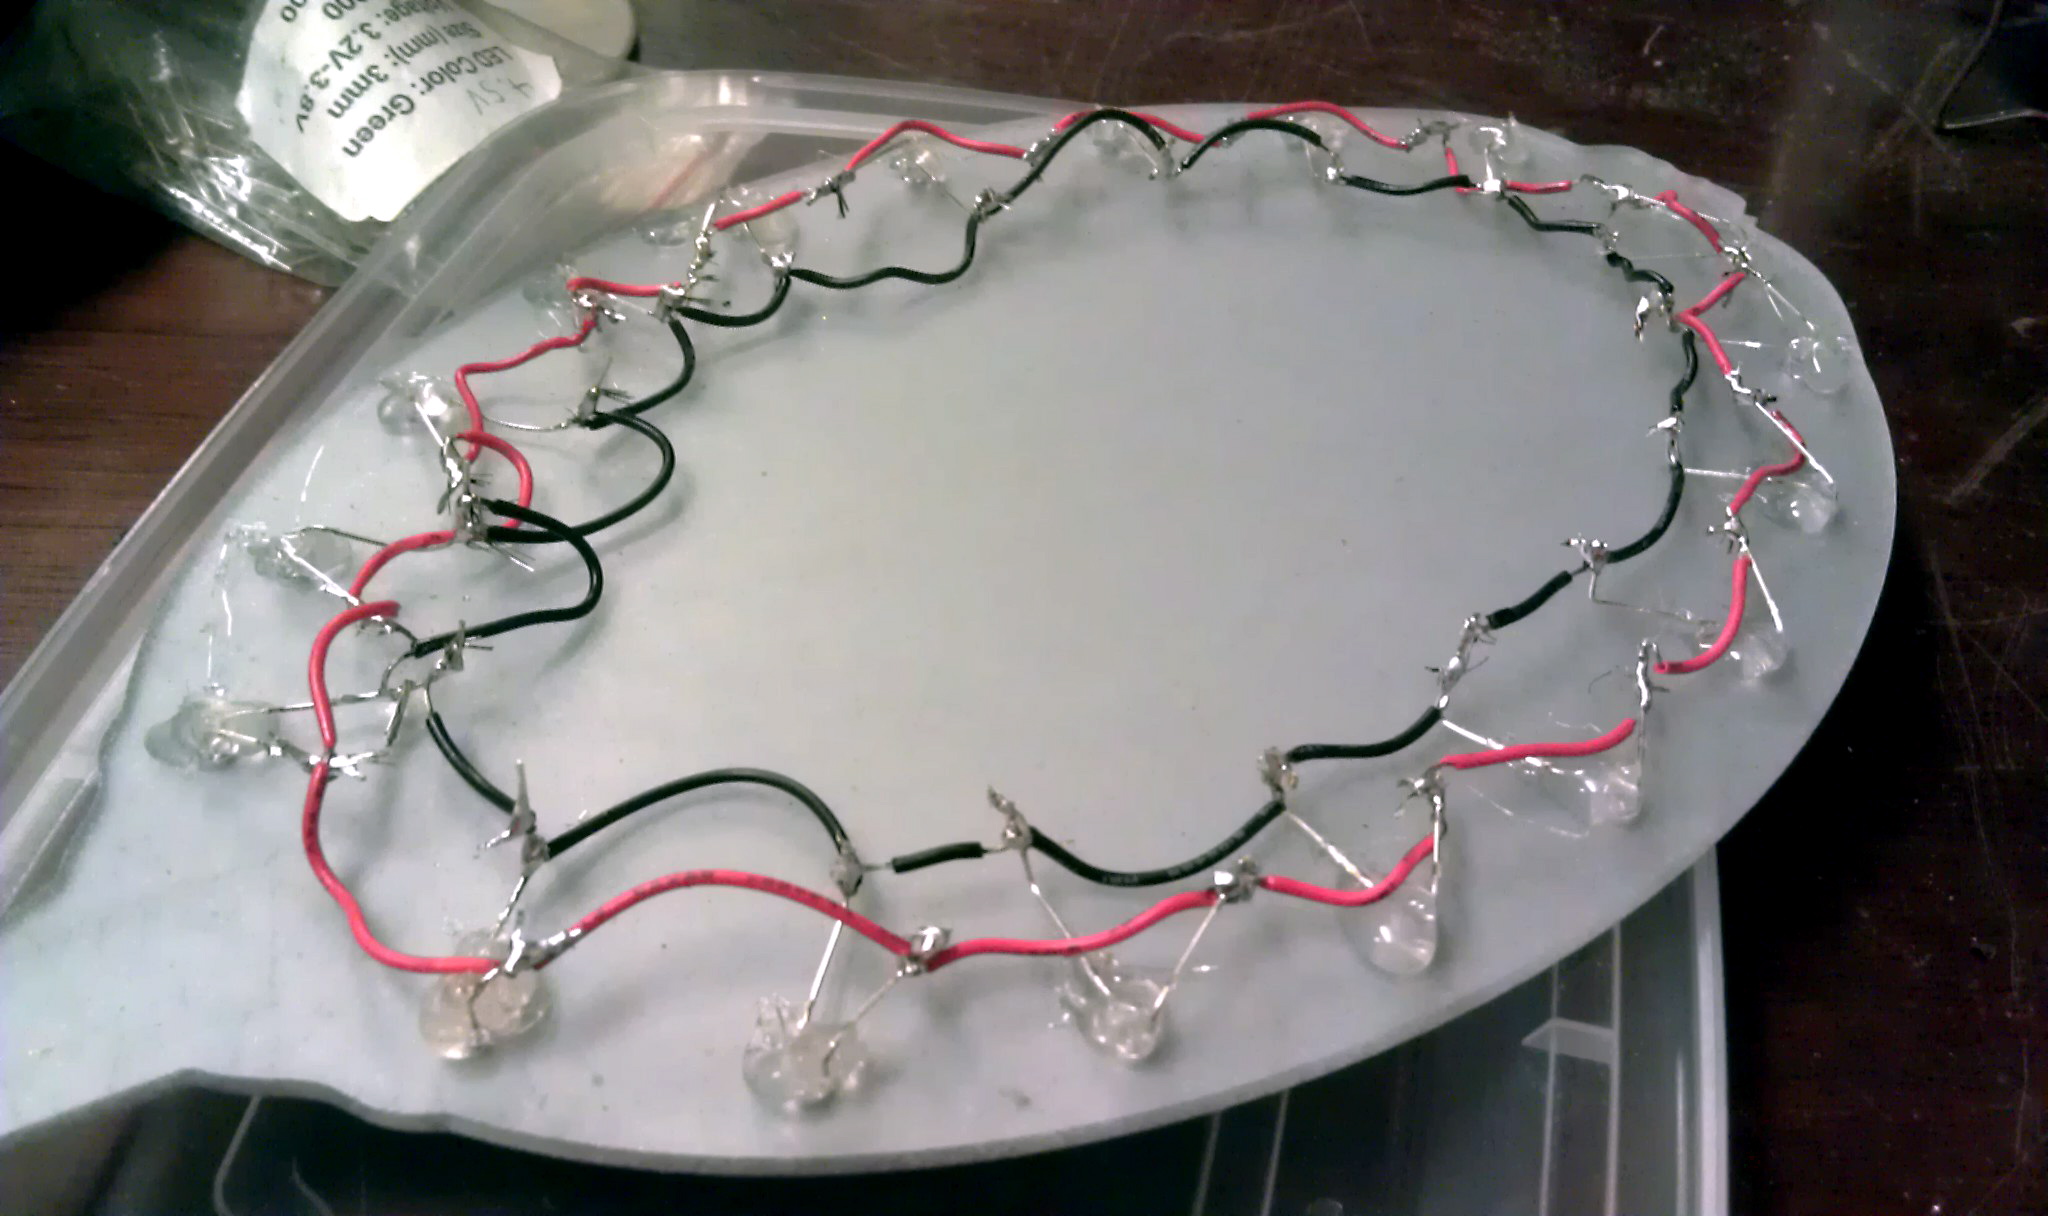
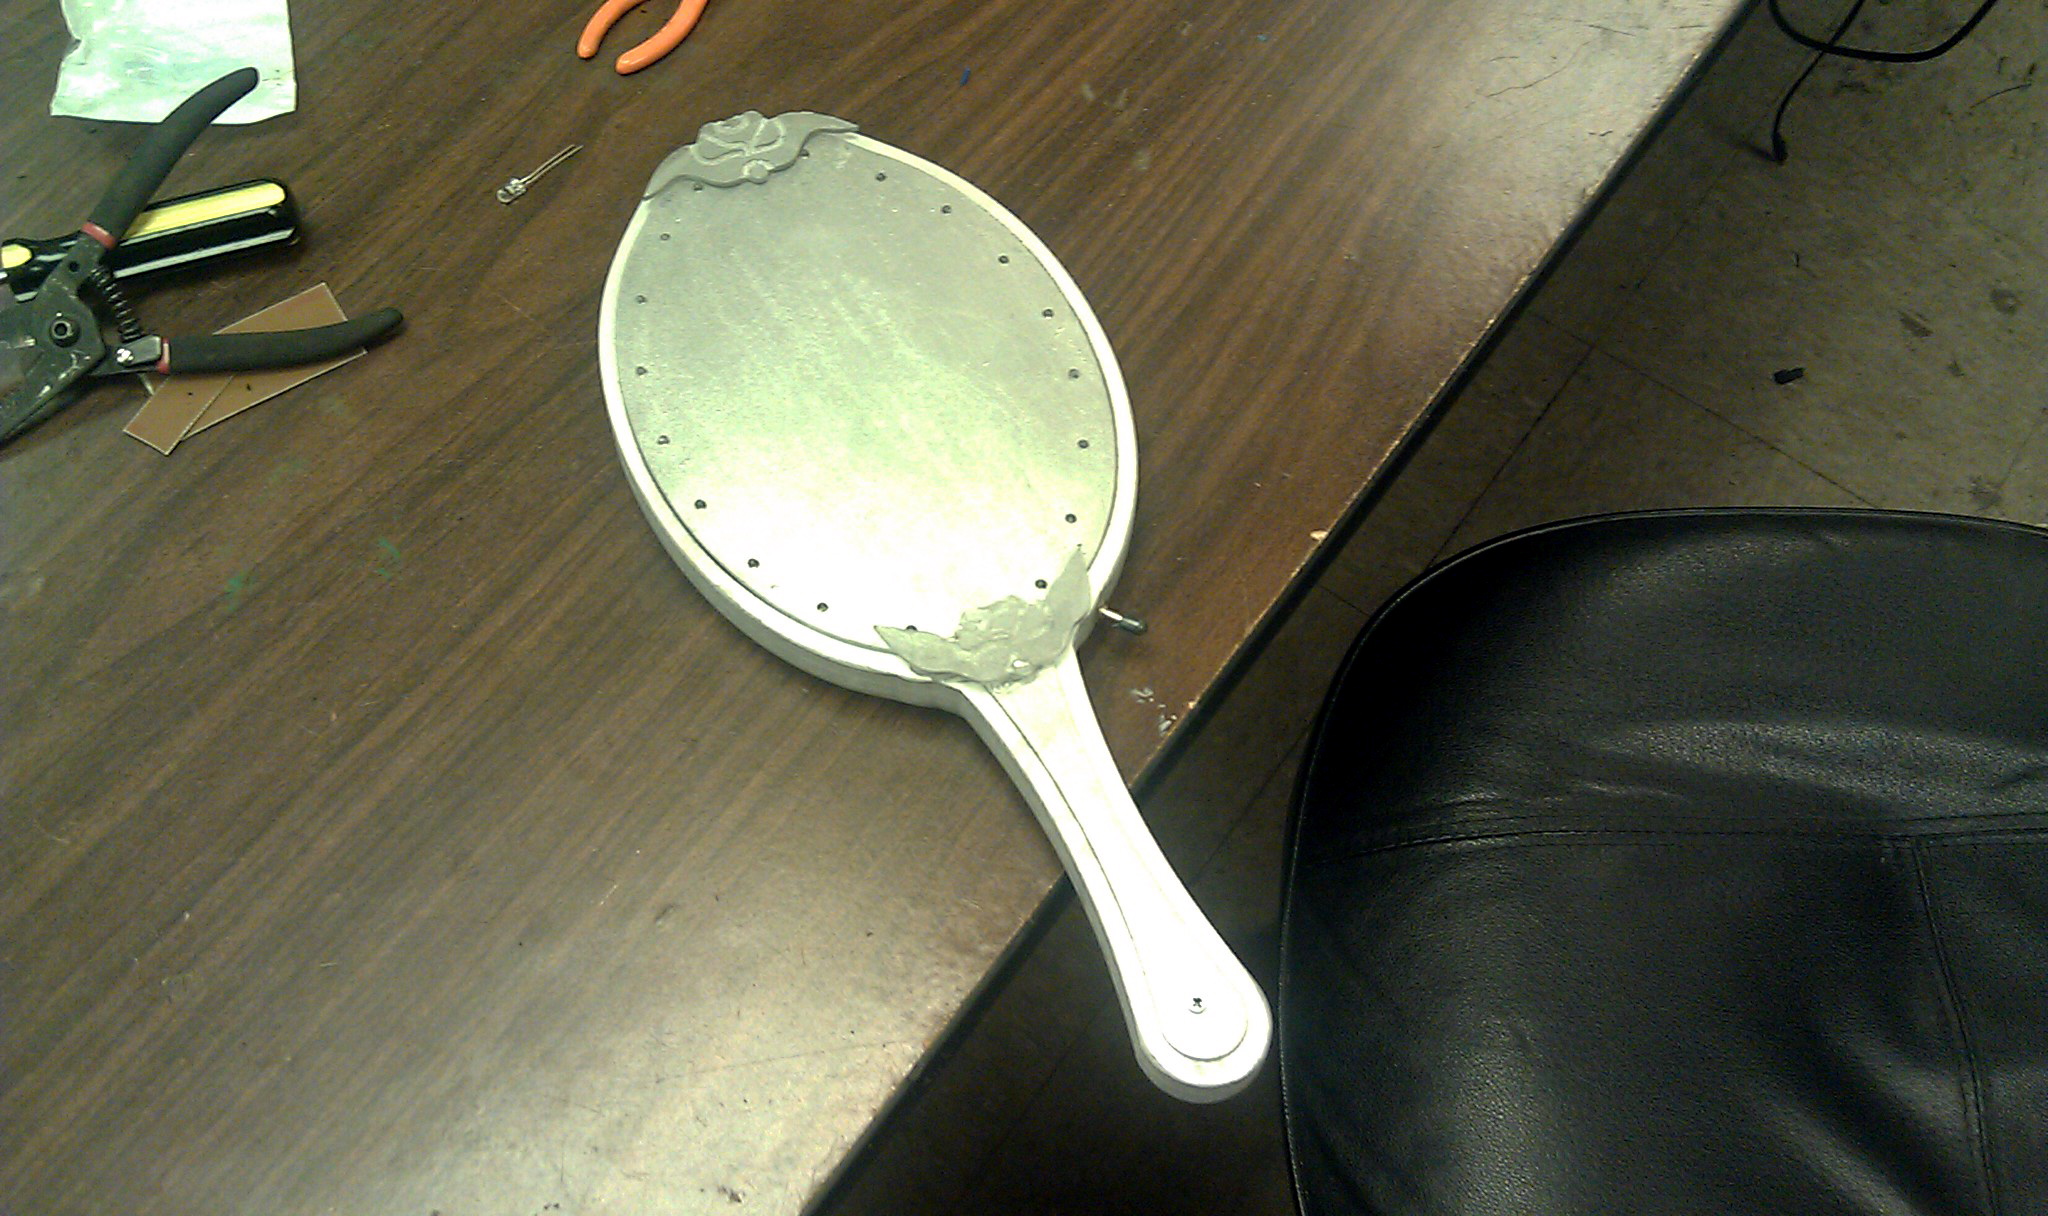
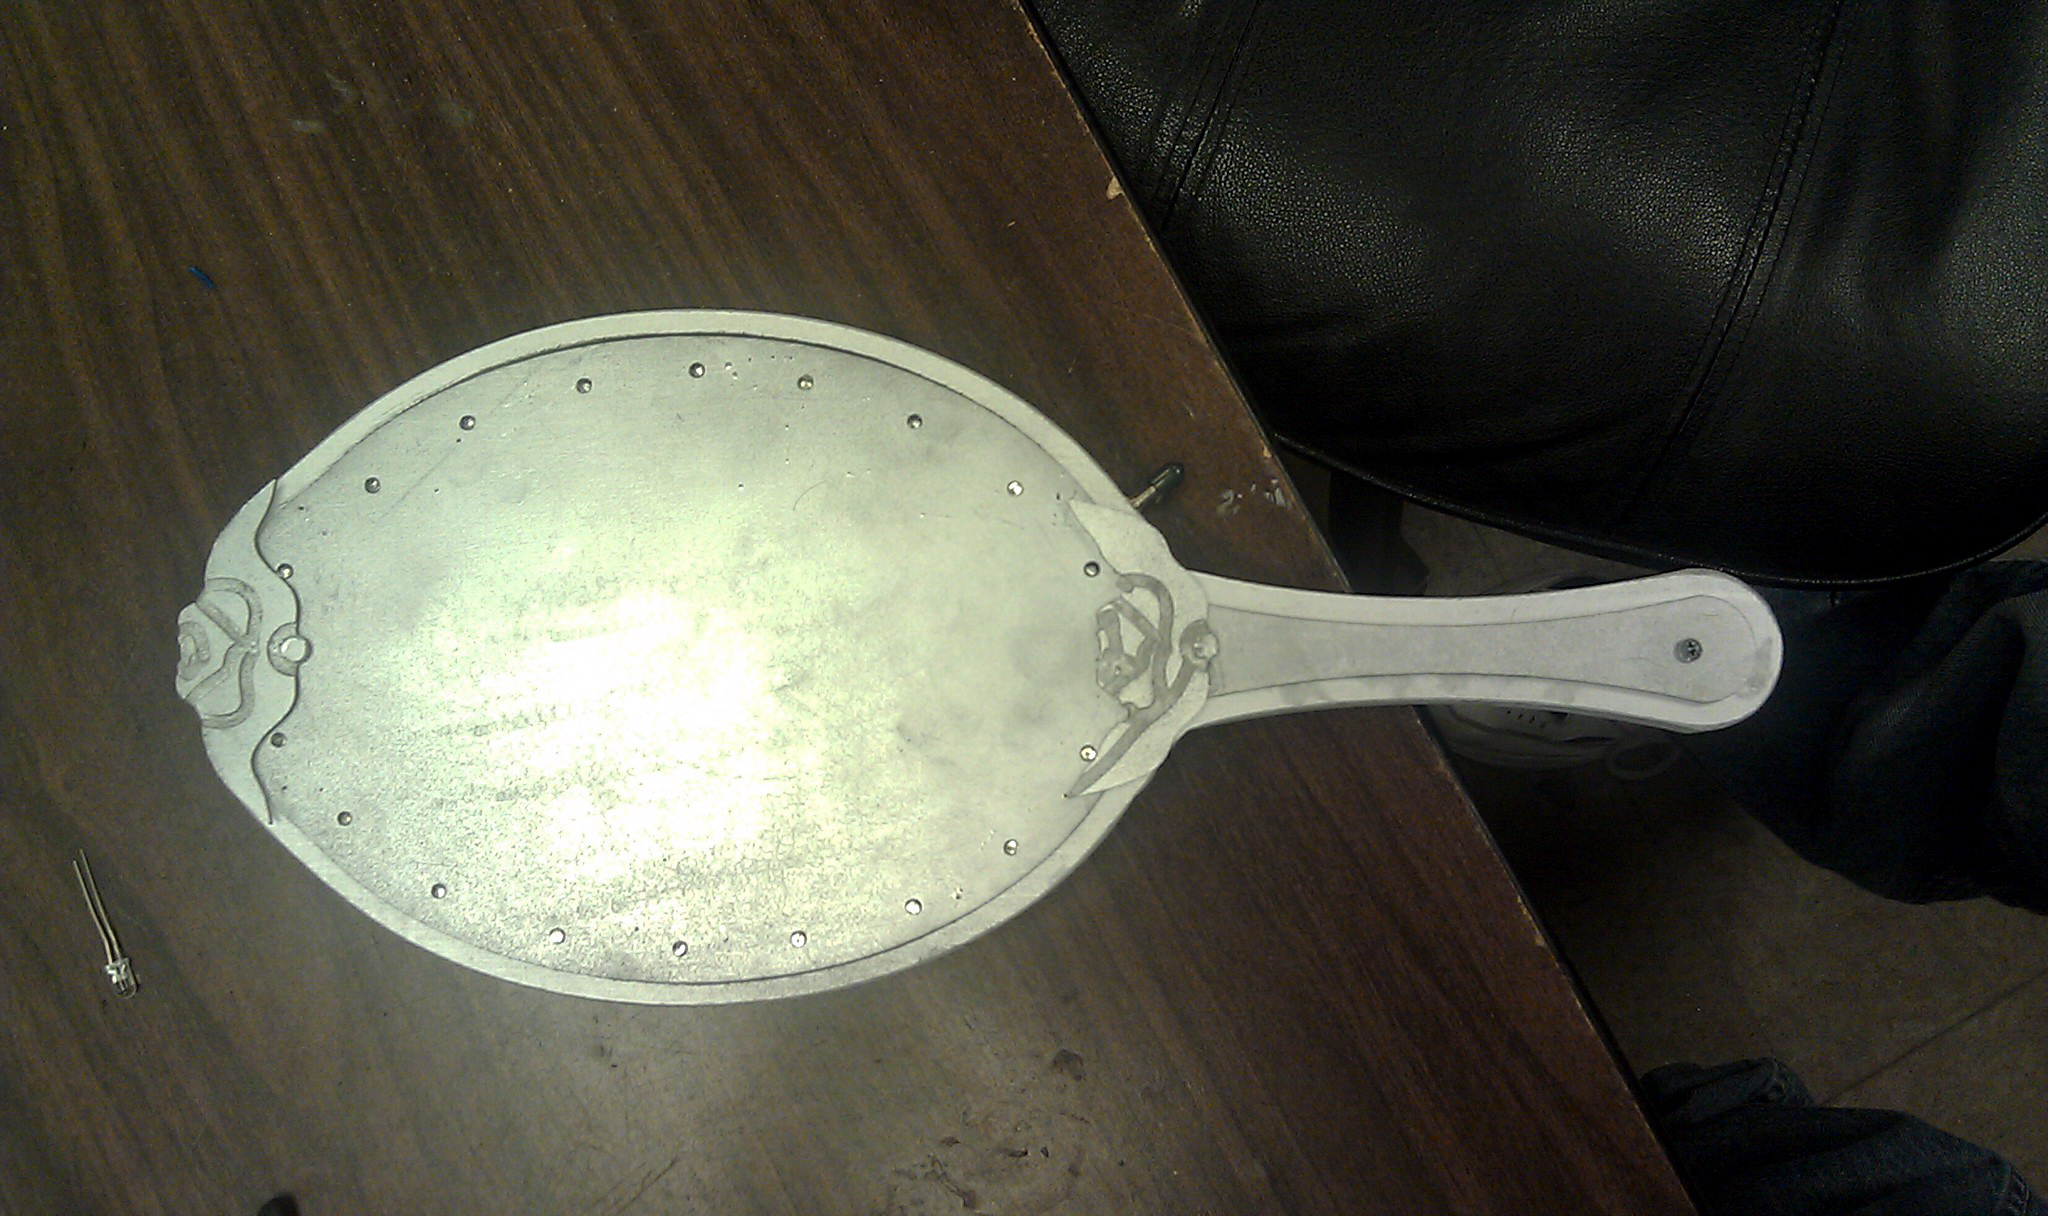
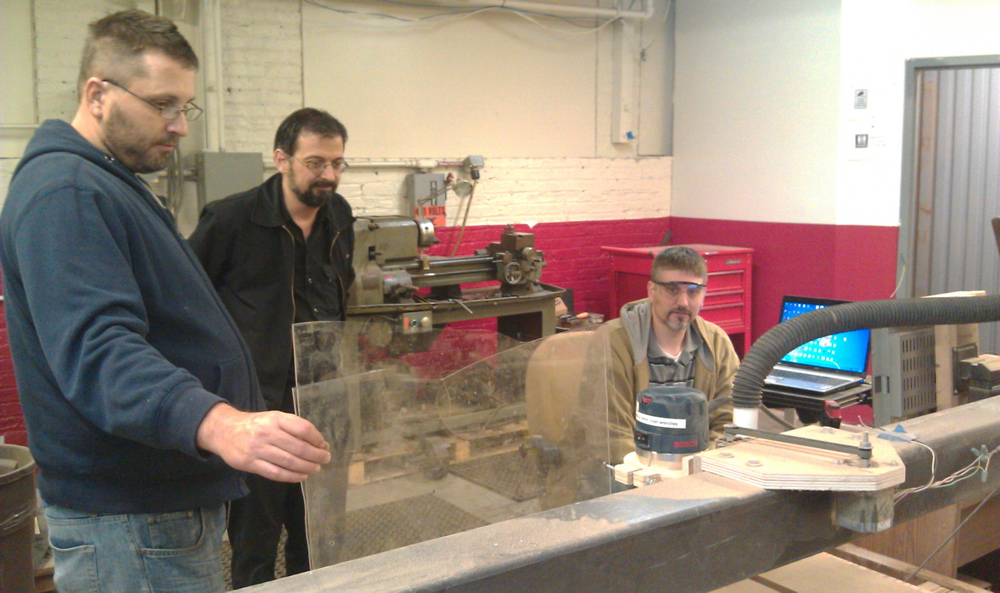
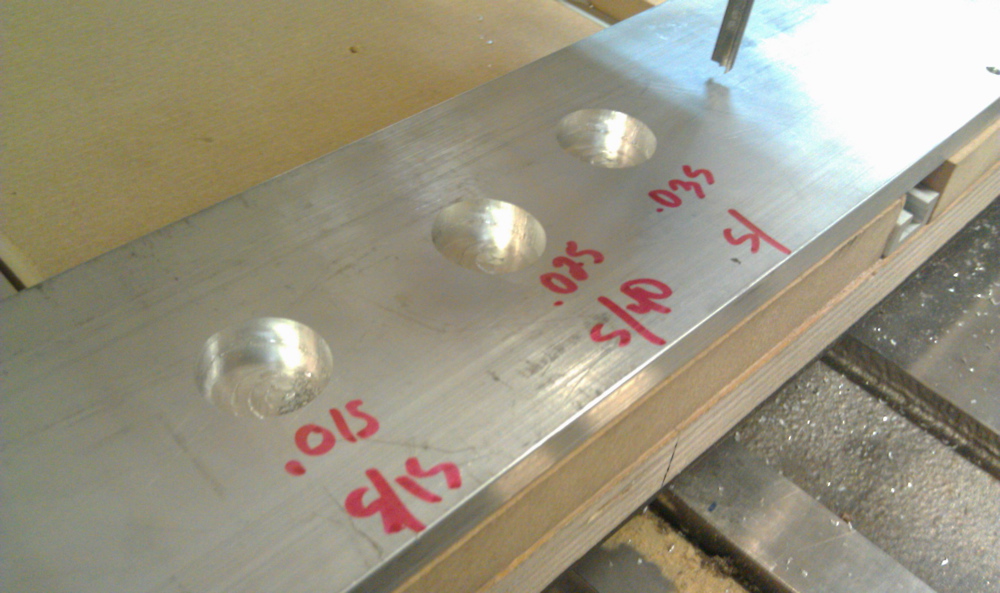
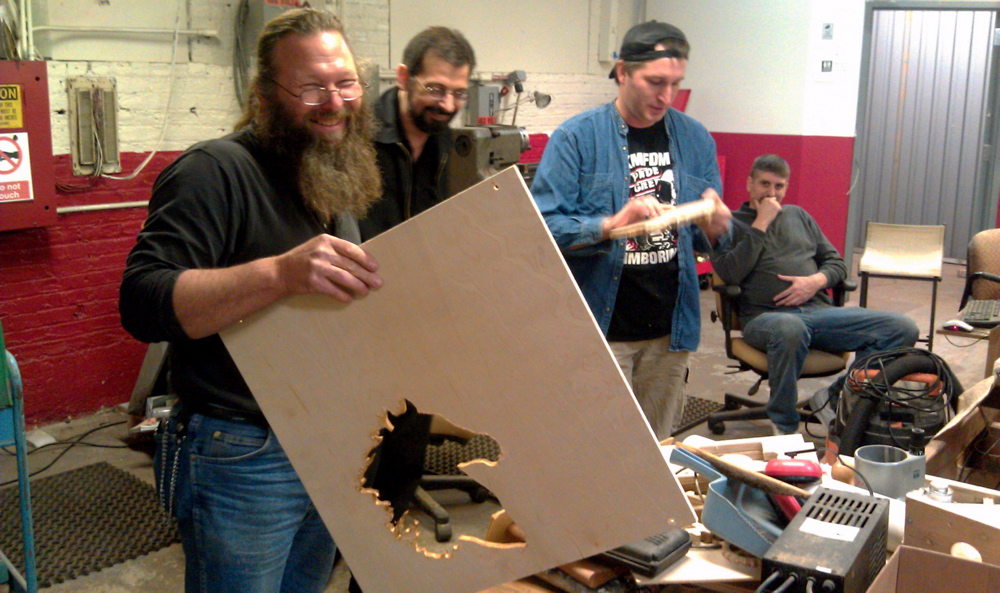
I combined two different circuits (a 555 timer to flash and a RC circuit to fade) and built a wooden frame with acrylic plates for the front and back.  The wood and plastic were CNC-milled, then sanded and painted before the electronics were installed and glued into place.

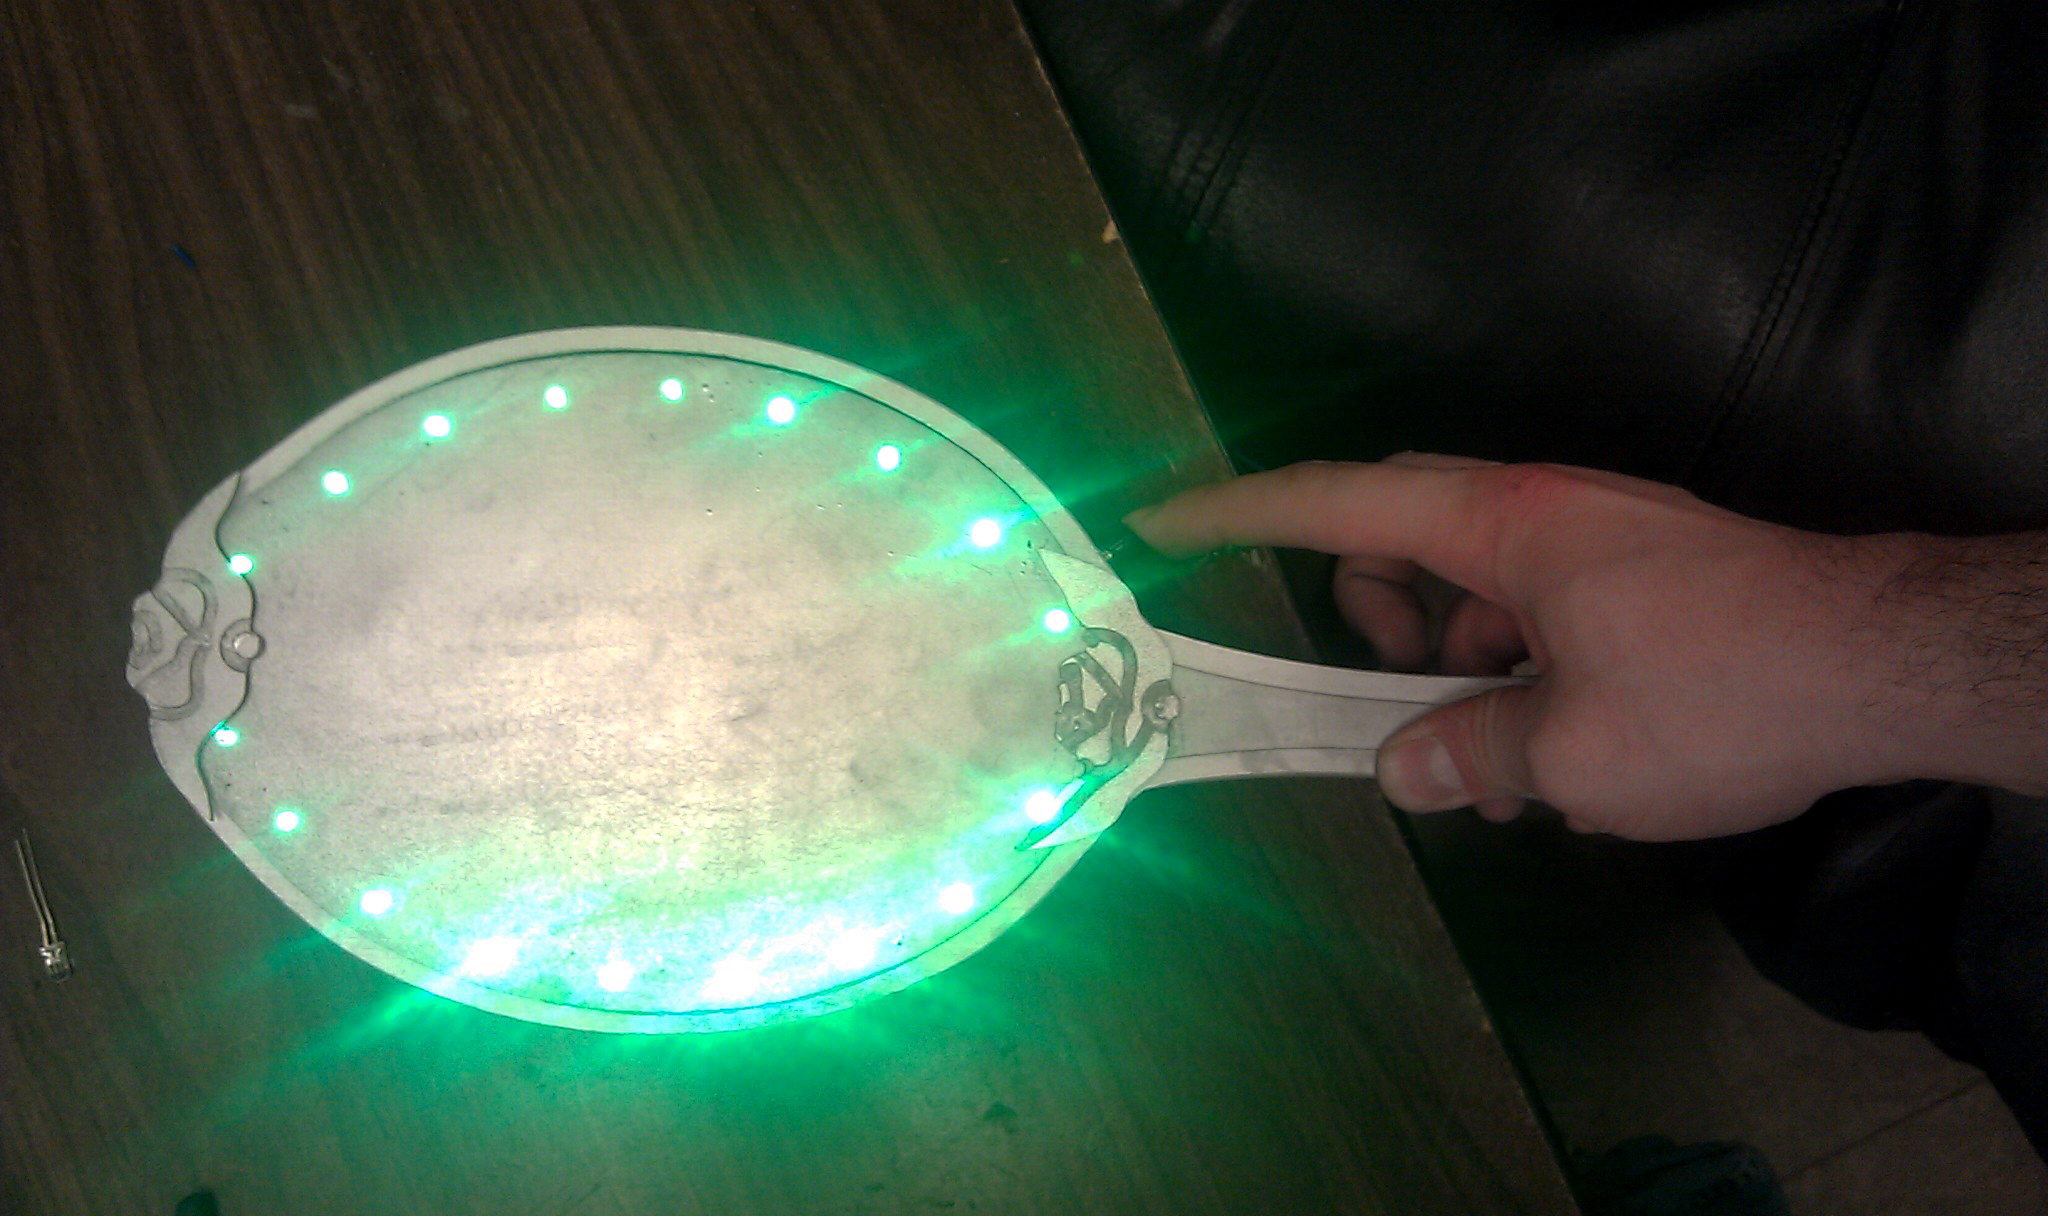
The result was a fairly decent-looking, shiny, light-up hand mirror with a small thumb button on the right side that flashes 16 bright green LEDs when pressed.  It all runs off a single 9-volt battery and the back can be unscrewed to replace it should it ever die.

Total build time from start to finish was probably close to 15 hours over the course of one week.  The play was Thursday, July 19th and from what I’ve heard, it was a great success.  I’ll add pictures from the performance if I get some.

BoxMaker

We’ve got a Laser Cutter! We can cut things… like boxes. So head on over to BoxMaker and make a box!

As far as materials, that’s a little trickier. I tried wood, but currently the laser cutter can’t handle cutting your standard 1/4″ plywood. (Update: 3mm Baltic Birch plywood works great though!) Here you can see the results of me trying.

Wood

No matter… I moved on to acrylic, since we’ve got a lot of acrylic scrap to play with…

Acrylic

That worked much better! Hopefully once we do some laser maintenance (cleaning and what not) it might be able to cut wood. Of course you could always use BoxMaker to create your box and cut it on the CNC Router instead.

So here’s my laser-cut acrylic box. Notice anything? The tabs are way too big! In my frustration of not being able to cut wood, I switched to the acrylic, but didn’t measure the thickness and create a new file, and since it was not as thick as the wood, I got the tabs all wrong.

Box

Still, BoxMaker is an awesome tool, and I look forward to getting the cutting part right next time.

First DIY CNC Club Meeting

Today marked the first monthly meeting of The DIY CNC Club at Milwaukee Makerspace.  Ron Bean and Tom Gondek, the creators of the router, guided members and guests through the use of CamBam CAD software to generate G-code and Mach3 software to operate and control the router.  The day before, Tom and Mike tested the machine’s ability to cut aluminum.  On Sunday, Rich created a decorative wooden sign and Brant began making plastic shapes for a project enclosure. As Ron pointed out, in less than 24 hours we had worked in three different materials: wood, metal, and plastic.

Several items were also crossed off our wish list.  Two emergency stop buttons were added to the front of the machine and wired together in series.  Hitting either one stops all motion in the X, Y, and Z planes and pauses the program.  We also built a relay-controlled receptacle box that when wired into the CNC computer, will be able to stop the spindle so hitting the E-stop will kill all motion in all axes and the router.  For some reason the pins we’re using on the parallel port are only producing 1.6 volts instead of the 3 or 5 we expected and the relays won’t turn on.  All in all, a very productive weekend.

Squeegee Update

Squeegee

I’m making progress on my DIY squeegee project. For a little background, I have this 6 foot long piece of rubber, which is the same material used in squeegees for screen printing, but I need wooden handles to put the rubber into. So with the help of of some other members, I’m figuring out how to do it.

Brant helped me determine that the band-saw is a good machine for cutting the rubber. I had previously tried a utility knife, but that didn’t work. Ron and Rich filled me in on how to use a router table, and I was able to cut a groove into a piece of wood I picked up this week. The rubber fits perfectly, so the next step is to drill some holes and put in some t-bolts to hold it all together.

I’d also like to do a bit of sanding and maybe varnish the wood. I figure they might as well look good, right?

I think this project really shows the strength of the Makerspace. I’ve had this rubber for two years, but never got around to making any squeegees. I came up with a few really hacky ideas on how to do it, but now at the space, with the right tools, and the right people, it’s all coming together.