Time Lapse Bot on Watch

Time Lapse Bot

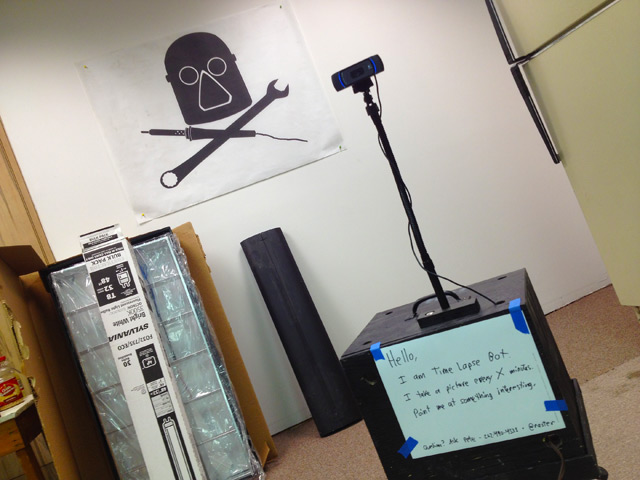
With Milwaukee Makerspace still in a state of constant change, I thought that Time Lapse Bot might enjoy keeping an eye on things…

Time Lapse Bot consists of an old laptop running (an older version of) EvoCam to capture an image every X number of minutes or seconds.

Time Lapse Box

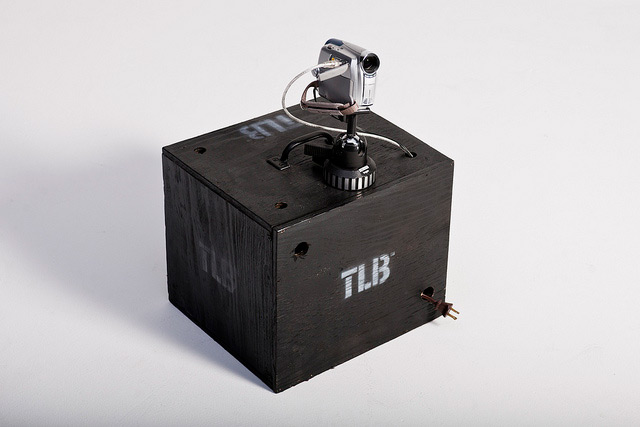
The whole thing fits in a nice box that you can easily carry around and place on a table or other flat surface to capture images. You’ve probably seen Time Lapse Bot at various BarCamp events around Milwaukee.

Time Lapse Bot + Base

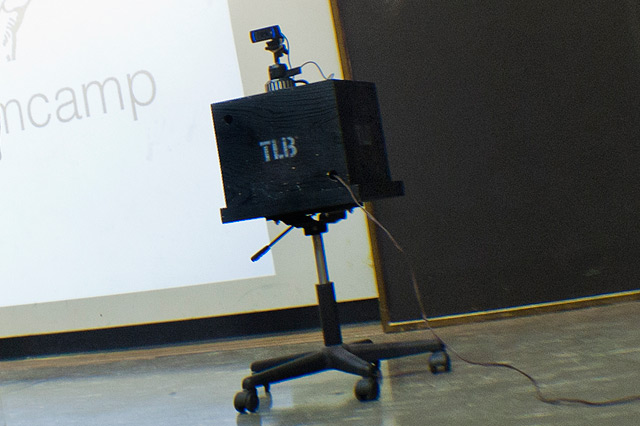
Eventually carrying Time Lapse Bot around looking for something to set it on got tiresome, so I built a rolling base from an old office chair. We also upgraded the camera over time, starting originally with an old VHS camera with a USB adapter, then moving up to a MiniDV camera with FireWire, and now a Logitech C910 Webcam, which captures HD quality images. (We also recently added a gooseneck for easier camera positioning, and a bit of height, as you can see in the top photo.)

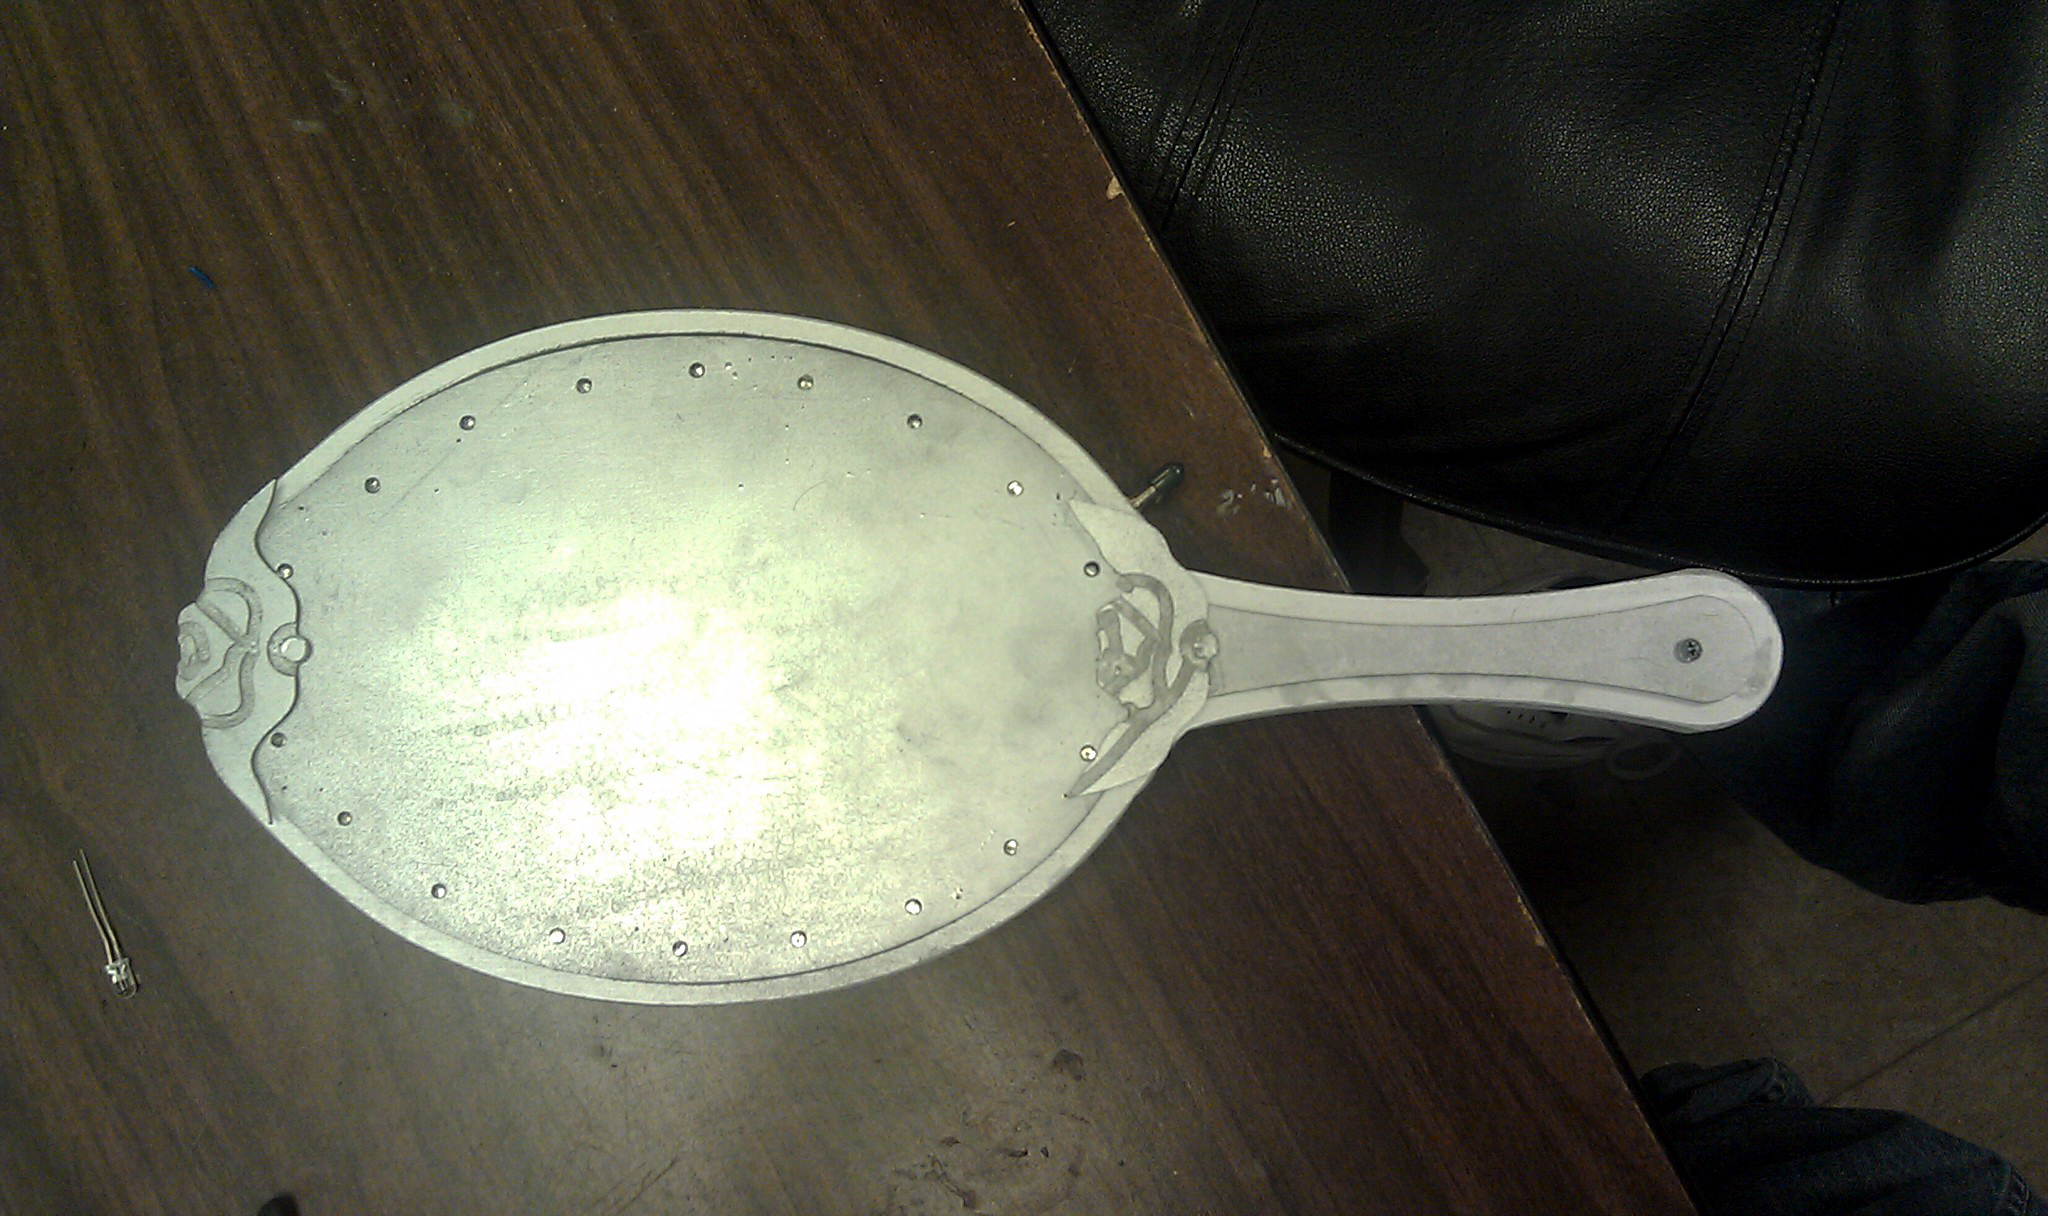
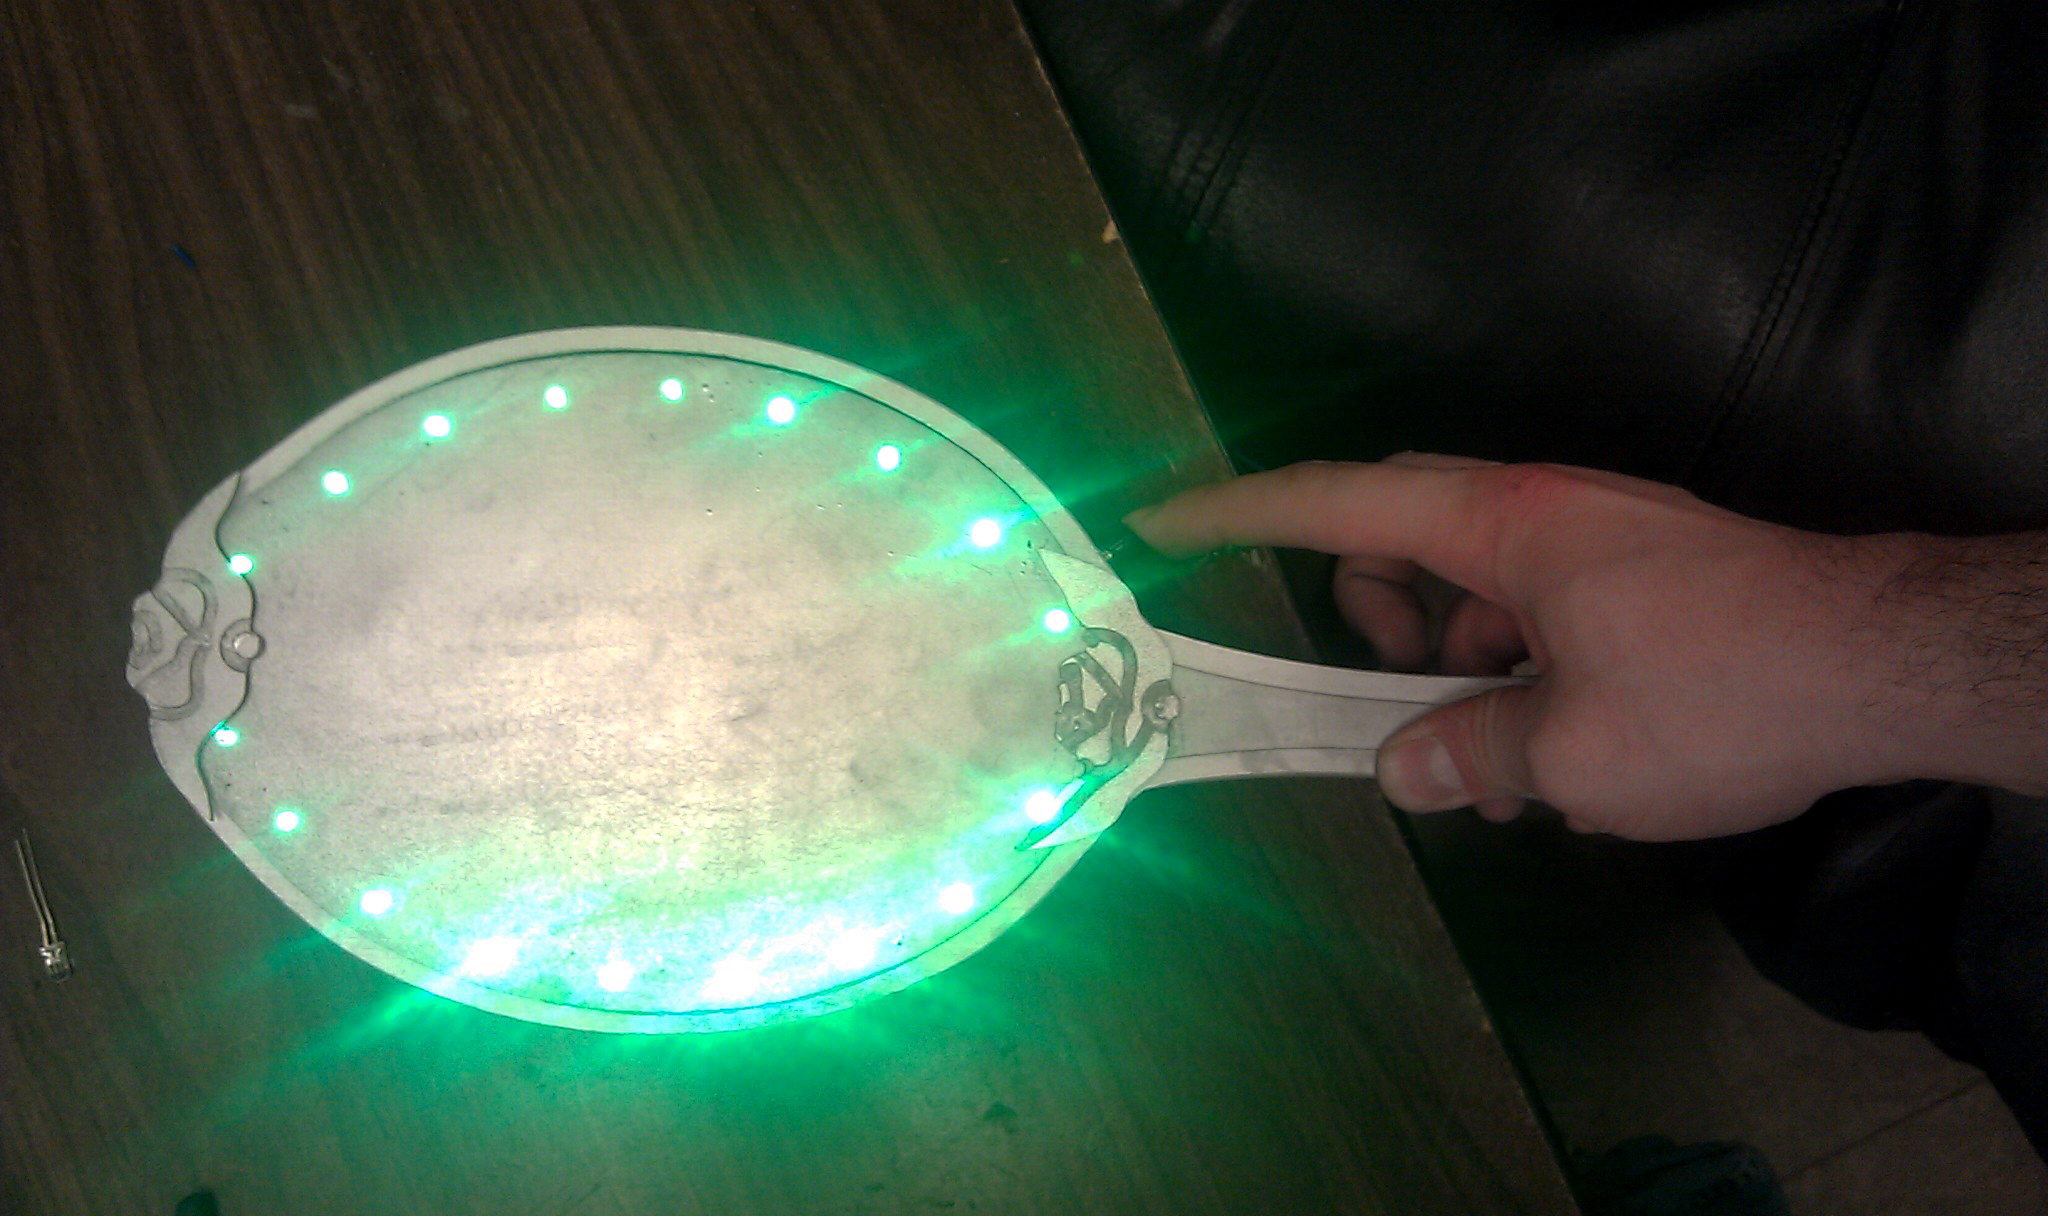
There’s a heap more info about Time Lapse Bot over on my web site… and if you remember the Red Lotus build from last summer, or the Grand Opening at Chase, yeah, those were done with Time Lapse Bot.

Snow-Globe Video

Just a minor update here from my recent Snow-Globe blog entry ( http://milwaukeemakerspace.org/2012/12/custom-snow-globe/ )

I made two VIDEOS about the snow-globe. The first is just a brief video showing the finished project. The second video is a longer “How-To” which includes some video, but is mostly a photo slide-show of all the steps I took to create the project.

For an in-depth step-by-step of how I built the project, check out the info I posted on Instructables. http://www.instructables.com/id/Custom-Singing-Snow-Globe/

-Ben

Roomba-Bot!

Today, I stopped in at the Makerspace with the plan to work on a small project for a Halloween party this Saturday.

The plan was to take a “Roomba” robot vacuum cleaner that I got for $1.00 at a rummage sale, and covert it into the robot base for a giant spider or some other scary creature that could wander around at a Halloween party.

I started pulling screws out of the bottom to figure out how to remove the brushes and vacuum blower. It took some tinkering to figure out what I could and couldn’t remove and not cause a fault. In the end, it didn’t look like I could remove the blower motor and still have the thing run, so I simply removed the fan blades from the blower.

By that time, I was now thinking about video cameras and how easy it would be to run a 1/4-20 bolt right through the plastic. A bolt and two nuts quickly made a camera mount.

In the other room were some ping-pong balls, and I had a black sharpie. A little hot glue and Roomba-cam has some personality.

Look for Roomba-cam running around the Milwaukee Makerspace and please treat Roomba-cam nice – he is watching you and WILL upload to YouTube!

-Ben Nelson

MakerBot Visit [Video]

My motto isn’t “better late than never” but let’s pretend it is for now… Remember when the MakerBot guys stopped by the space in June? Well, at least one member said he would be out of town, and hoped there would be video… So here, my friends, is some video. Sorry it took so long…

Also worth noting, Milwaukee Makerspace now has its own MakerBot Replicator, and we may just bring it to the next 3D Printing Meetup.

Magic Mirror Theater Prop

My sister is a Theater Manager at the Patel Conservatory in Tampa, FL.  About two weeks ago she texted me and asked if I could make her a prop she needed for an upcoming production.  “How keen would you be on making me a mirror for “Beauty and The Beast,” she said.  “They want a mirror that lights up and sparkles like the one from the movie.” Even with limited experience just tinkering around, I knew I could do something fairly easily, so I agreed and got to work.

I combined two different circuits (a 555 timer to flash and a RC circuit to fade) and built a wooden frame with acrylic plates for the front and back.  The wood and plastic were CNC-milled, then sanded and painted before the electronics were installed and glued into place.

The result was a fairly decent-looking, shiny, light-up hand mirror with a small thumb button on the right side that flashes 16 bright green LEDs when pressed.  It all runs off a single 9-volt battery and the back can be unscrewed to replace it should it ever die.

Total build time from start to finish was probably close to 15 hours over the course of one week.  The play was Thursday, July 19th and from what I’ve heard, it was a great success.  I’ll add pictures from the performance if I get some.