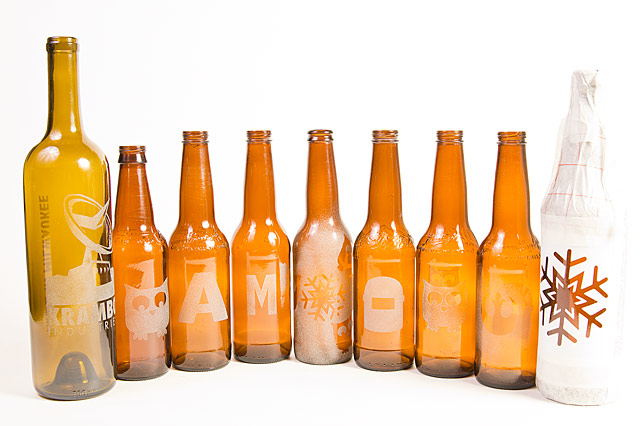
Recently, I’ve been doing some work sandblasting. Because Pi Day was coming up (March 14 – 3.14), and I just happened to have a stack of Pyrex pie pans handy, I thought I’d go ahead and try making my own custom Pi Pans.
I started by designing a logo in Illustrator. Well, that’s not quite right. I actually did an image search for “Pi”, saved a .bmp, and then TRACED it in Illustrator. Once in vector format, the image can be re-sized and have the stroke and fill colors changed, all non-destructively.  When I was happy with the logo, I printed one out on plain paper. Then, I cut it out and taped it to the back of a pie pan. This gave me a real-world mock-up to make sure I liked what I had BEFORE going through the trouble of making a vinyl stencil and sandblasting.
Next, I exported my image as a .DXF file, and then opened it in Silhouette Studio, the software that runs the CNC vinyl cutter machine. In studio, I made sure the image was still scaled correctly, then positioned it where I wanted it on the 12″x12″ cutting area. The last thing I did before cutting was to FLIP the image. Since I would be sandblasting on the BACK of a glass pie pan, the image needs to be flipped so it is viewed correctly from the front.
 The Silhouette Cameo cutter cuts out the pattern quickly and automatically, taking about a minute for the whole process.
I removed the vinyl, and cut it into quarters, as I was able to fit four stencils on a single page. I then peeled away the “Pi” logo, leaving the vinyl around it. This is because I am making a stencil. I want the sandblaster to hit the glass where the vinyl does NOT protect it. This will etch the shape of Pi and leave the glass around it clear.
 I used transfer tape to place the Pi logo stencil on the back of the pie pan, and then removed the transfer tape. Next, I covered the rest of the back of the glass with regular masking tape. At this point, the pie pan is ready for sandblasting.
 I put the pan into the blast cabinet and set the pressure regulator to about 70 PSI. Anywhere from 60-80 works pretty well. Higher pressure than that can start to cut into the vinyl. I simply held the pie pan in one hand and pointed the sandblaster gun at it with the other. It’s much like spray painting – just pull the trigger and try to give a nice even coat.
Once done sandblasting, I pulled the pan out of the cabinet and peeled away all the masking. Next, I washed it with soap and water in the utility tub and then dried it.
The finished effect turned out pretty well. The Pi is a very prominent white frosted character on a clear background. Most people catch the visual pun of “Pi Plate” right away.
 Besides the Pi Plate, I also came up with “Apple Pi” and “Raspberry Pi” designs based on popular computer company logos. Both of those turned out very well.
By that time, I was starting to feel pretty confident in my stencil design and sandblasting skills, and I wanted to make a “Cherry Pi” logo, but realized that there is already a great pattern for that – the album art from Warrant’s 1990 album “Cherry Pie”.
I spend some time in the vector software painstakingly tracing the artwork into a simplified vector. Next, I made a cutting from vinyl. All of the fine lines were tricky to peel off with a pair of Xacto knives. Once I finally had the finished stencil applied to another pie pan, it was time to sandblast.

 After that, I simply peeled off the masking to reveal my WARRANT CHERRY PIE pan. My wife’s birthday happens to be March 14th – Pi Day. She’s a fan of late 80’s/early 90’s rock, so gave her the CHERRY PIE pan (with a home-baked cherry pie in it) as a Pi Day/Birthday gift. She got a kick out of it.
How about you? Have you ever personalized some glassware through etching? A “Please return this pan to….” etching sounds like a good idea for pot-lucks! If you have done some etching, post a photo or link! Otherwise, send your ideas for other cool glass etching on up cycled kitchen-ware!
Til next time, keep making something of yourself,
-Ben


