Julie and Carl of Scoops Ice Cream & Candies of Kenosha, approached new Makerspace member, Brandon Minga, with their project. They were given recommendations from other projects he’s done in the are including Mike’s Chicken & Donuts and the Modern Apothecary. Scoops was looking to enhance and draw more attention to their new location with a large exterior sign. Going through the concept and design process Minga quickly decided that the sign design was also going to become their new logo. Once the final design was rendered he quickly learned how to CNC a template to hand plasma trace the design out of sheet metal. The middle of the sign was also hand cut, roll bent and broke to match the bubbly ice cream cone shape. With a little help from friends a the Makerspace, he ground down welds and drilled 44 holes for the light bulbs. After all the holes were drilled Minga fit the sign with sockets, wired up the sockets and tested the electrical. Working with Prodigy Sign in Kenosha he also coordinated the hanging of the sign.
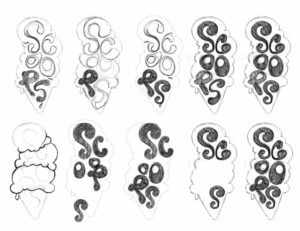
Any project starts with a sketch.
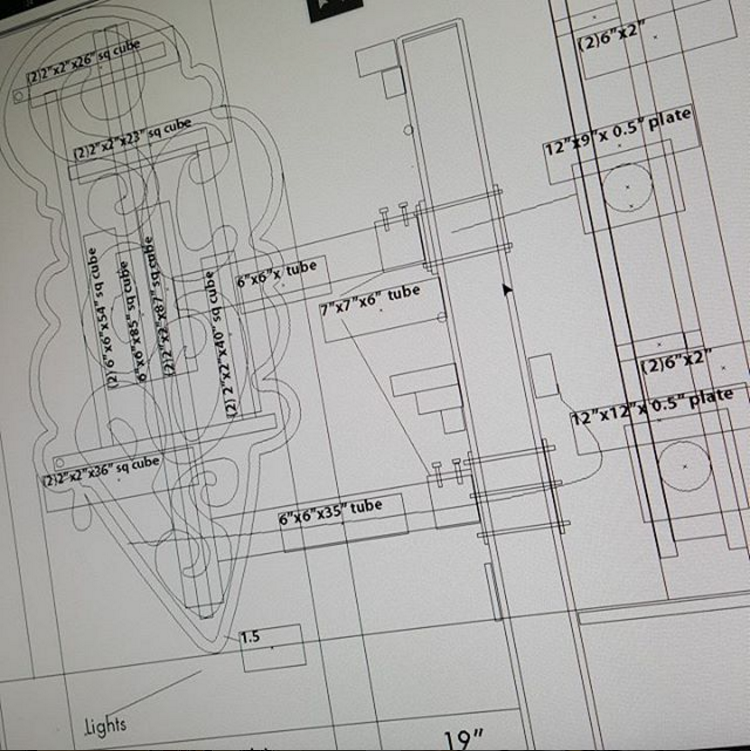
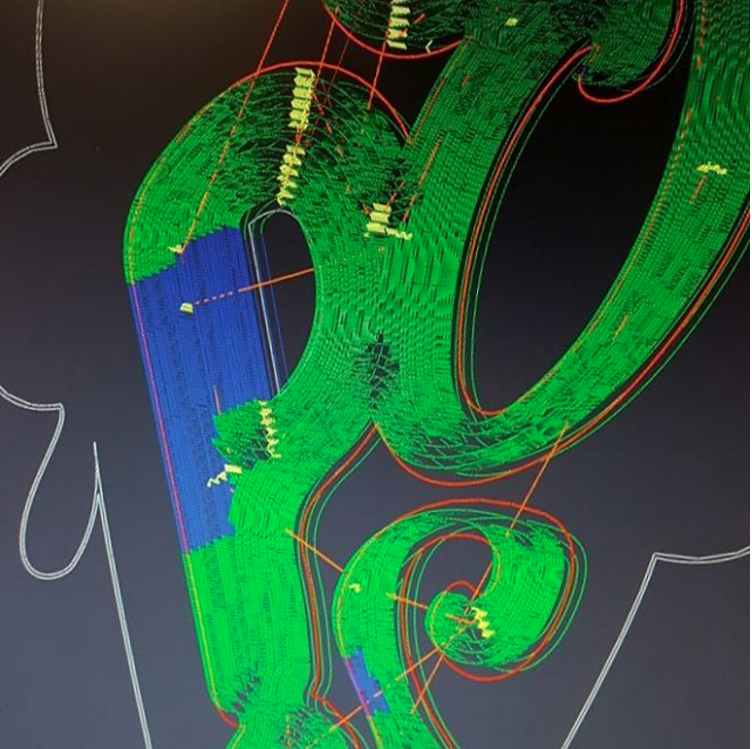
Nothing wrong with learning a little g-code.