I recently acquired a new eyepiece to replace the damaged one that came with the Meade ETX-90 telescope I bought at a swap meet last year. I decided it needed to have a web-cam mount so I designed and printed one that is a variation of a previous design for a microscope. It took about 20 minutes to recreate the CAD file in DesignSpark Mechanical, and about 90 minutes to print on Son of MegaMax.
This thing has an odd shape to accommodate the odd shape of the camera. I designed the adapter in two pieces so it could be printed without any support material. After printing the two pieces were glued together with a little super glue.
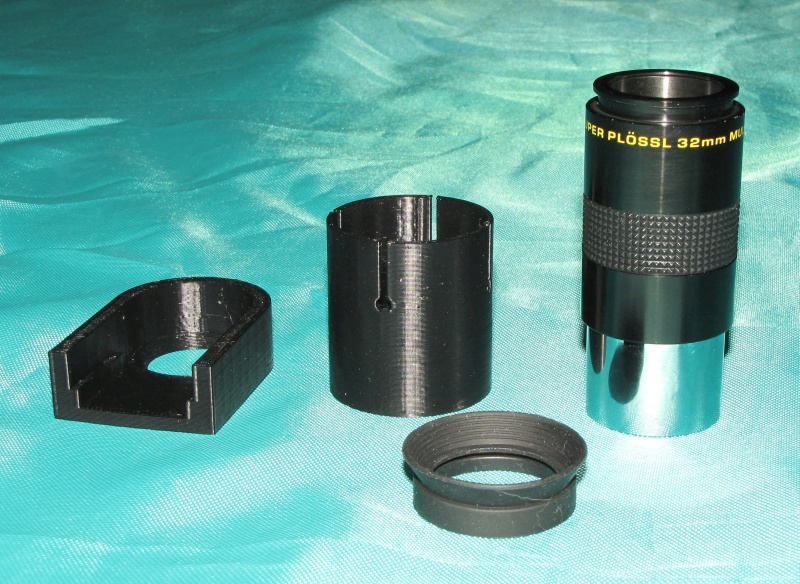
Unassembled 3D printed WebCam adapter and eyepiece.

Assembled adapter on the eyepiece.

The adapter fits over the barrel of the 32mm fl eyepiece and stays put.
I shot a short video to test it and it works perfectly! The cars driving by are about 1/2 mile away.
If we ever get a clear night I’ll try shooting Jupiter or Saturn and then run Registax to enhance the images.
Files are here: https://www.youmagine.com/designs/web-cam-adapter-for-meade-telescope-eyepiece