When my husband and I started planning our wedding earlier this year, we wanted to make sure we got to spend time with all of our family members who were traveling in from out of town, many from out of state. It was one of our many reasons for trying to have a small guest list for our intimate wedding.
Oh, and also because the wedding industry is crazy.
When I saw that the veil I wanted to go with my dress was just as expensive as the dress, I decided it wasn’t that important to me. I saw a lot of Pinterest boards with DIY wedding veil pictures and tutorials, so I figured I would give it a shot. If it failed, no big deal. So, this is the story of my $15 wedding veil.
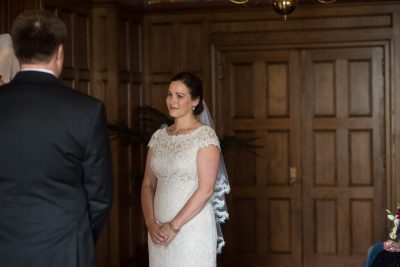
I started with some tulle that was donated to the Makerspace’s Craft Lab, and sorta followed a tutorial online. The biggest pain was pinning the tulle folded in half, so that when I cut the rounded corners, it was even. With Karen’s help, I used ol’ string-on-a-peg to make a partial circle cut line, which let the veil fall nicely around my head.
Using invisible thread I sewed the trim lace (bought via Etsy) to the edge of the veil. If I were doing this again, I’d clean up the lace before sewing it on, but I did it at the end and it turned out okay.
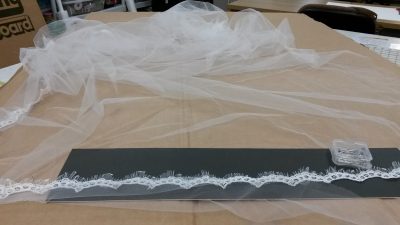
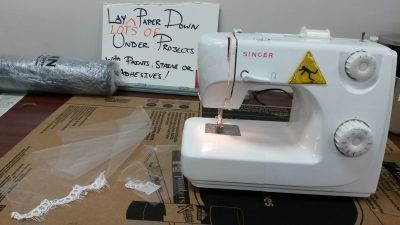
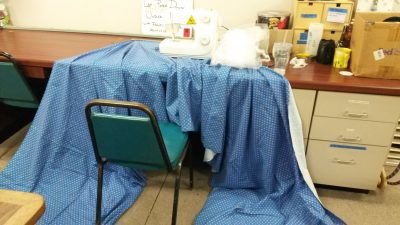
While working, I laid the veil on a very large piece of fleece material, and also folded it up inside the fleece to keep it from sticking together (the eyelashes on the lace liked to cling to the tulle).
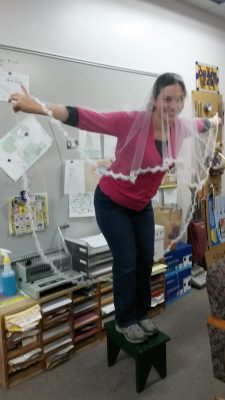
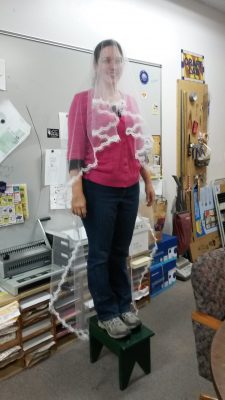
Take THAT, wedding industry people!!
