ShopWare and Markforged

We had a visit from ShopWare during our open night on Tuesday, January 29th, 2019. They thought we might be interested in seeing a Markforged 3D printer capable of printing with nylon, Kevlar, and carbon fiber. And they were right, we were interested!

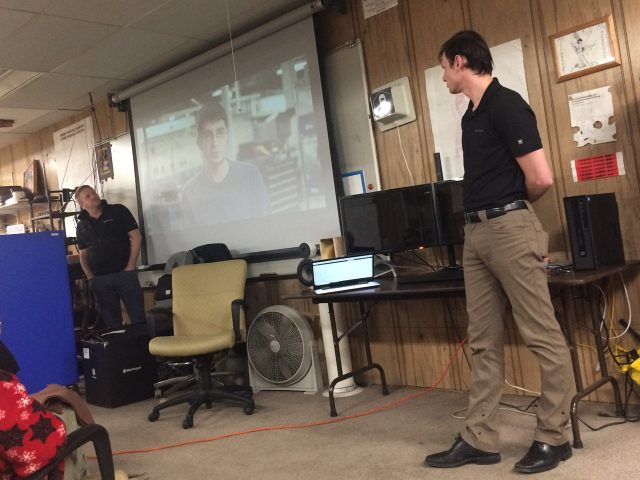
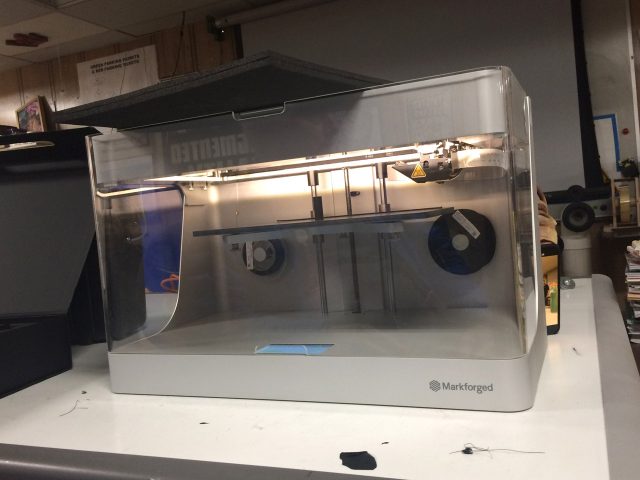
They showed a few videos that featured the capabilities of very strong 3D printed parts, and then answered questions, and had a number of samples to pass around and show off. They also brought a Mark Two for us to take a look at.

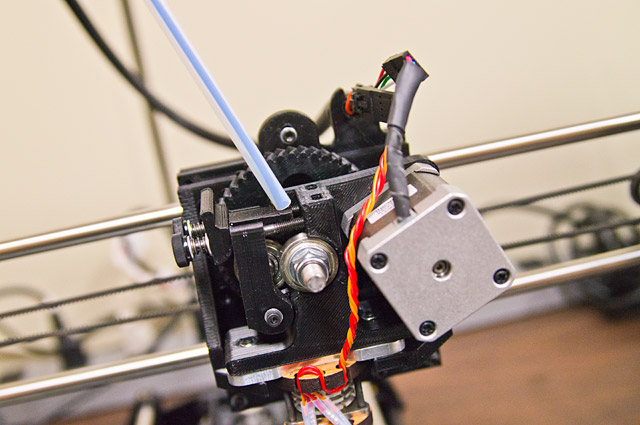
One of the weird things about how the Mark Two functioned was that it homed the x and y after every layer it printed. It also lowered the z just a bit while it homed the x and y, then raised the z back up to meet the extruder (which was dripping a small bit of filament) before then starting a new layer. (None of us could figure out why it was doing that, or what benefit it offered, though we had some guesses.)

These appear to be some sort of brake lever, maybe for a bicycle or motor cycle. They were very strong. There was no flex at all when trying to bend them by hand. Typically parts printed with PLA or ABS feel pretty “breakable” but these seemed like you’d need some tools to break them. (I really wanted to crush one in the hydraulic press when no one was looking!)

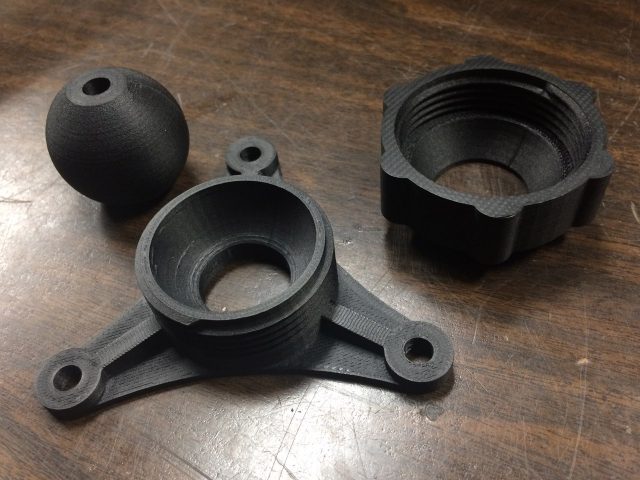
Printed threads are no problem, and again, appeared to be very strong, and the ball joint moved pretty good.

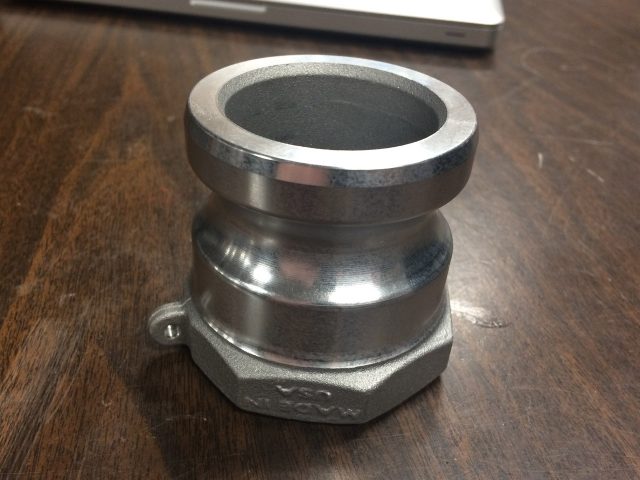
The metal part was not printed on the Mark Two, but another Markforged printer. The part gets processed after it’s printed, so it shrinks a bit, but the software deals with sizing up your model before printing so it comes out the correct size when done. We’re pretty sure this part was “finished” a bit after printing as well, perhaps on a lathe, which would explain why the rounded part is polished while the flat hexagonal part is not.

While the extreme cold weather kept some members away, we had a pretty good turnout to welcome ShopWare, and for those who were there, got to see some cool technology we home to someday have a the space.

CubePro Trio

CubePro Trio

We recently got in a CubePro Trio from the folks at 3D Systems and while we’ve still got a lot of testing to do, we’ve started to run it through its paces.

It’s definitely a nice looking machine. Professional quality build all around. Matt N. spent some time setting it up and hit “print” on a rather challenging model (with tiny spires and everything!) The first print turned out OK, but as with any 3D printer, there’s probably a bit of tweaking (or reading of the manual) to do.

Print from CubePro

We’re excited to see what our members can do with this machine, and how it compares to the MakerBot, LulzBot, and Solidoodle we currently have in the 3D Printing Lab.

Stay Tuned!

Filament Spool

CAM00246

Early this year I purchased a Printrbot simple to have a printer I could keep on my desk at home. I didn’t need anything big, just something for printing pretty things and parts to fix stuff around the apartment so it was a perfect option.

While it has been a fantastic printer there was one drawback to it. That is that there is no place for the filament on the base model. There is an upgrade kit for the 2013 model (I am not sure it it works with the 2014 model that I have but I think so) that adds one on top but it was not really what I was looking for since it is only slightly adjustable width wise with some mods. Also I know me and I would knock it over.

Using some parts and scrap from around the makerspace along with several printed parts (it is always fun printing parts for a printer on the printer you are printing them for) I designed something that will fit just about any filament spool, holds the spool in such a way that the printer barely has to work to un-spool more, and can be used to keep the printer from spinning off my desk when it decides it wants to start shaking and walking while printing.

The parts are now up on thingiverse with all the instructions to make one of your very own. http://www.thingiverse.com/thing:299541

TAZ is up and running!

LulzBot TAZ 3

As previously mentioned, we’re the proud new owners of a LulzBot TAZ 3, which features an impressive build volume of 298mm x 275mm x 250mm. I finally got some time on Saturday right before the Milwaukee 3D Printing Meetup to do a bit more testing with it.

We’ve got it loaded up with some 3mm blue filament that was provided by Coex, who graciously donated filament from one of their early test runs last year. We’ve not tried other brands yet, but we’ll get to that soon enough. The Coex filament required bumping the temperature up just a bit, but was flowing smoothly at 235.

If you’ve used Slic3r and Printrun (which is what LulzBot recommends) you’ll be up and running pretty quickly. LulzBot provides a bunch of Slic3r profiles for you to get started with the TAZ.

TAZ Extruder

The design of the TAZ is really nice, with a mixture of extruded Aluminum, 3D printed parts, and laser cut parts, each being used where they make the most sense. The extruder is held into place with a French cleat style groove, and one bolt, which should make it easy to remove in the future if we need to do maintenance or repairs.

For Milwaukee Makerspace members, if you’re looking for more info or to get trained, check the wiki page. If you’re not a member, come to an open night Tuesday or Thursday at 7pm if you want to see the TAZ or ask any questions about it.

Sample print below. Not bad for a first attempt!

lulzprint