Just about the only thing I don’t love about the Open ReVolt motor controller is the case.
As cool as an Open Source Motor Controller is, it’s just not shown off with a basic metal cover. In fact, I actually drilled through the original cover (and put clear packaging tape over the holes!) to see the power and troubleshooting LEDs through the lid.
Recently, the Milwaukee Makerspace got itself a laser cutter. It’s not all that powerful, but more than capable for cutting plastics. One of the Makers posted a blog entry about making a wood box on the laser. He used a program called BOXMAKER which helps you layout the size of your box, including overlapping cut edges to put the whole thing together.
This got me started on the idea of building a clear plastic case for my 500 amp Open ReVolt controller. But I had never even used the laser before. I sat down with the member who owns the laser, and he took me through the basics of importing files, exporting to the laser, and modifying power and speed settings. With that, I was able to start making a few test items on the laser. I figured that since I already had the Open ReVolt logo as a vector file, it couldn’t be easier to try out etching some plastic with it.
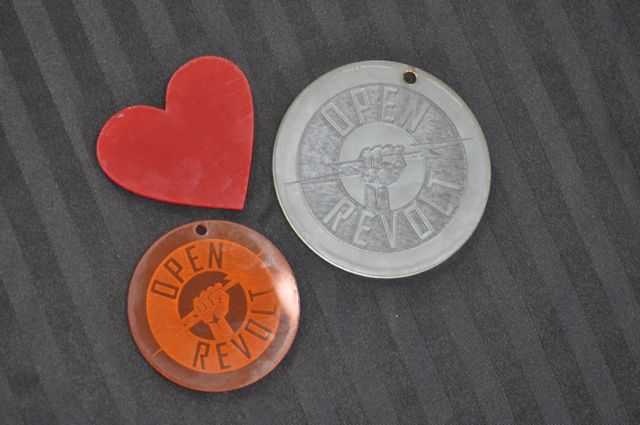
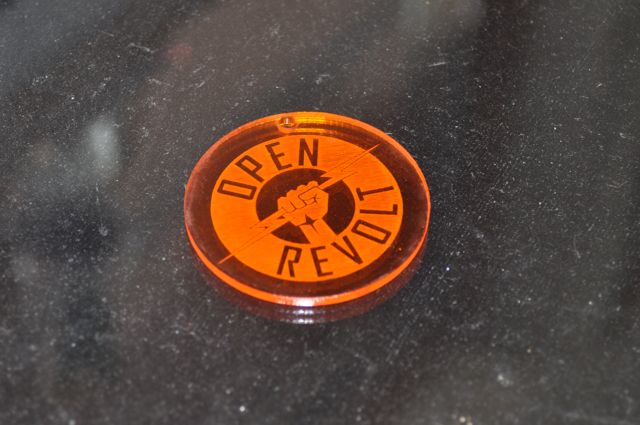
I used the laser to make a few small test pieces on various materials. The two logos turned out pretty well. They were both etched AND cut out with the laser. On the orange medallion, I mirrored the image, so it would be a design on the “back” of the piece. That keeps the upside nice and shiny and clean.

- Plastics cut on the laser
 After practicing a bit on the laser, I started wondering what else I could cut, mark, or etch with the laser. Last night, I forgot something at the Makerspace, so I had to return there this morning to retrieve it. And I am NOT a morning person, so I had my trusty travel coffee mug with me. It’s stainless steel with an anodized dark gun metal finish to it. “I bet that would laser engrave nice!” I though to myself. Sure enough, it only took a little tinkering to figure out how to keep the mug from rolling sideways inside the laser before I could engrave it.
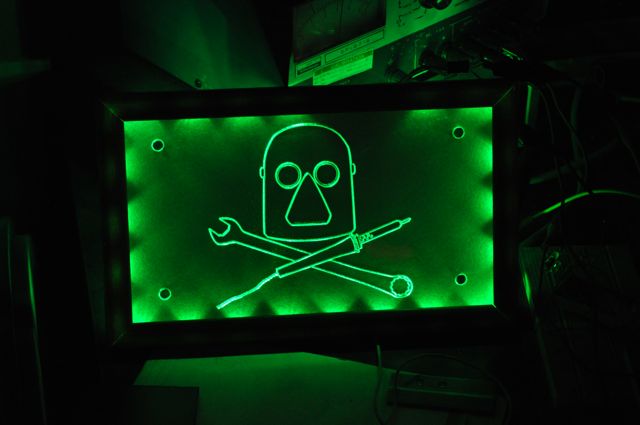
 Also, when I came in this morning, all the lights were off, except for one – Tom’s LED lit plexiglass desk drawer. I asked him for some advice last night about how to engrave and then edge-light in clear plastic. He plugged in his project to show me a sample, and had left it on. It was eerily awesome to see the Makerspace lab lit up by green LED power! It’s a good example of how I would like to engrave the top of the controller case and light it up.
 Well, that’s it for now. Next, I’ll have to take careful measurements of the controller, lay out the box, find some material to work with, and figure out where and how big the cuts in the end plates will need to be for the bus bars.
http://milwaukeemakerspace.org/2012/03/fun-with-lasers/
Check out “Fun with Lasers!” http://t.co/Wo9LMc4U via @mkemakerspace
Will you etch a piece of wood/control panel? 6×8 inches, plywood.