Today was spent researching all the manipulations involved in getting a CT scan into printable form and I managed to get a print out of it. The process starts with DeVide where the dicom data from the CT scan is processed using a dual threshold, decimation filter, and stl writer. The stl file contains a lot of unwanted stuff, in this case, soft tissues inside my head that add triangles but won’t be seen in the print, so those are removed by applying ambient occlusion followed by selecting and deleting vertices by “quality” (which will be very low values for vertices on the interior of the object). This process invariably blows small holes in the desired surface, so you apply a “close holes” filter to fix that (which closed up the nostrils very nicely). Next you open the stl file in netfabb and rotate and clip unwanted external stuff and apply repairs as necessary. Finally, drag it into slicer and scale it. slice and print.
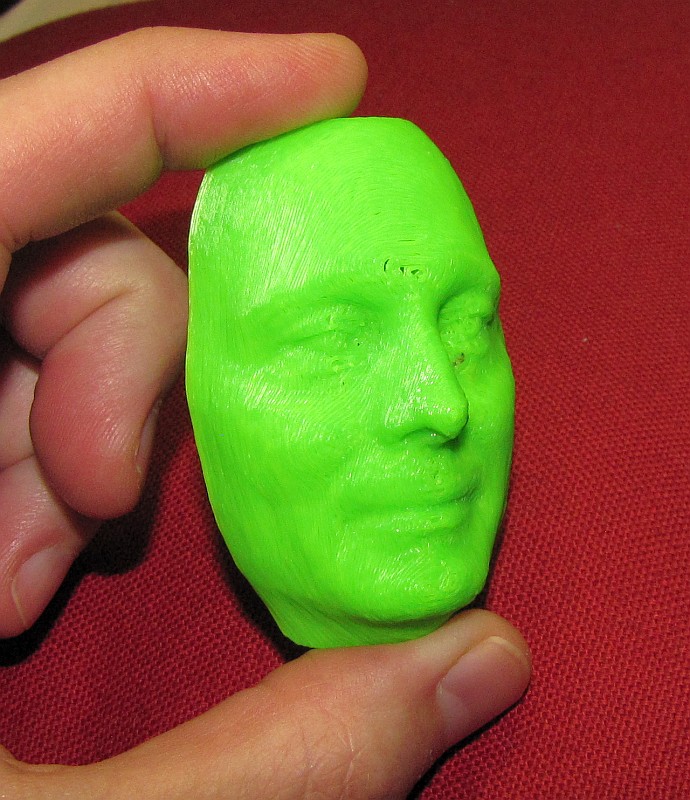
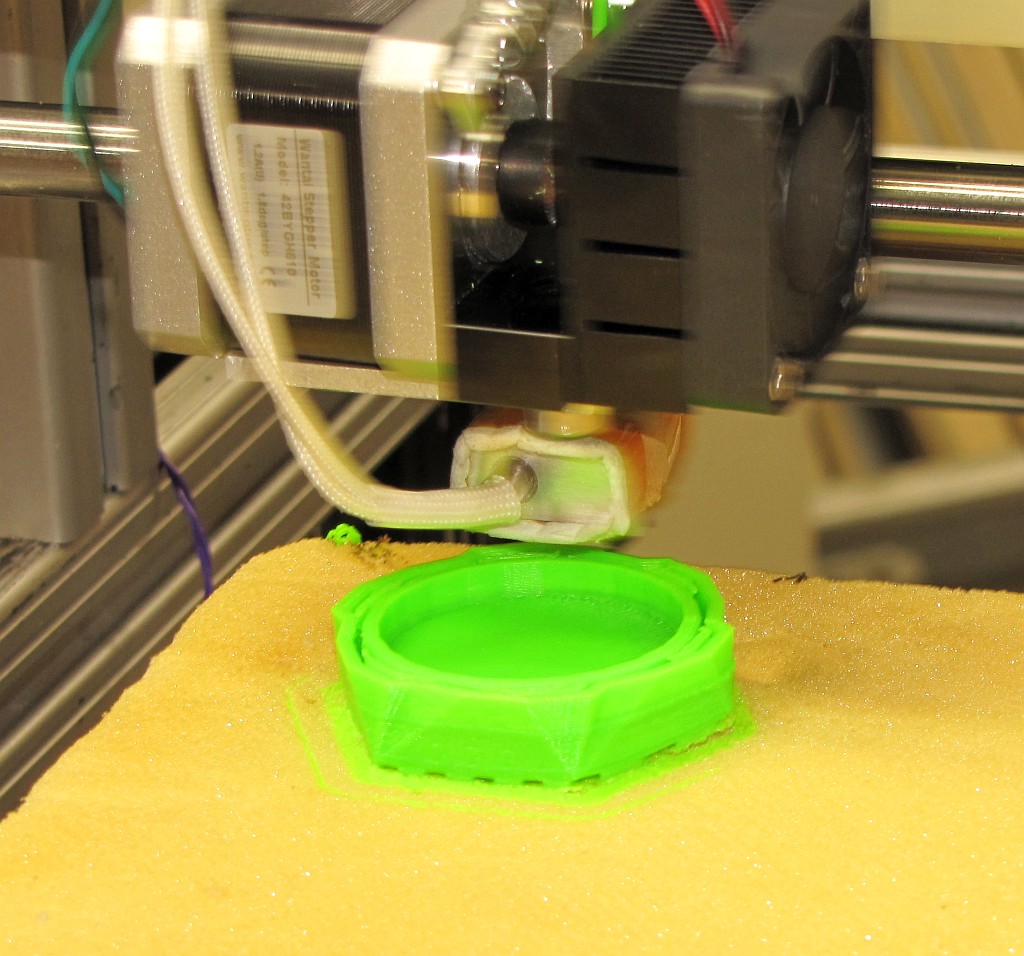
First successful ego print!