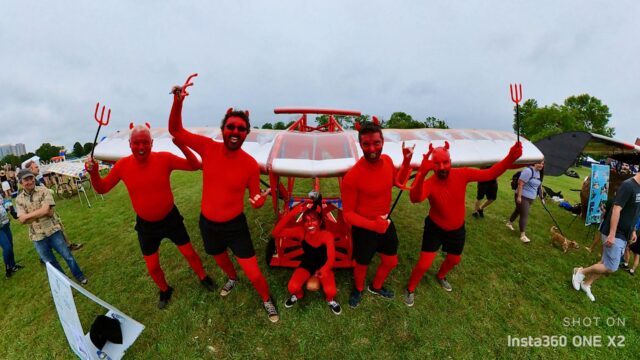
For the past 2 months a team of makers has been frantically designing and building a glider for Redbull Flugtag. It was one of the most fun projects I have ever had the privilege of working on. Thought we did not place in the competition I wanted to share what we have learned and share some CAD files for future Flugtag builders to find and reference if they wish.
Team Flies at All:
When I put up the call to see if other members where interested in participating I was shocked when almost 20 people came to the first meeting. At that meeting two opposing directions were posed for our entry. One was a craft that would be as crazy as possible that would just be fun to look at and not attempt flight in a meaning full way. The second was “team flies at all” who thought the fun part of the project would be the challenges of making a craft that would generate lift. As the next weeks went on that second team was the only group that kept meeting and planning.
Material choice and testing:
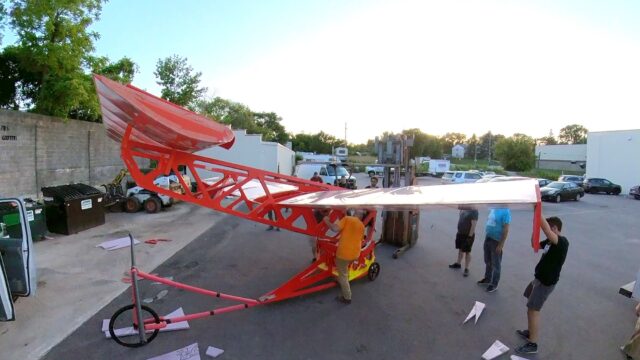
At one of the first design meetings Jon Drayna brought in a sample that he had worked on that week that would become the structure of our design. It was 1 inch pink insulation board laminated on either side with 2mm strips of wood. This made the normally flexible material very ridged while still being extremally light weight.
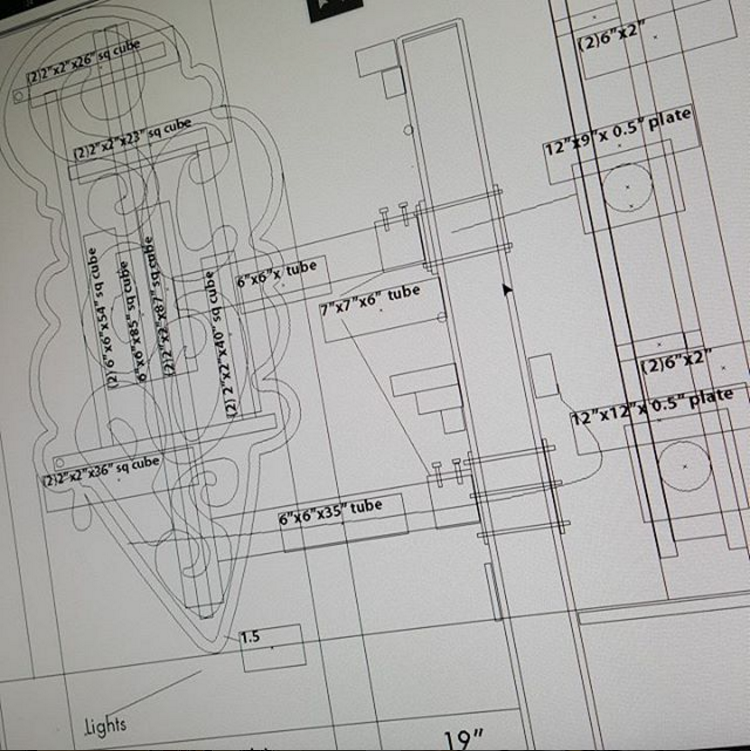
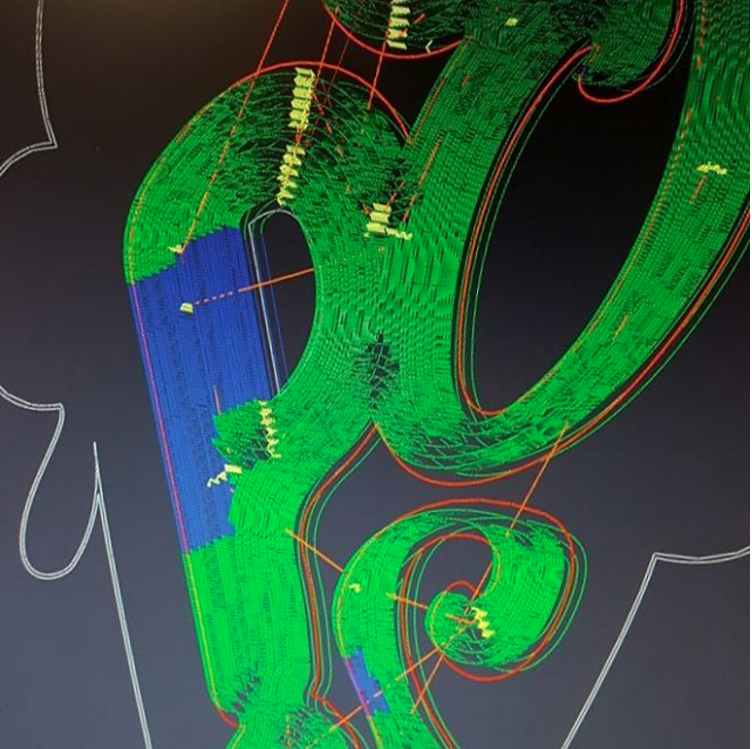
With this structure in mind I went to work in Fusion 360 and modeled up a craft. Using a paper added to a google drive the team was sharing I was able to design a parametric air foil that would in theory provide high lift at low speed. I even devoted the weekly Fusion 360 class to making an airfoil. Below is a link to that class and the parametric airfoil Fusion 360 file will be in the link at the bottom.
We chose to cover our wings with window cling film. I think this is one of the best choices we made. Even though the film required lots of care it was cheap and light weight compared to alternatives. On the day of the event we saw boat vinyl and lots of other materials but I stand by our window film. Another decision that I was happy with on our craft were the ridged supports in the front and back of our wing. Lots of teams chose not to do this and their air foil shapes were lost due to the shrinking material.
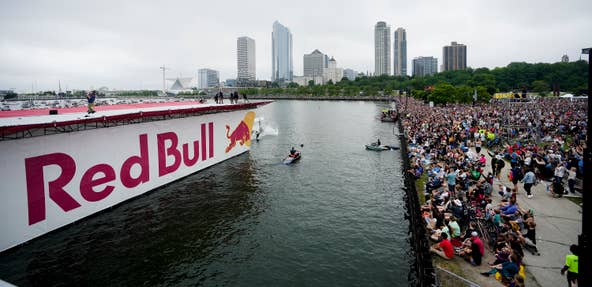
Our biggest lesson:
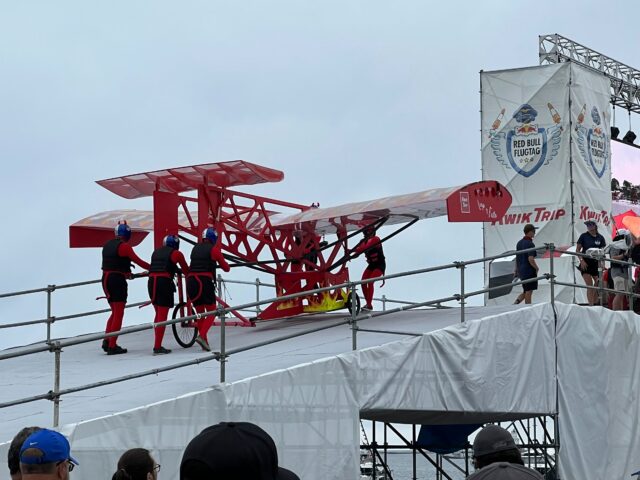
If you have ever attempted to do something for the first time before you know that it usually doesn’t work. We all had lots of optimism about our chances to “fly” but it takes practice to learn new things. You can’t make an omelet with out breaking a few eggs. On Flugtag our point of failure was the cart. We knew that if the back of the cart were to push up on the back of the glider it would push the nose down right into the water. We had taken care to design a two part cart that would we thought drop away from the craft with the use of a one way hinge mechanism. The idea was as the front of the cart holding the glider went off the edge it would fall down bending at the hinge and not creating leverage lifting the back of the glider. Maybe it was swelling due to humidity or jus the paint being sticky but this was our point of failure. You can see in the video the cart breaking part of the tail as it forced it up and as soon as it fell away the wings started to work. It was too late at that point though.
I use used a bad word in that last paragraph, failure. At least most people think of it as a bad word. Lets reframe that right now. Failure is what happens on the path to success. Failure is what happens when you are pushing your self far beyond your current capabilities and knowledge. No one has ever learned something from success it is failure that teaches us and failure that motivates us.
We failed to fly but we succeeded at working together to build one of the coolest projects to ever come out of this building. It was so much fun working with everyone that pitched in for an hour or two or for weeks on end. The bravest member of the Makerspace, Faith, got to stand on a stage in front of 50,000 people and answer questions about what a the Milwaukee Makerspace is. I have zero regret except for maybe not jumping of the edge of the ramp…
Open Source Everything:
We learned so much. You can take a look at our CAD files and build images and learn with us. All are at the link below for you to copy and improve.