After several years of canoeing the Wisconsin River, my brother Jason and I had the idea to build a barrel raft capable of navigating the river while everyone aboard relaxed and enjoyed the trip.
Originally we wanted to make the raft how most people do, wood and barrels. However, after settling on a size, we quickly realized that wood and metal barrels are quite heavy.
Eventually, after tossing around ideas ranging from aluminum square channels and dock pieces, we settled on 6 premade plastic pallets and 8 plastic food-grade barrels. The combination left us with a very sturdy initial platform to build our raft on.
Prior to settling on a pontoon orientation, we experimented 4 sets of 2 side by side barrels but determined that the water resistance and transportation would be a challenge.
The first task was to secure each pallet together over the length of the raft and then the width. To accomplish this we took 12 foot pressure treated 2x4s and hammered them into the fork spaces of the pallets.
Hammering the 2x4s into the pallets proved to be difficult so clamps plywood cutoffs were used to align the pallets.
Once hammered through the length, the 2x4s were hammered as close to the edges as possible and screwed into place with long wood screws through the bottom of the pallet. This processed was repeated for the other set of three pallets.
The two sets of three pallets were then secured together by drilling holes through the 2x4s and running cut lengths of 3/8 inch threaded rod between them. These were secured with nylon lock nuts and washers.
Another experiment with mounting the barrels, this time with steel strapping to the hammered 2x4s, this ended in abject failure.
Our raft now needed a way to get around, for this we went with a small 3.5 HP outboard off Amazon.
Being a 2 stroke that runs off a gas-oil mix we had to break-in the motor per the manufacturer manual, very loud in a suburban driveway…
The project was then moved to a different location and sat for a while before being picked back up this year. We discovered that the threaded rod held the pallets together, but didn’t stop them from flexing and coming loose. To address this we added 2x4s along the top and bottom short edges and bolted them together.
We also added a ladder off the front for swimmers to get back on.
No raft is complete without carpeting and shade! This pavilion off Amazon with mounting holes in the feet was able to bolt with nicely through the pallet deck. We also tested a few types of carpeting and turf before settling on marine “boat bunking” carpet.
Using leftover 2x4s we built a motor transom off the back.
The end result was too large for our trailers and had the barrels attached on-site. Due to the motor, the raft had to be registered as a boat with the DNR and required a licensed operator.
IT FLOATS…always knew it would…
The Wisconsin River is quite shallow in some places and requires the use of our high-tech stick.
When the river was deep enough, the small motor had no problem moving the raft at a blistering 5 MPH!
To say the raft was a hit with friends on the trip would be an understatement, the 8 of us spent most of the time enjoying the sun as we floated down the river.
Unfortunately, the trip was not without incident. As we were disassembling the raft at our take-out point, a strong gust of wind blew over the decking and crushed our plastic light and fire extinguisher mounts. Luckily, no one was hurt and we got the raft and barrels back on the trailer.
That’s likely it for this year, river levels continue to fall in the summer months and would make the trip much harder. We’ll likely revisit this project next year and make improvements on the weight and transportation side.
Written by Michael Reichard


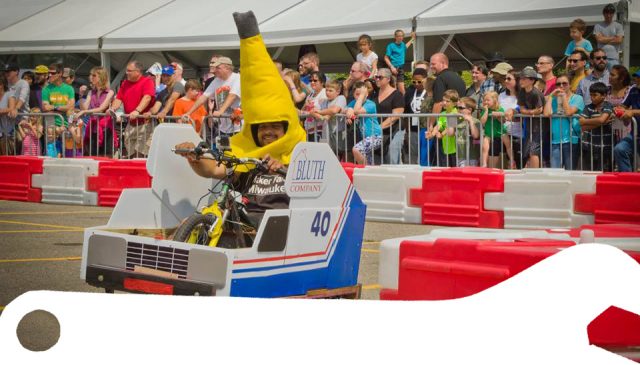 Last month the Milwaukee Makerspace Racing Team packed up the cars and road tripped to
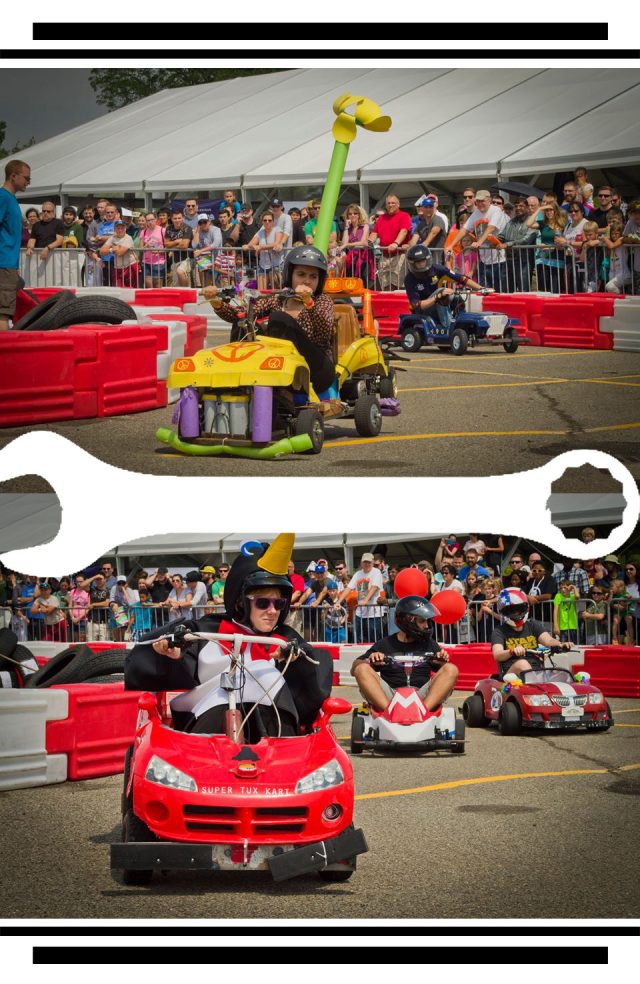 Maker Faire Detroit. After long nights working at the space until 4am for the week before the drive Ed, Kathy, Pete, Andy, Vishal, and too many others to mention got 3 cars race ready. The Bluth Stair Car, Super Tux Kart, and Hippie Rose made the journey to Detroit without damage are and were a blast to drive.