Its no huge secret that learning to make something in a 3D CAD program has been a bit challenging before now. Programs such as Blender are quite powerful, but the learning curve is a bit steep and you could spend days working in tutorials before you actualy got around to making anything. Well, the world turns and the people with the big brains are slowly learning that the best way to get more people involved is to create tools that don’t require a masters in computer design to understand.
In the old days, you needed a high end workstation with advanced graphics capabilities to do this kind of work. I can remember going to my friends work place and marveling at his 386 workstation built into a desk with a pen based touch screen. These days we can do so much more, and in a web browser. The recommendations below won’t meet everyone’s needs, but it’s a great starting point to learn what works and what does not. Its also hella fun.
Back in November I bought a Printrbot during their Kickstarter campaign. Since then I have been trying out different combinations of programs and processes for generating 3D designs and slicing them for use on the printer. I had a short list of requirements for things I absolutely needed:
- Short learning curve, nothing overly complicated. I just need to make straight 3D designs. I don’t need textures, colors or animation.
- Free. I was looking to keep this as low cost as possible. I am a huge fan of open source solutions.
- Ability to export STL files.
I ran through Blender, 123D, Google (now Trimble) sketchup and a few other programs. They were all quite functional, but each had some small quirks or non-intuitive interface problems and I was routinely somewhat frustrated and defeated. I kept poking around and finally stumbled upon a winning combination.
TinkerCad is a free 3d design app. It runs within your browser and has a strong preference for Chrome. All your designs are assembled with a simple tool set and saved to the web automatically. The site allows you to download your designs as STL, VRML or 2D SVG. It also allows you to imidiately submit your designs to several 3D printing services such as Shapeways and Sculpteo.
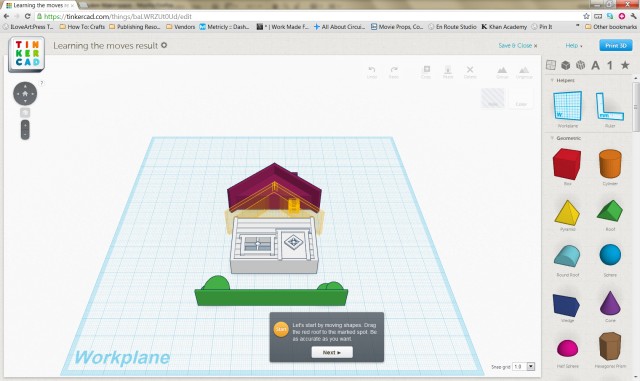
Although the tools are somewhat limited, you are able to do a surprising amount of real work. All of the tools are quite intuitive and I was able to jump in without needing to run through the tutorial. In fact, my 12 year old daughter jumped in after I was done and was designing her own things without any input from me. I’m going to be needing a lot more filament at this rate. The ruler and measurement tools are better than any other program I tried. In less than 20 minutes I was able to assemble a small robot design.
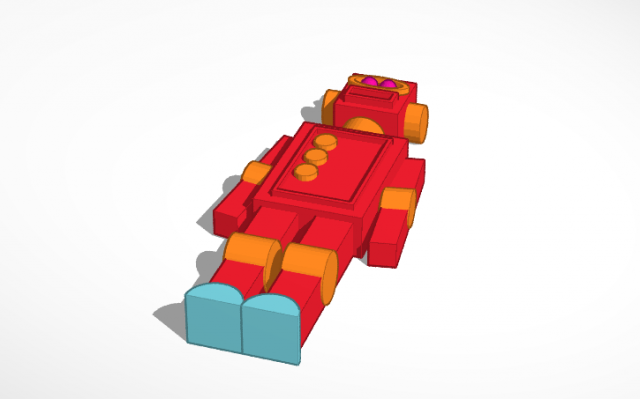
Once I had the design, I was able to easily export the STL file and immediately print one using the printrbot. I added a small raft to the back and drilled out a hole for a button. This is now going to be my new doorbell. I also added a few LEDs to the back for lighting.

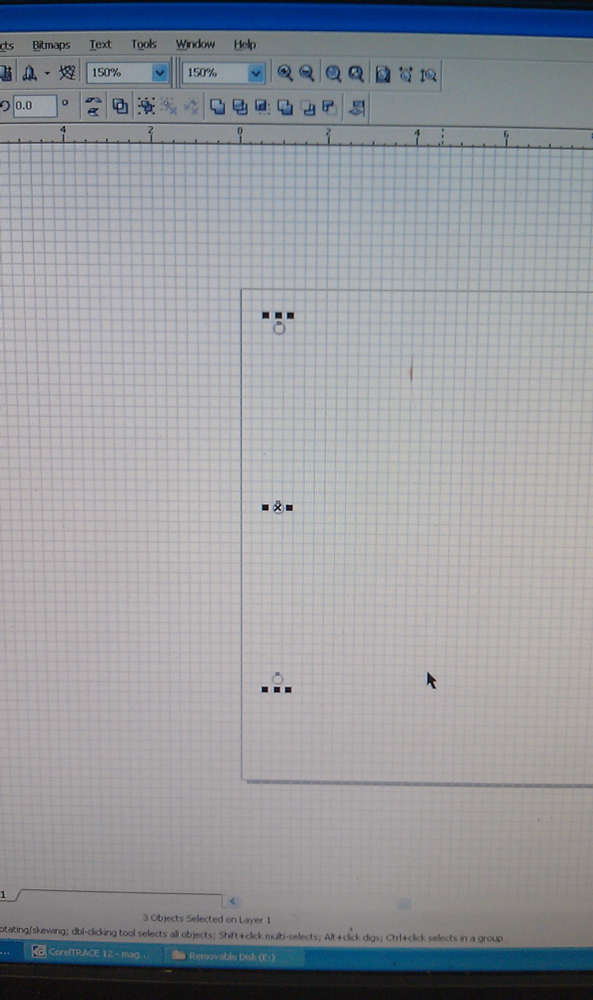
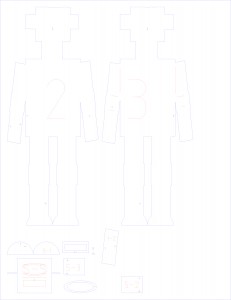
Once I was done, I was really excited by the prospect of actually being able to make virtual things. I decided to see what else I could do. One dream has been to find a way to easily create cardboard sliced designs. A fairly new app from Autodesk called 123D MAKE can do just that. It’s not open source, but it is a free 100+ MB download. I was able to take the STL file I downloaded and upload it to the 123D MAKE program. From within the tool, I was able to set material thickness, slice type, output format, stage size and dozens of other options. I was then able to export EPS files containing all the pieces laid out and numbered for assembly.
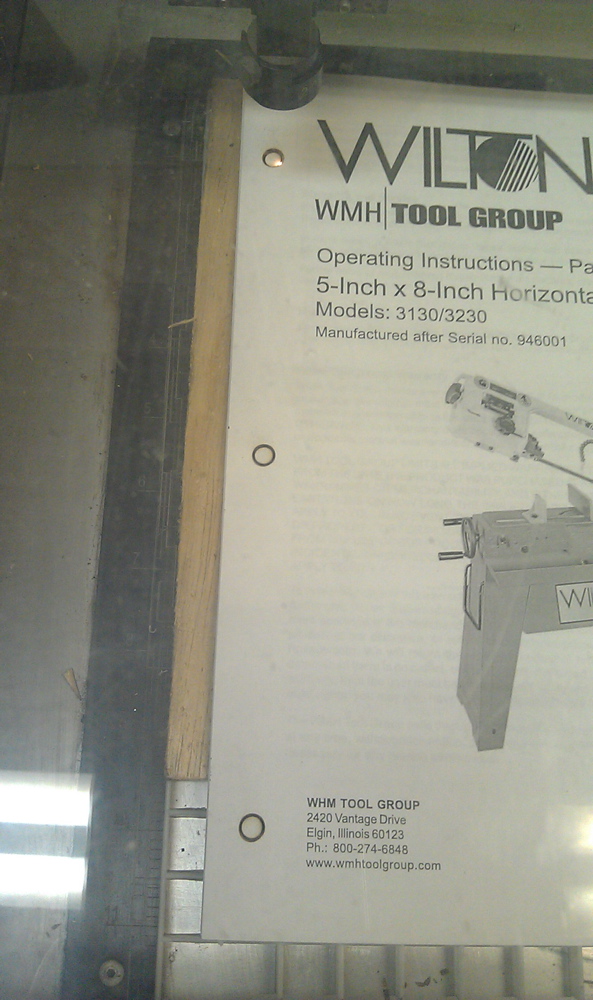
I was able to take these over to the laser cutter and cut some slices from cardboard I had laying around. I assembled them per directions and wound up with this bad boy.
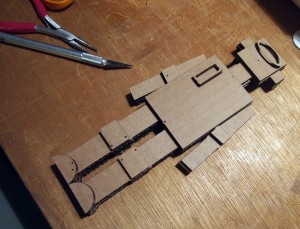

If you don’t have a laser cutter, you can always just print the design and cut the pieces by hand.
I think we are seeing start of a huge shift in production of one-off items. 3D printers are getting cheaper, and more importantly, printing services are able to produce items in almost any material you can imagine. As the design tools get easier and easier to use you are going to see these services become more and more prevalent. Need a replacement part? Print it yourself. Have an idea for a game, have it printed, boxed and shipped overnight. Its the definition of a disruptive technology.
Now, go make something!
Free 3D design web app