$5 Upcycled Desk Clock

Last summer I came across a collection of car parts at a garage sale; instrument clusters, lights, gauges, and some digital clock displays.  For $5, I became the proud owner of a JECO Japan, vacuum fluorescent clock display.  The plastic housing held all the clock electronics, membrane buttons for setting the time, and a four-pin connector.  After powering it up, I realized one of the pins could be used to dim the display, which is a pretty nice feature to have.

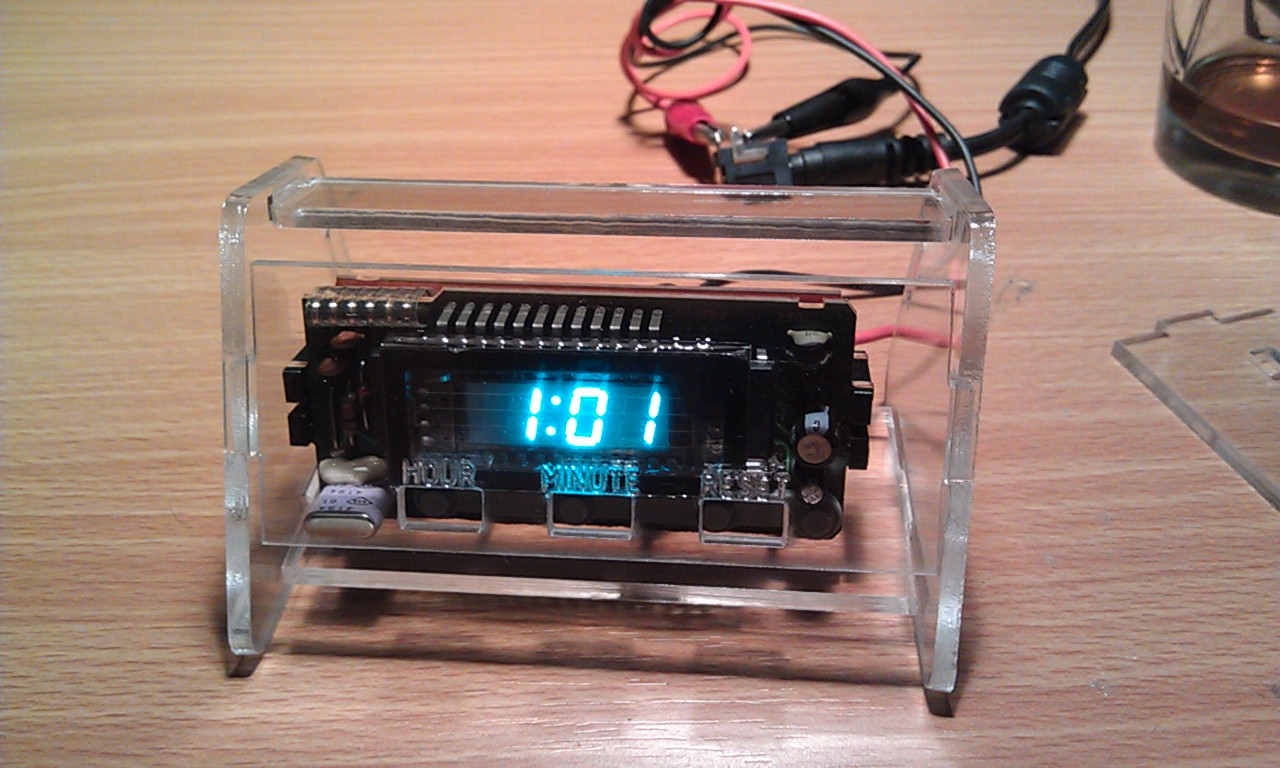
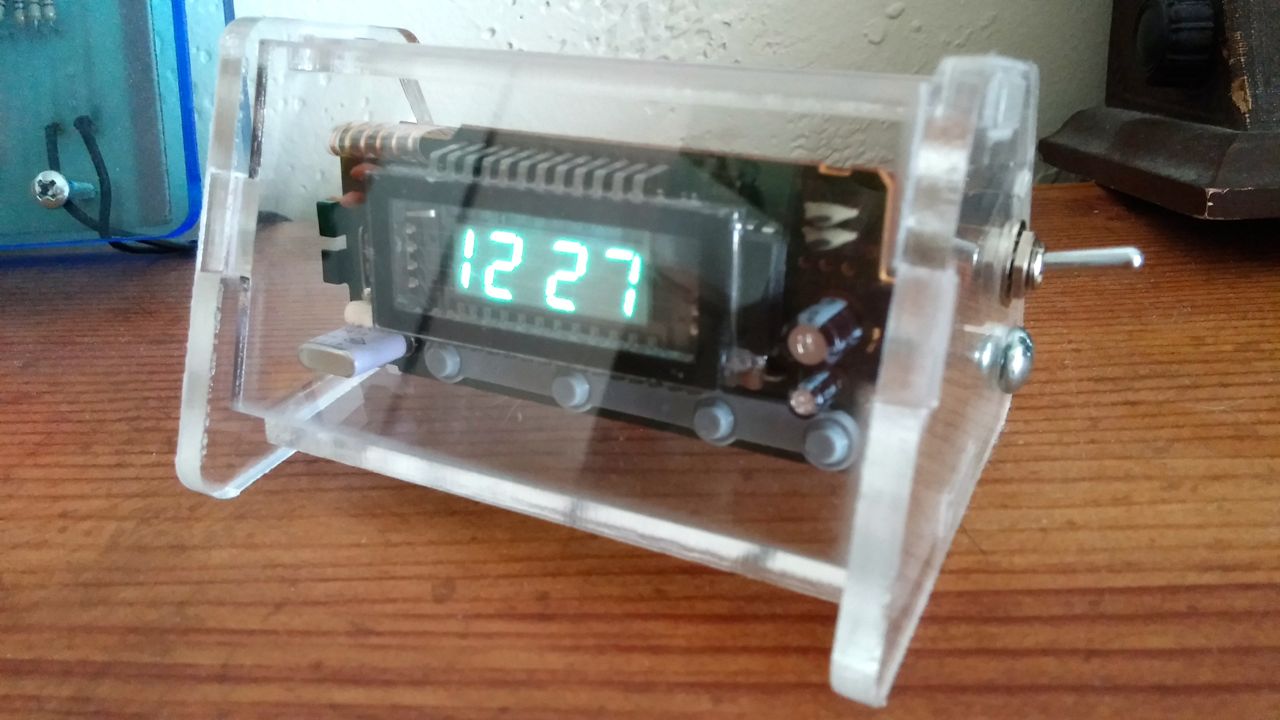
I’ve worked on it off and on for a few months, but finally decided to finish it this weekend.  On Saturday, I tweaked some dimensions and laser-cut the final enclosure.  I wasn’t happy with the button holes and text I had on the front of the first iteration, so I got rid of them for the final.  You can adjust the time by slipping a jeweler’s screwdriver or a paper clip through a gap in between the plexiglass sides and pressing the buttons to add hours or minutes. 

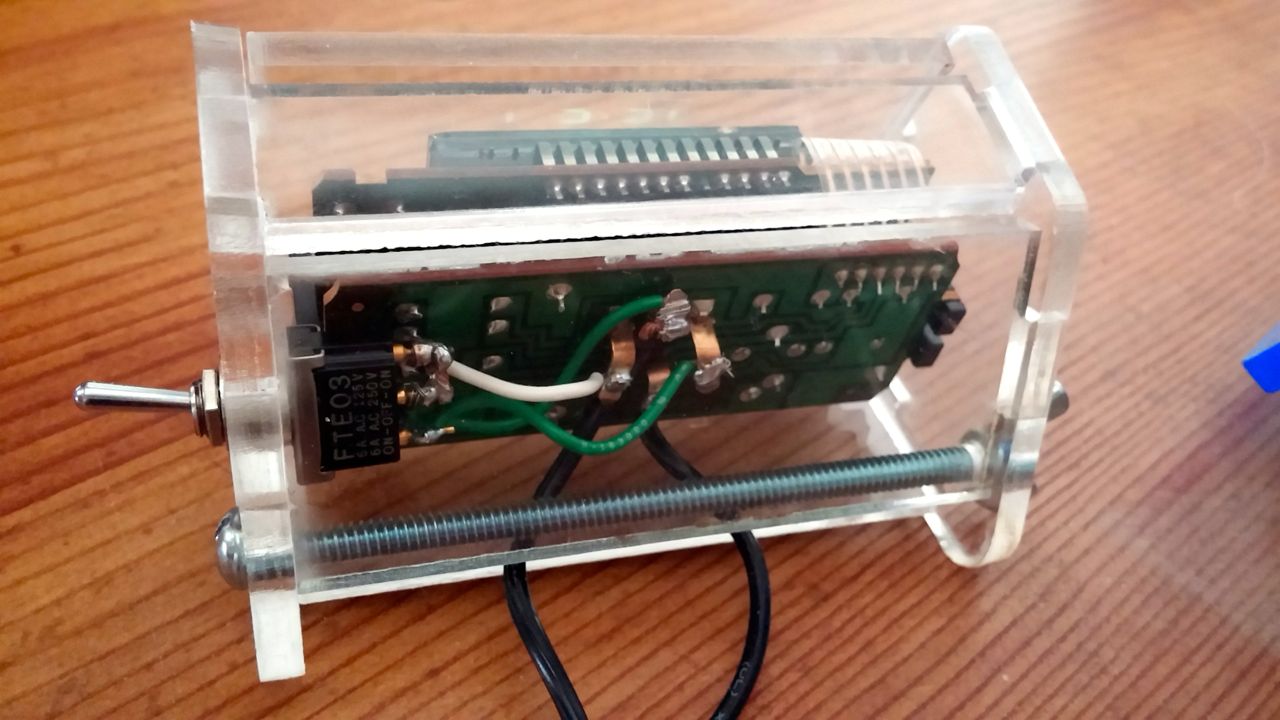
I added a small single-pole, double-throw toggle to switch between bright and dim, then soldered the connections before closing it up.  The whole thing is clamped together by a single #10-32 machine screw and a wingnut.  The final result doesn’t look half bad.

Holiday Make-A-Thon 2011 Photos

Wow! We had a great turnout at the Holiday Make-A-Thon, and besides teaching people to solder, and providing blank ornaments to decorate, we just generally had a good time.

Here’s some photos from the event:

Soldering

Here’s Royce teaching someone to solder with our Tie Pin Kit. We plan to have these at all the events we participate in so we can show people how easy it is to get into soldering.

Ornaments

Here’s Brant working on some ornaments. We used the CNC Router to cut out a bunch of different shapes for people to decorate.

Ornaments

Here’s a collection of finished ornaments.

Penguin

Here’s a dried gourd that was transformed into an awesome penguin.

Some crazy looking reindeer Brant made out of scraps from one of my projects…

And finally… Starclops. (Does Starclops really need any sort of explanation? I think not.)

Thanks to everyone who came out to make this event awesome!

Holiday Make-A-Thon 2011

Holiday Make-A-Thon 2011

We’d love it if you joined us at the 2011 Holiday Make-A-Thon happening Friday, November 25th, 2011 at Bucketworks.

This is a family-friendly event where the focus is on making things for the holidays. It can be gifts for others, of gifts for yourself! Members of Milwaukee Makerspace will be on-hand teaching people how to solder, so if you’re expecting an electronics kit this year, you’ll be ready!

We’re also working on a variety of ornaments that you’ll be able to paint or otherwise decorate. Keep them yourself or give them as a gift.

If you’re into knitting, care to try your hand a painting at gourd, or just want to wrap the gifts you already bought… join us and celebrate the spirit of making!

Detail? See Facebook, and then join us on Friday (the day after Thanksgiving) from 1pm to 5pm. Black Friday? We like to call it Make Friday. :)

Tie Pin PCBs!

The tie pin PCBs came in and they look great! We’ll use these PCBs to teach folks how to solder and spread the word about Milwaukee Makerspace!

In the photo above you see two identical boards each showing the opposite side. On the logo side two flashing rainbow LEDs go into the eye sockets and two current limiting resistors go to the left and right of the welder’s mask. On the back side, near the bottom of the pcb you can see two large rectangular pads that bracket a very large circular pad. The feet of a surface mount coin-cell battery holder that goes up and over the circular pad are soldered to the rectangular pads. The resulting cavity is a perfect fit for a standard CR2032 coin cell battery. Near the top is an oval shaped pad where the tie pin is soldered down.

Whenever we offer a Learn to Solder session at an event we’ll have these PCBs and associated electronic components in kit form available in exchange for only the time and effort required to learn to solder one together. (Small donations are appreciated, but in no way required) Most folks take less than 10 mins to master the basic soldering technique and are rewarded not only with a flashy tie pin or broach but also with a newly opened door to possibilities by virtue of their new ability to construct electronic circuits.

Tie Pin Prototype.

image

This is the prototype of the tie pin we plan to make for our own little Learn-to-Solder sessions. It’s inspired by the Makershed tie-pin. We don’t have any RGB flasher LEDs at the moment, and won’t in time forb BarCamp. But the red LEDs still look pretty cool.

At some point we’ll put an order out to a real PCB shop and get a circuit board with red solder mask and black silk screen. But these boards are plenty of fun for now.