A phone with a frickin’ laser!

My recent acquisition of a Meade ETX-90 telescope with computer go-to system for locating objects in the sky got me thinking that it would be nice to have a system to locate objects in the sky when you’re looking through binoculars or a telescope that doesn’t have a computer and motors to drive it.  To that end I came up with the idea of mounting a green laser pointer, commonly used by astronomy nutz to point out objects in the sky to noobs, on a cell phone or tablet running a program such as Google SkyMap or Skeye.

sky laser all parts

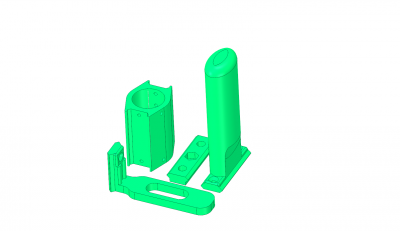
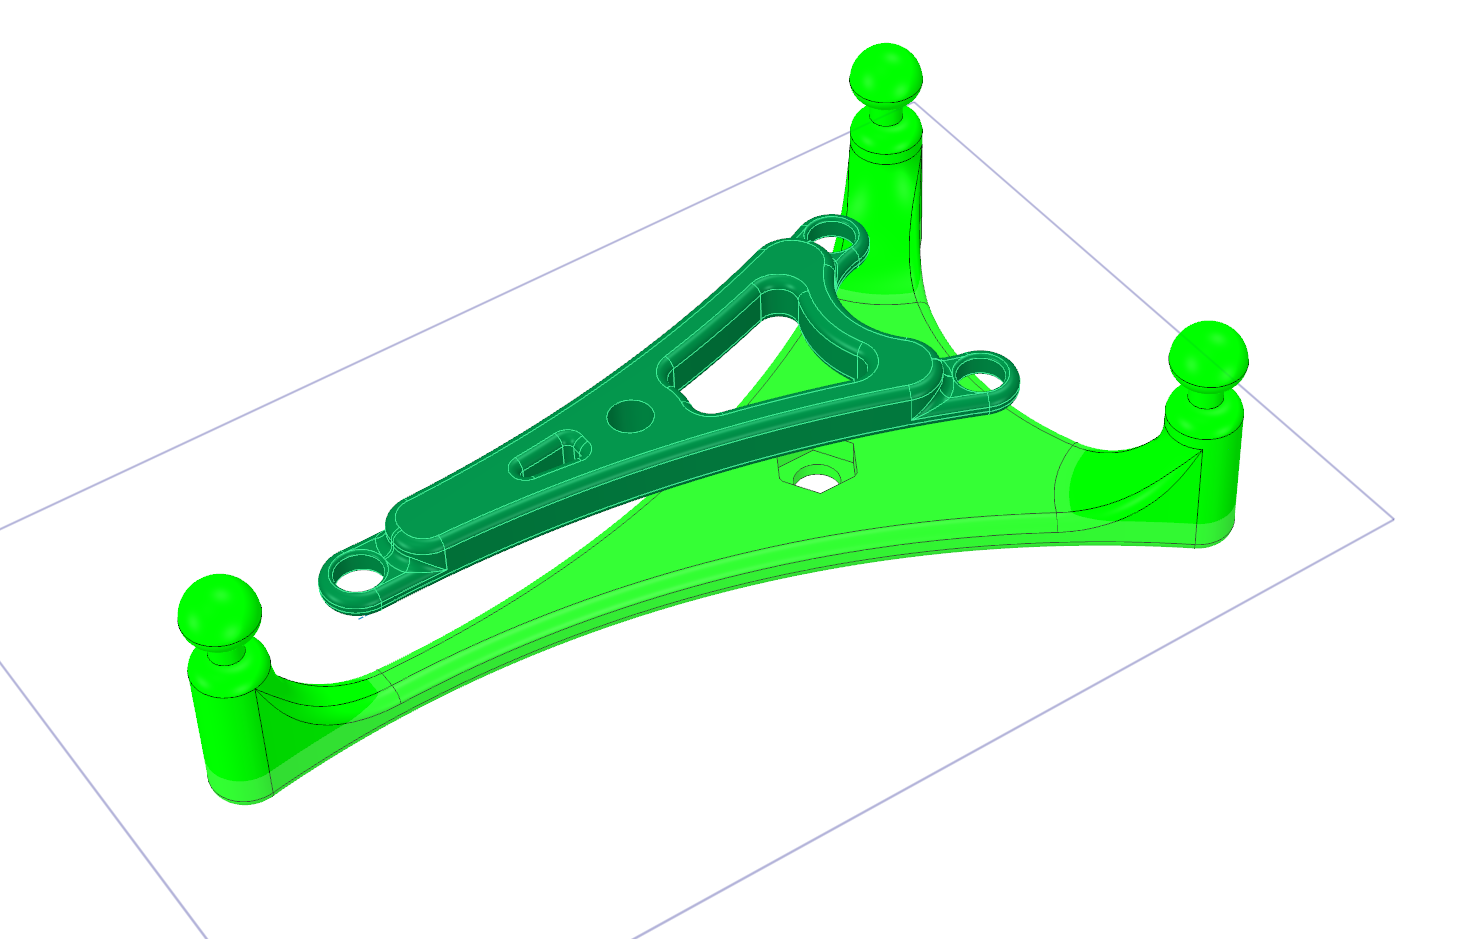
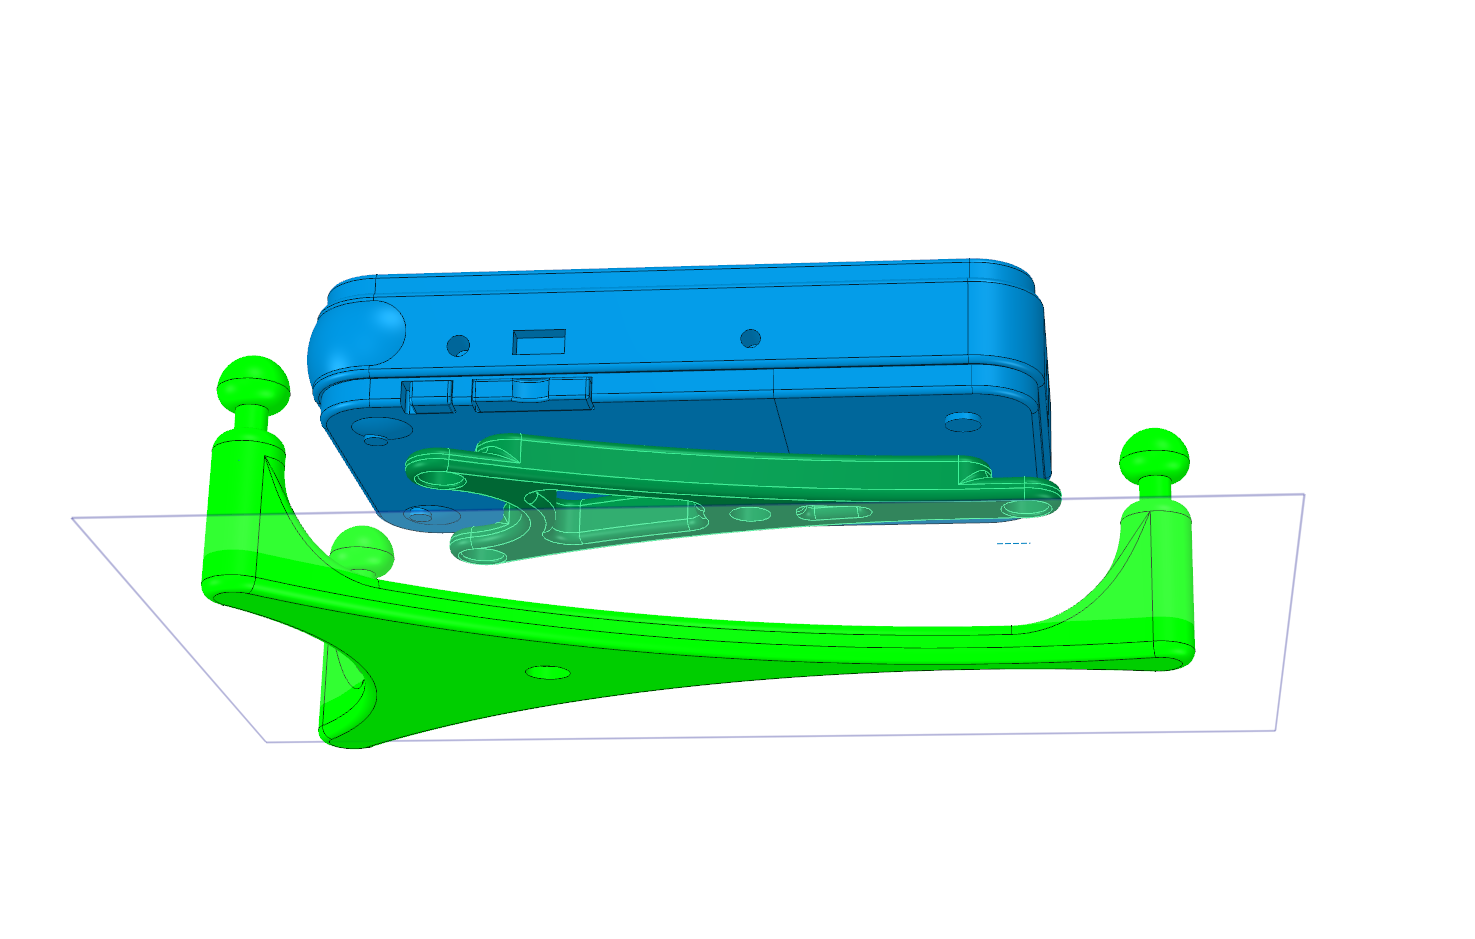
CAD rendering of the parts

After much thought and a few prototypes I came up with a system that allows a laser to mount on a phone and that assembly to mount on a tripod, a handle, or a telescope.  The tube that holds the laser has adjustment screws to allow the laser to be aligned with the SkyMap on the phone.  It also has to slots that fit over standard gun sight rails.  On one side I have a phone/tablet bracket that has a gunsight rail and slides into the laser tube, and the other side can be used for a rail that mounts on a tripod or a handle.  Extra rails can be mounted on telescope tubes.  I haven’t yet designed a binocular mount, but will soon.


IMG_0388

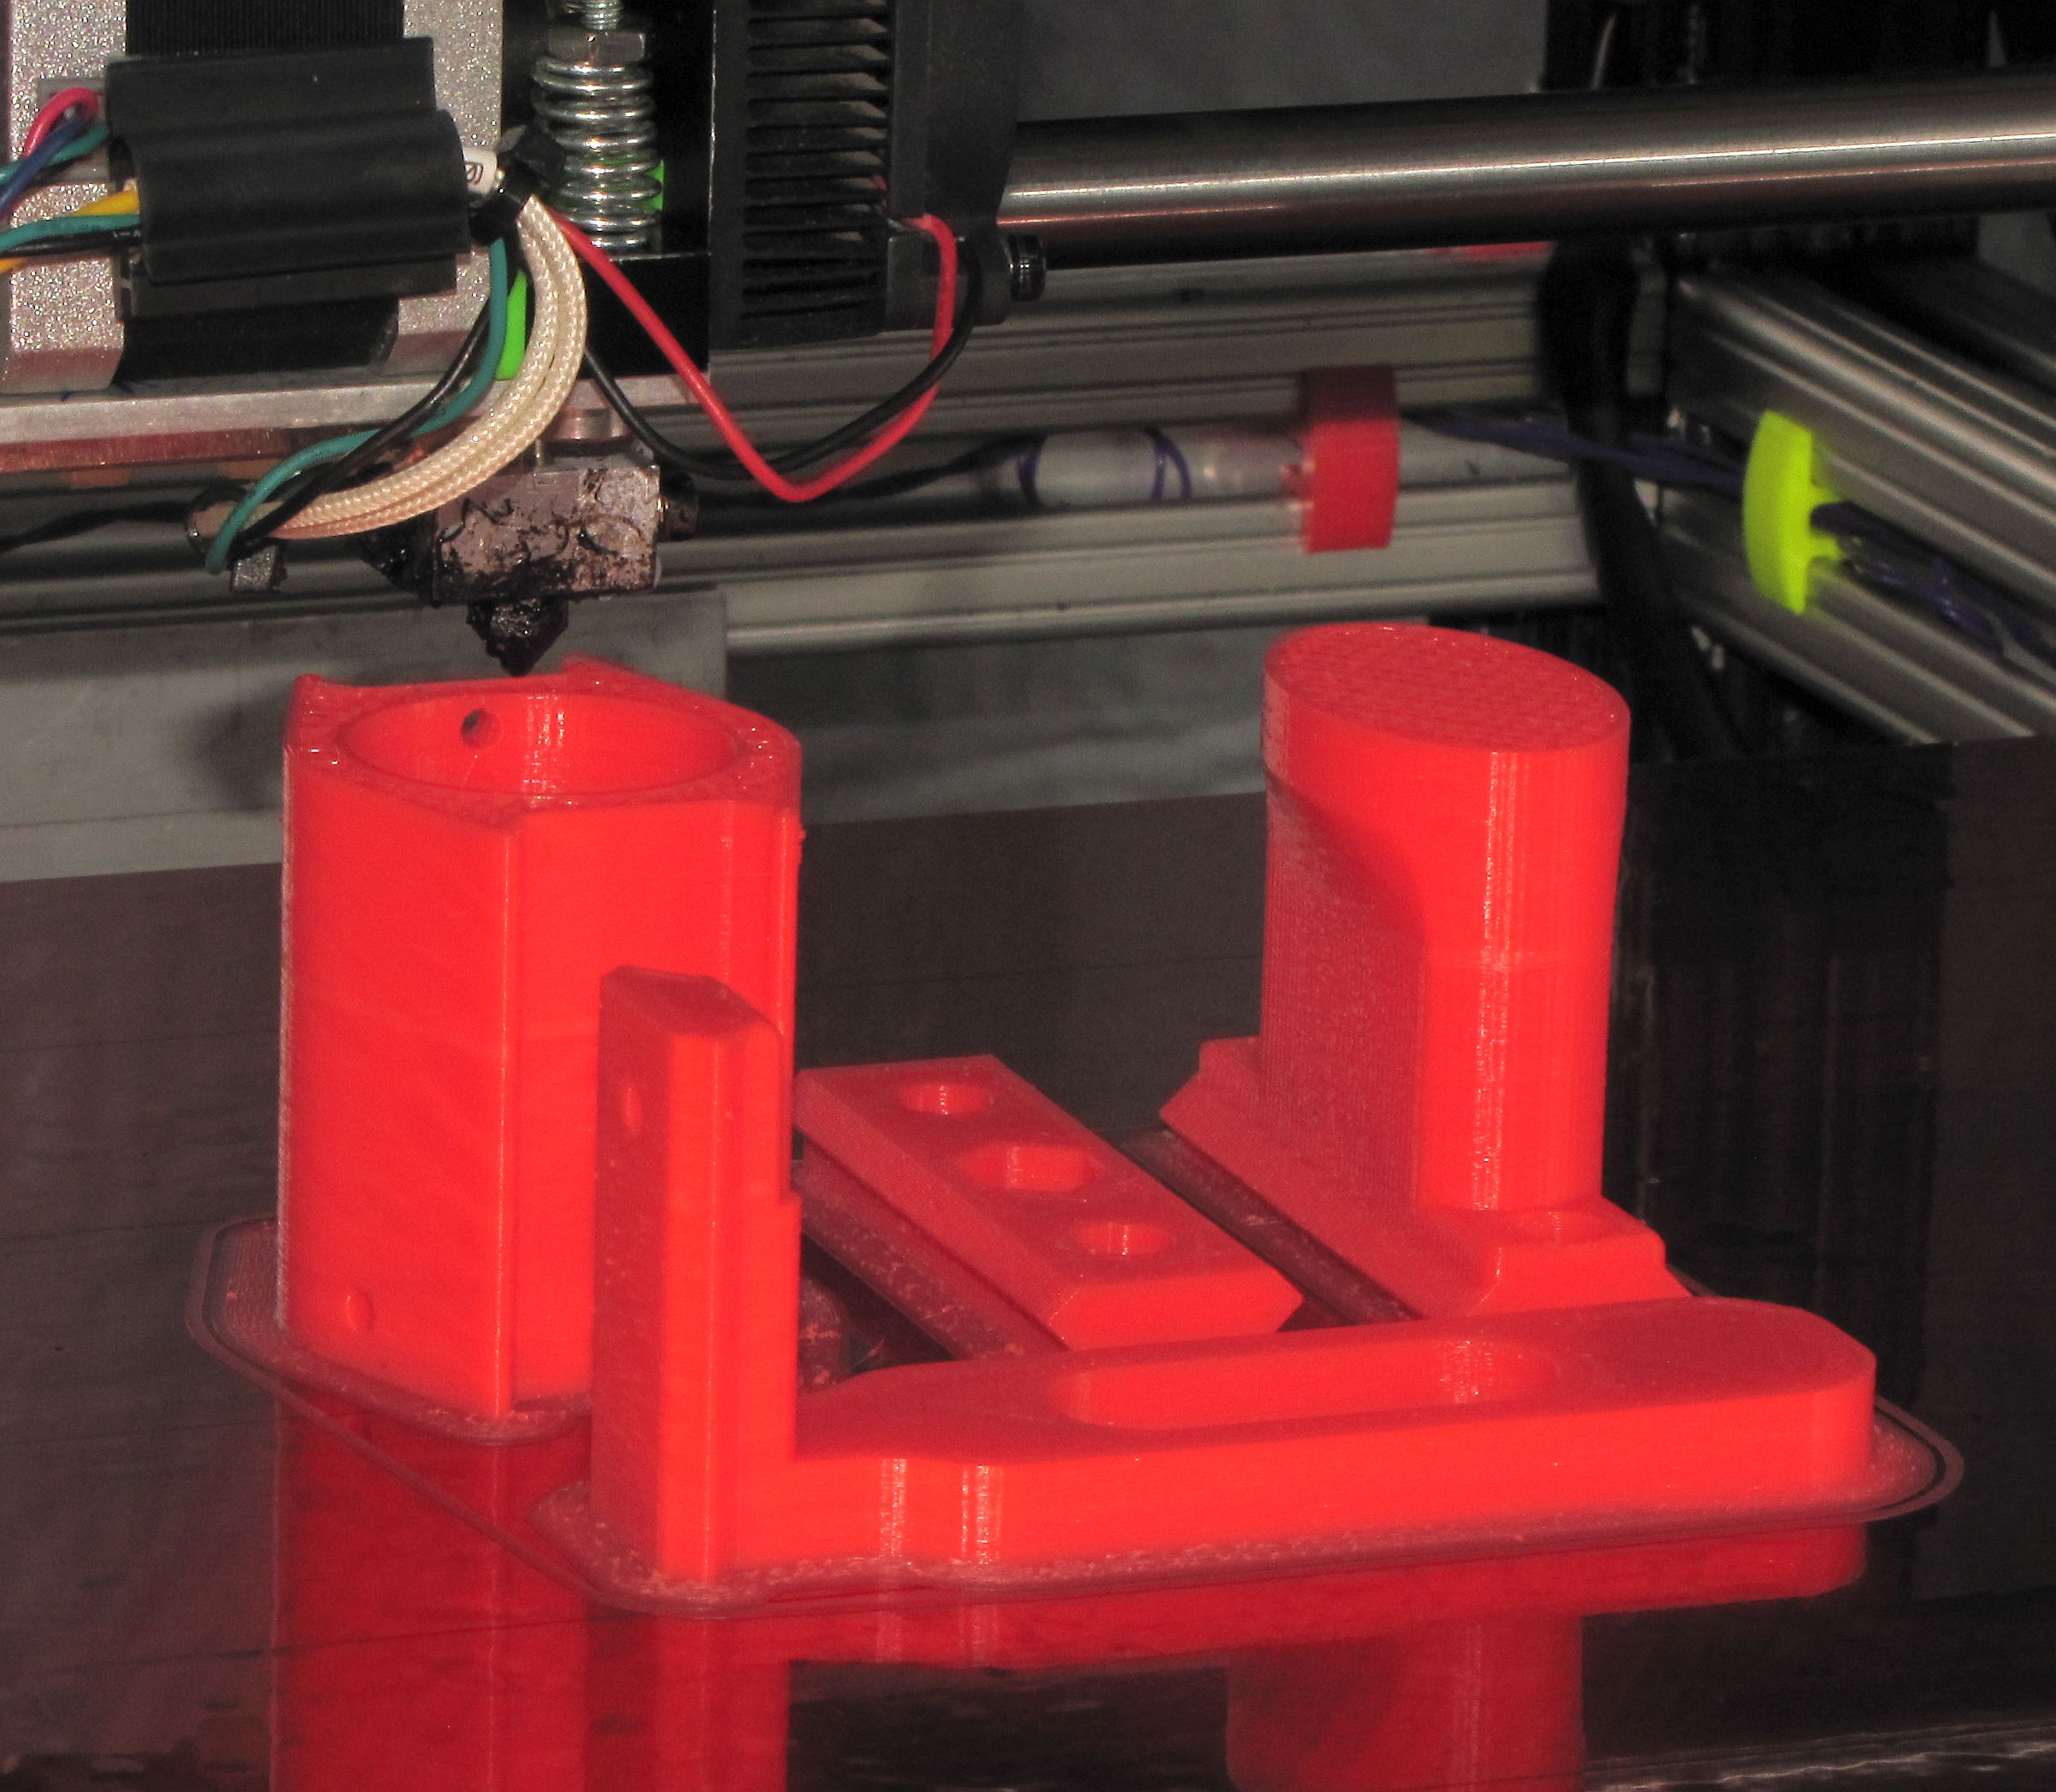
Parts printing on MegaMax

I printed the parts on MegaMax with Octave fluorescent red filament (that’s why the colors vary in the photos- the flash apparently excites the fluorescence in the picture with the handle).   All the parts fit VERY tightly together but I included screw holes for extra security.  The phone/tablet mounts on the bracket using velcro tape.  I think it may be better to print or buy a cheap case to fit the phone than screw it to the phone/tablet bracket.  I’ll be posting the design files to Thingiverse shortly.

IMG_0409

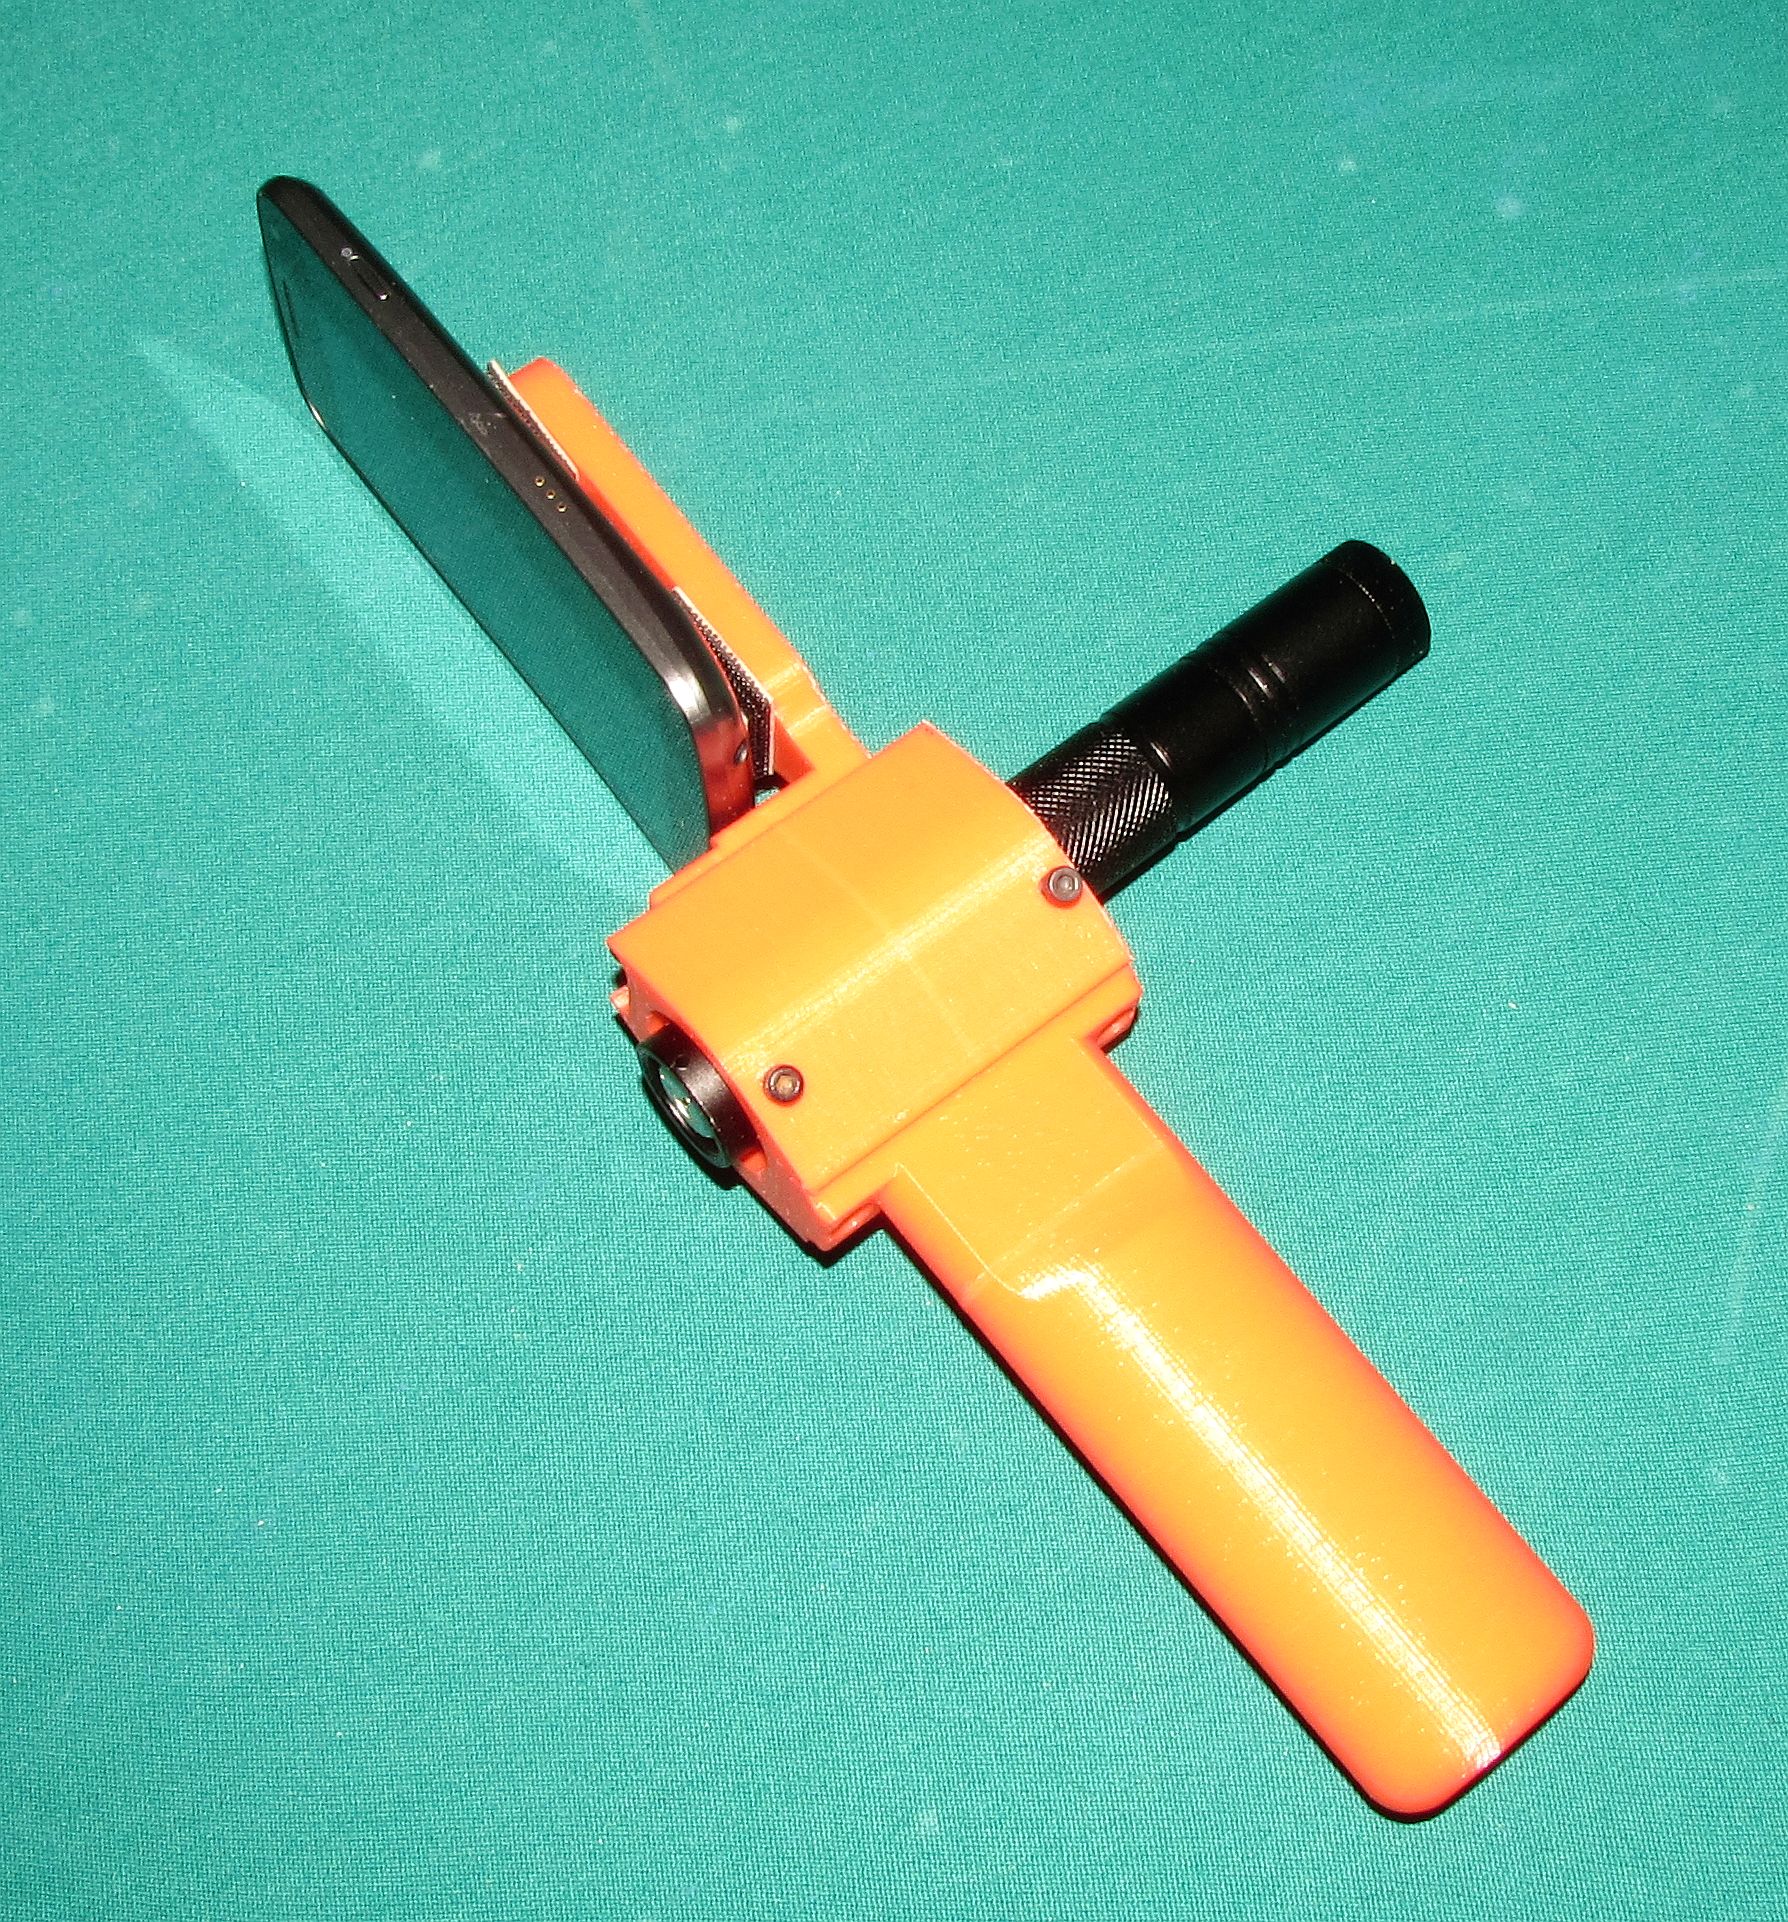
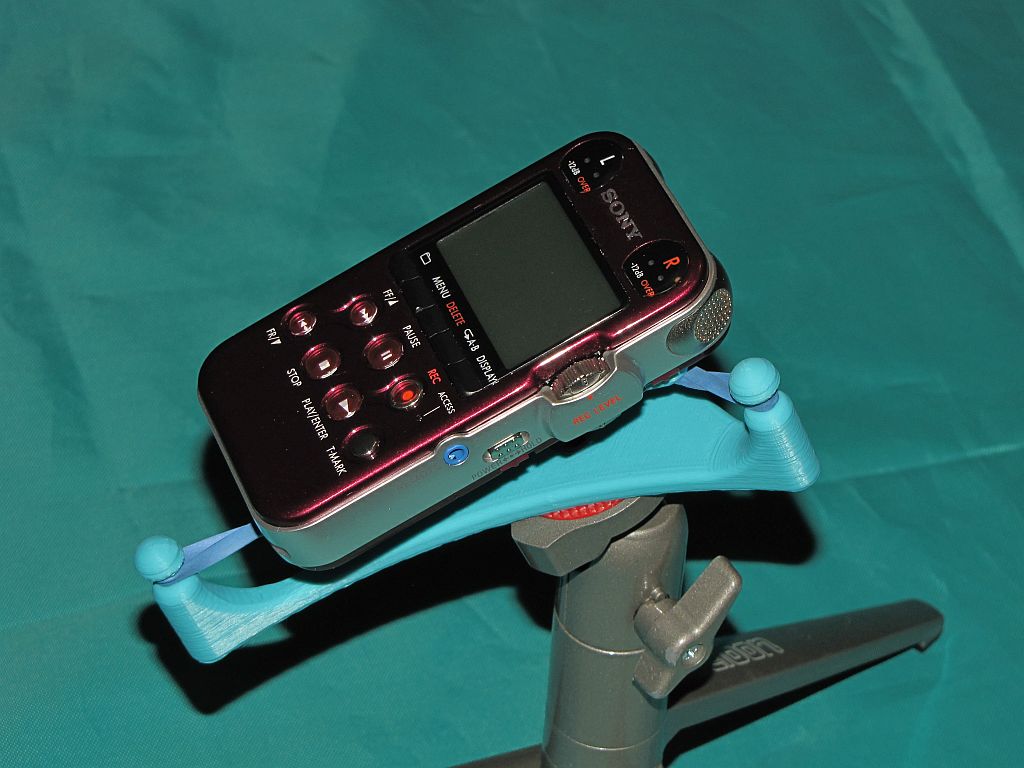
Phone and laser mounted on handle

IMG_0404

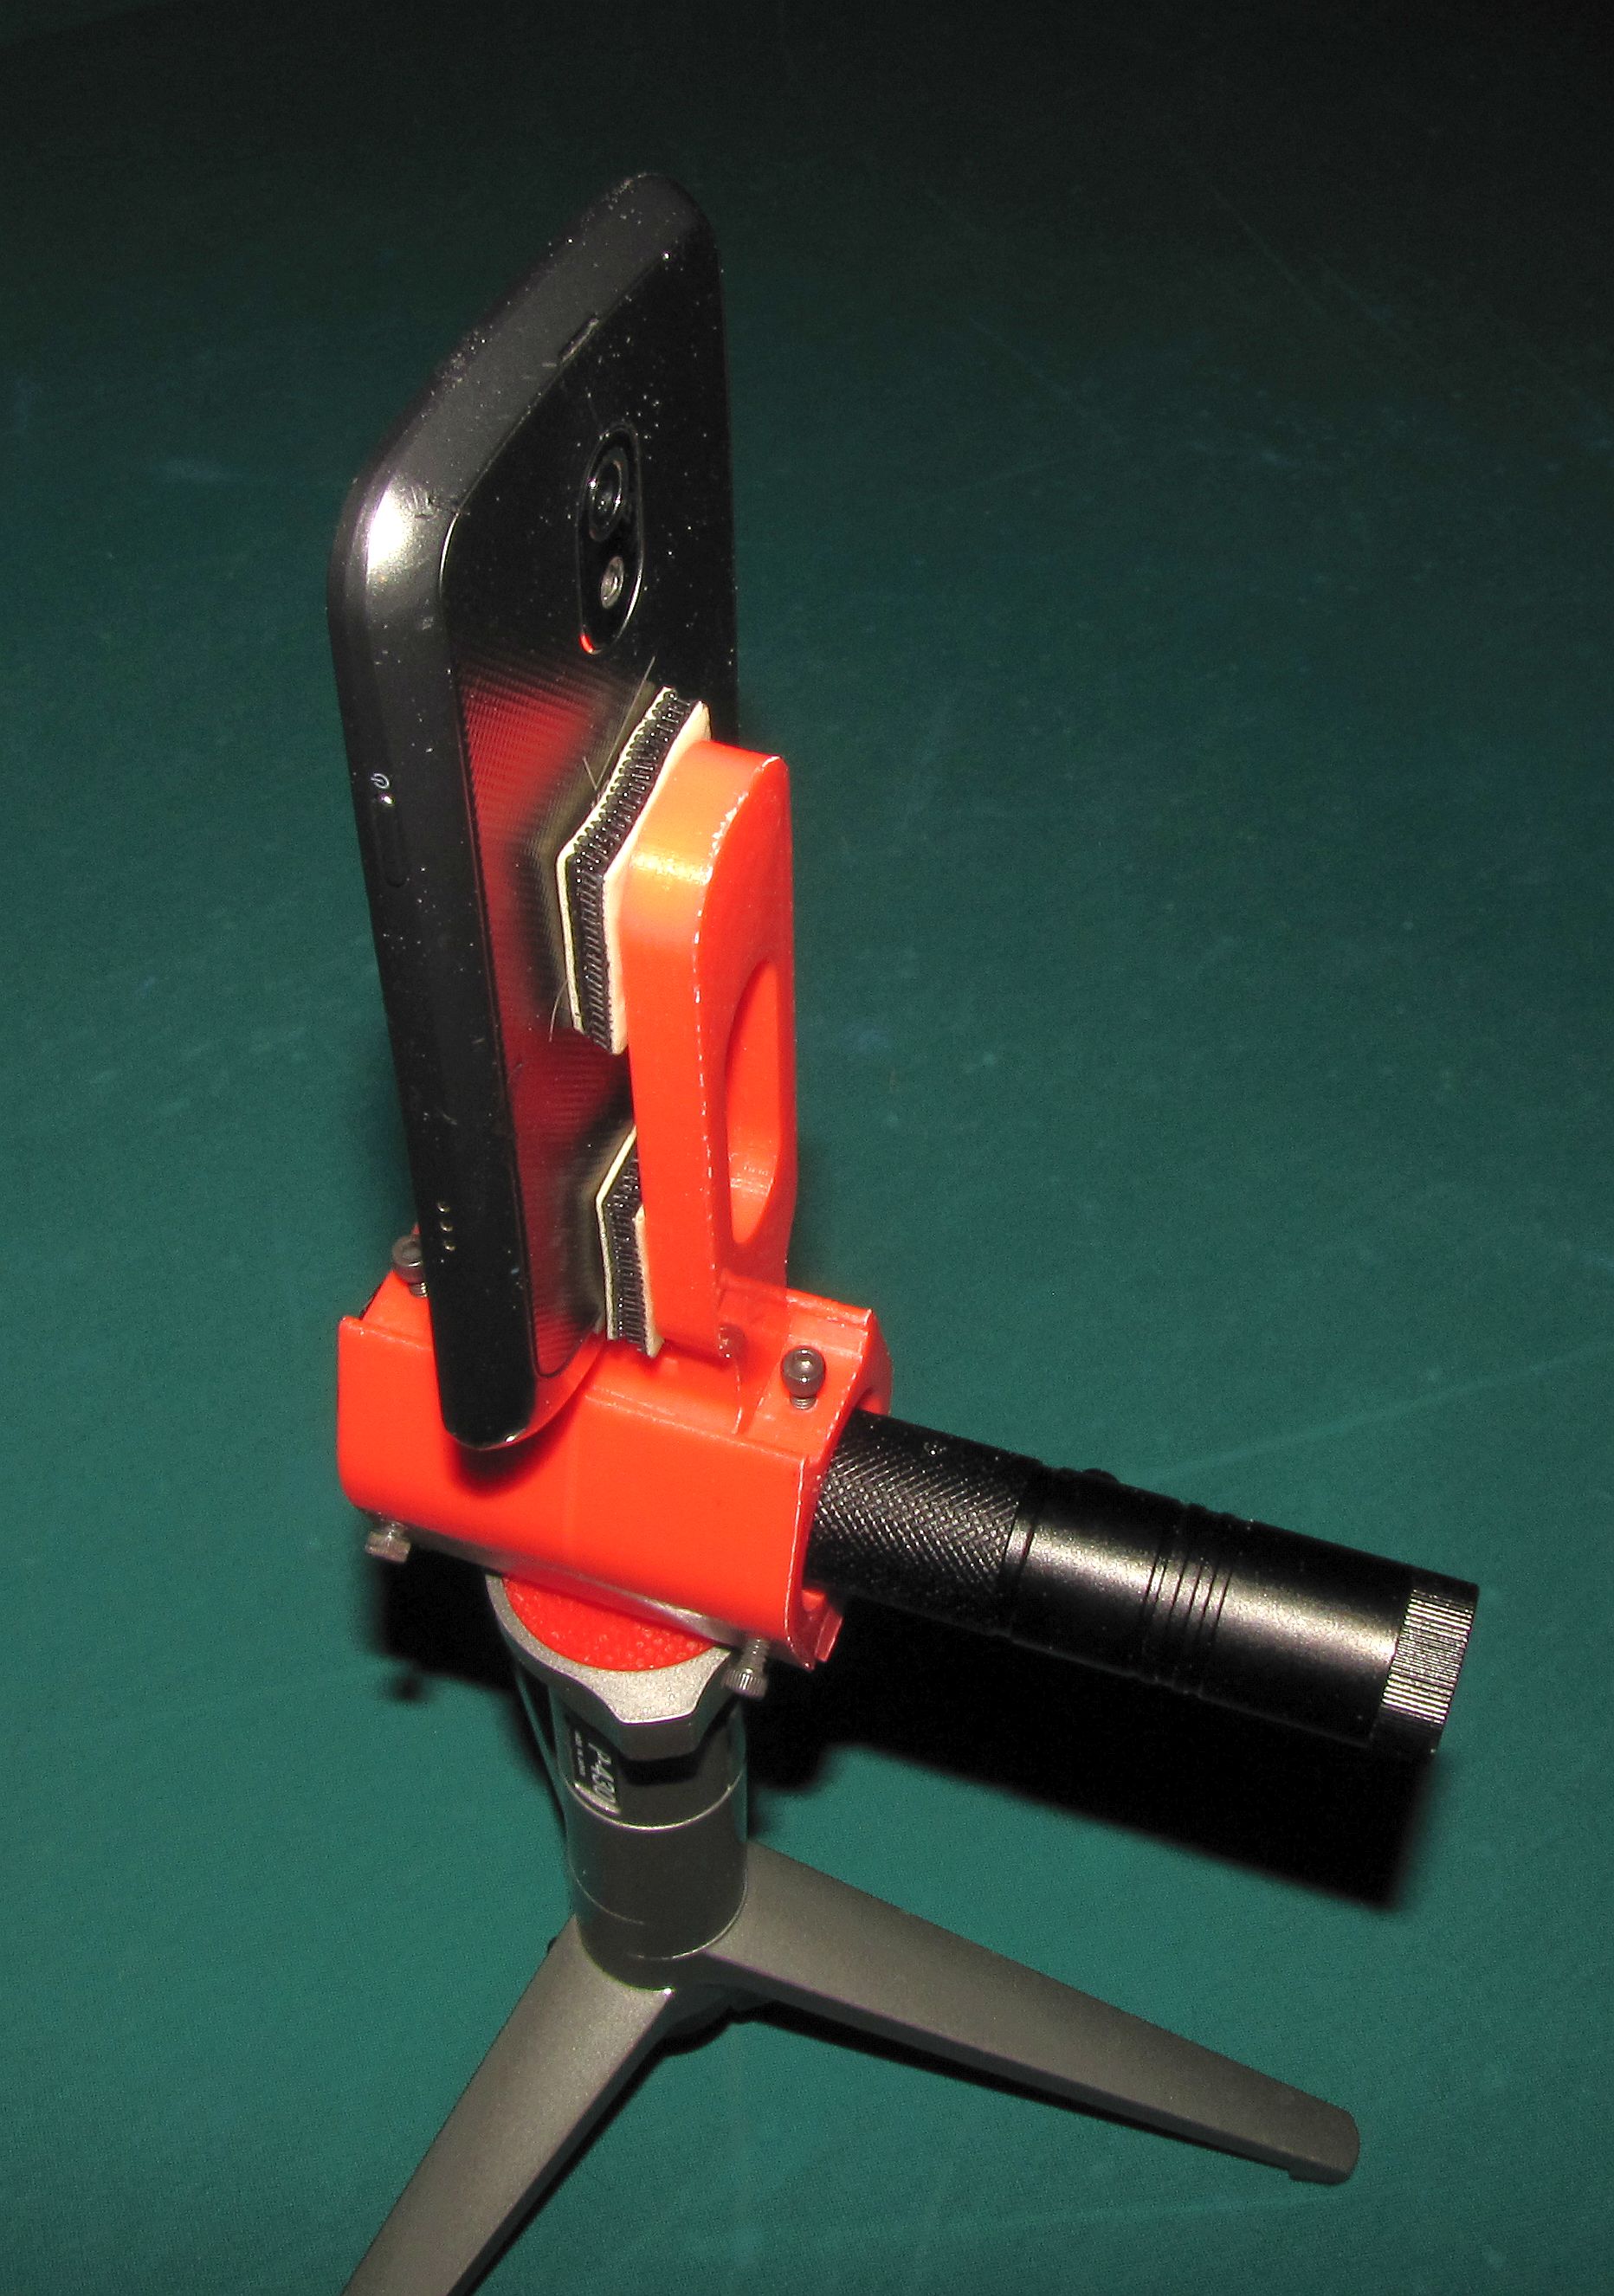
Phone and laser on a tripod


3D Printable shock mount for PCM-M10 digital recorder

PCM-M10 Shock Mount

PCM-M10 Shock Mount

Several years ago I played with a lot of audio stuff including making binaural recordings of things like cicadas, train rides, and festivals in Japan, and the singing of tree frogs in my back yard when I lived in a forest in Missouri.  Those recordings were done on a MiniDisc recorder because it was the best available audio quality recorder for people on a budget (i.e. cheapskates) like me.   Time and technology wait for no one, and I’ve been getting the itch to do some recording again, so I recently picked up a Sony PCM-M10 recorder.   This little machine records in many different formats up to and including 24 bit/96 ksps (though self-noise really limits the machine to about 15 actual bits).  The audio is recorded onto micro SD cards so unlike the MiniDisc, you get access to the raw digital data without any compression or associated quality degradation.

My previous recordings were done using a DIY binaural microphone that used a roughly matched pair of electret condenser mic capsules mounted on a wire bail that held the capsules inside my ears.  Even though those mic capsules were pretty noisy, the recordings came out pretty good.  When you listen to them with headphones you get a real “you-are-there”, surround-sound experience that can be quite startling.  You can hear those recordings here: http://mark.rehorst.com/Binaural_Recordings/index.html   Soon, I’ll be starting a new binaural mic project to go with the new recorder, this time using much higher quality mic capsules.

In the meantime I was looking for a shock mount to use when making recordings using the built in mics.  The shock mount prevents low frequency noise from handling, bumping the table the recorder sits on, etc., from being coupled to the mics through the body of the recorder.  I did a web search and found only a couple unsatisfactory designs so I did what any maker would do- I made!

One of the flaws in the few designs I saw was that some of the numerous switches and I/O jacks on the recorder would not be accessible when it was bolted to the shock mount.  They also didn’t look very nice.  After a lot of sketching possible designs on a whiteboard and paring the thing down to a minimal implementation, and spending much too much time making a 3D model of the recorder, I came up with a printable 3-finger design that holds the recorder either on a tabletop or a tripod and keeps ALL the switches and I/Os available.  The only thing you can’t do while the recorder is mounted is swap batteries (but with 40 hours record time on a set of two AAs, that shouldn’t be a problem).

I used DesignSpark Mechanical to make the recorder model and design the shock mount.  DesignSpark makes rounding corners of complex 3D objects easy (nearly impossible in Sketchup), but I did run into some of its limitations that I hadn’t previously considered.  One huge limitation is that there is no way to put any form of text into a drawing without some special work-arounds (use Sketchup to make text, then import into DesignSpark).

CAD drawing of shock mount

CAD drawing of shock mount

PCM-M10 on shock mount- CAD

PCM-M10 on shock mount- CAD

This shock mount design is available here:  http://www.thingi

verse.com/thing:384567


I printed the shock mount on MegaMax using Coex3D Aqua ABS filament.


Instructables / littleBits Build Night

littleBits
Have you heard of littleBits? It’s an open source library of electronic modules that snap together with tiny magnets for prototyping, learning, and fun. If you’re the kind of maker who tends to avoid the Electronics Lab, littleBits might be just what you need to start experimenting with circuits.

We’ll be hosting a number of littleBits Build Nights in June, sponsored by our friends at Instructables, who have provided us with a bunch of littleBits Deluxe Kits, as well as a number of their new Arduino at Heart modules, which let you add an Arduino brain to your littleBits creations.

If you come up with something cool, we’ll help you post a step-by-step Instructable for it, so others can enjoy your creation. If you need some inspiration, check out some of these littleBits projects.

These events will be free, just bring yourself (and your ideas!) to 2555 S. Lenox St. in Bay View and make something cool with littleBits.

Gothic Arch Room Divider is Finished (Sort of….)

Sanctuary and More 102Silversark put together an amazing fashion show on Friday to showcase pieces she made inspired by church architecture and her trip to the Netherlands. This is something I cooked up for a background piece for the show.

The design work took several months and the actual creation of the piece took about a week, working 12-16 hours a day.  The frame is made from CNC routed aspen (thanks, Jason H.!) which is a rather “fuzzy” wood and required two days to hand finish, including the use of a set of needles files to smooth out the inset edges.

The acrylic panels were hand-stained with Gallery Glass stain and simulated liquid leading. They’re not quite finished yet, but I plan to complete the staining within the next week.

I’ll also be using this as a backdrop for various events including the Sustainability Summit coming up as well as the Concinnity sci-fi/gaming convention on April 5th. Additionally, this might be making its way to Embellishments in the Grand Avenue Mall for a window decoration.

I can’t wait to make another one!

SnakeBite Extruder Works!

I repaired the Budaschnozzle hot-end over the weekend and bolted the SnakeBite extruder to it and then to MegaMax and tested it last night.  There’s plenty of tuning to do, but the first print looks promising:


Start of SnakeBite’s first print


More of SnakeBite’s first print


Not too pretty but it shows promise.

Not too pretty but it shows promise.